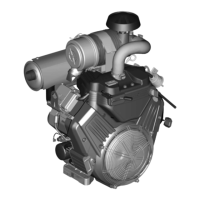
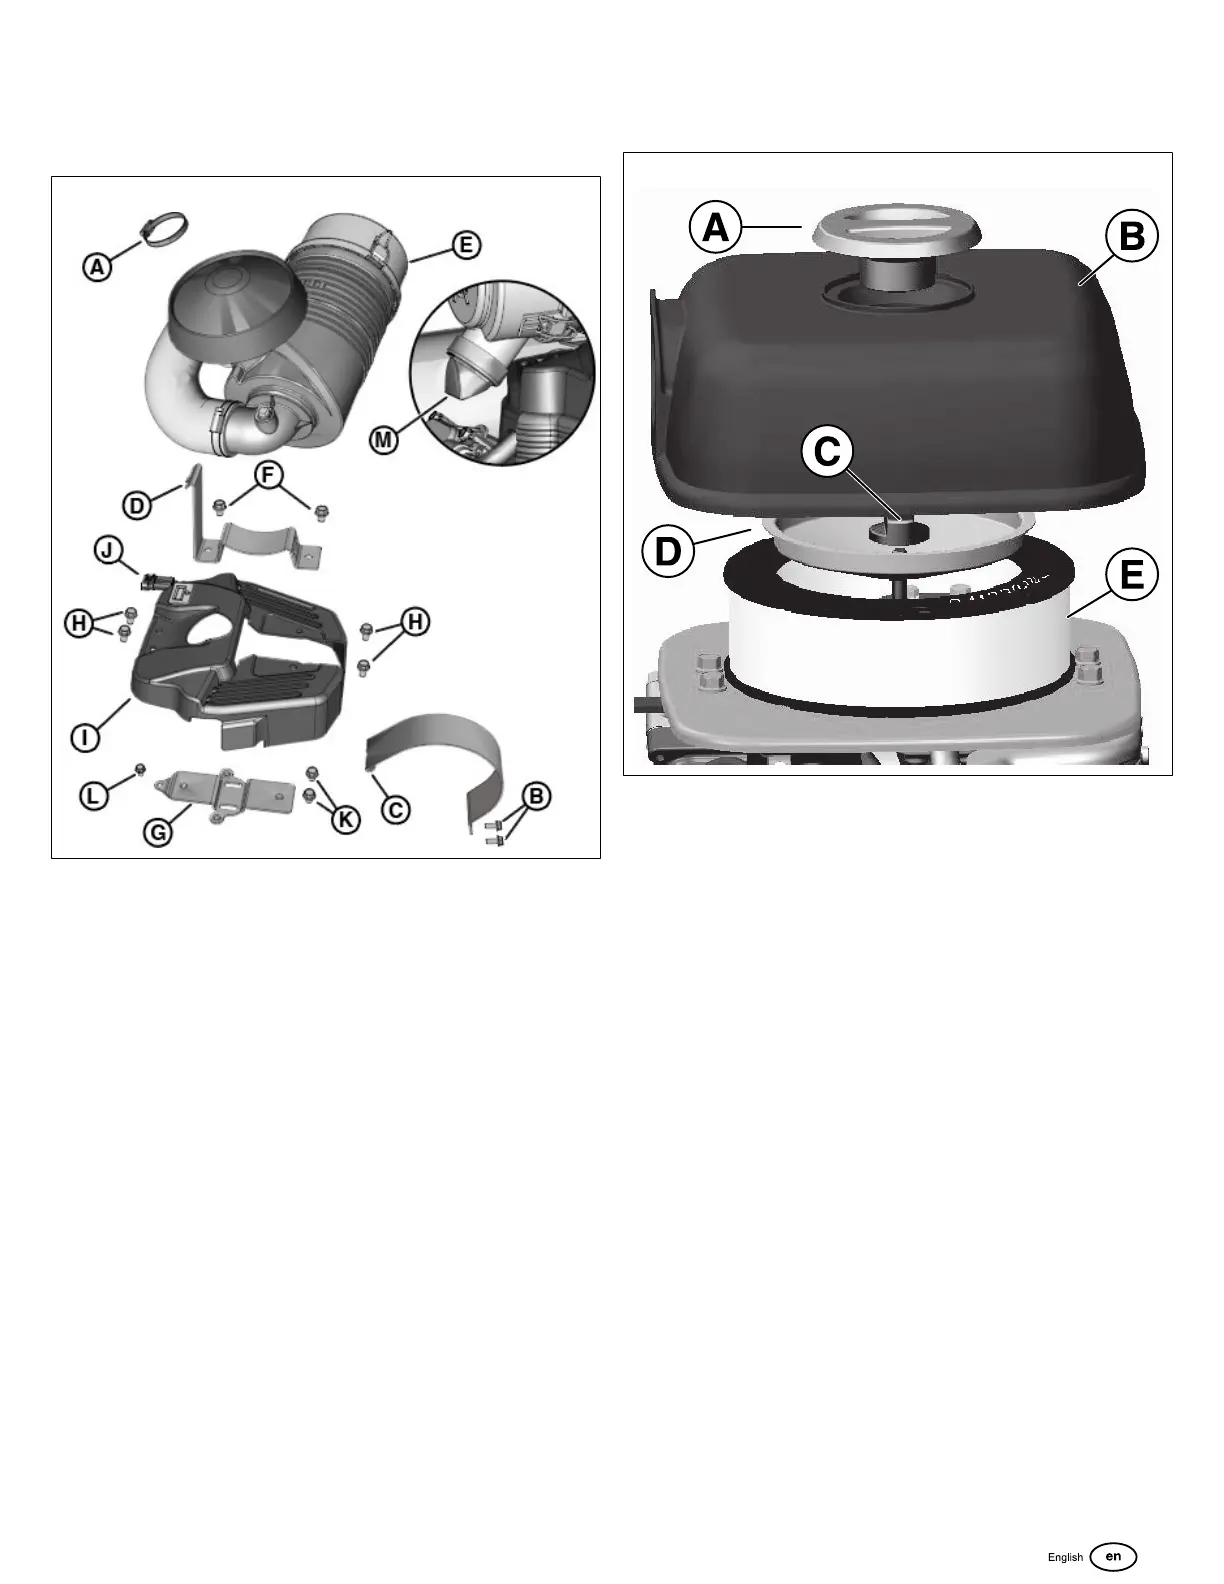
Air Cleaner Assembly - Cyclonic
1. Loosen band clamp (A, Figure 39) and remove hose
from air intake elbow.
39
2. Remove 2 fasteners (B) and disengage hook on air
cleaner strap (C) from lip on air cleaner top bracket (D).
3. Remove air cleaner assembly (E).
4. Remove 2 fasteners (F) to release air cleaner top
bracketfrom air cleaner bottom bracket (G).
5. Remove 4 fasteners (H) to release top cover (I)from air
intake elbow and air cleaner bottom bracket. If equipped,
disconnect MIL/ tachometer/hour meter connector (J) at
back of top cover.
6. Remove 2 fasteners (K) to release air cleaner bottom
bracket from fuel pump module bracket support.
7. Remove fastener (L) to release air cleaner bottom
bracket from air intake elbow.
8. Remove duckbill air valve (M)on air inlet port of air
cleaner cover. Look for cuts, tears, holes, or general
deterioration.
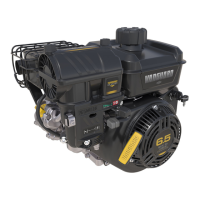
Air Cleaner Assembly - Low Profile
1. Unscrew the air cleaner cover cap (A, Figure 40).
40
2. Remove the air cleaner cover (B).
3. Unscrew the air filter plate knob (C).
4. Remove the air filter plate (D).
5. Remove air filter (E) from air filter base plate.
NOTE: The air cleaner base is secured to a support bracket
with either 2 or 4 fasteners (depending on application) as
well as the throttle body, on EFI and EFI-ETC models, the
carburetor or mixer. The fasteners serve to also secure
these components to the intake manifold or intake elbow.
For removal instructions see Throttle Body, Carburetor and
Spacers, or Mixer and Spacers in this section, depending on
your application.
53
 Loading...