User Guide
42
The retainer clip will spring into the notch on the SpeedDrive with a click,
indicating the SpeedDrive is securely attached to the monitor.
The storage volume will then be available on the PIX-E interface and appear
as Drive 1 (D1) on the information bar.
i A SpeedDrive may also be used to upload custom LUTs. Before using a Speed-
Drive, it must be formatted by the monitor. For more information, see Formatting
Storage Drives.
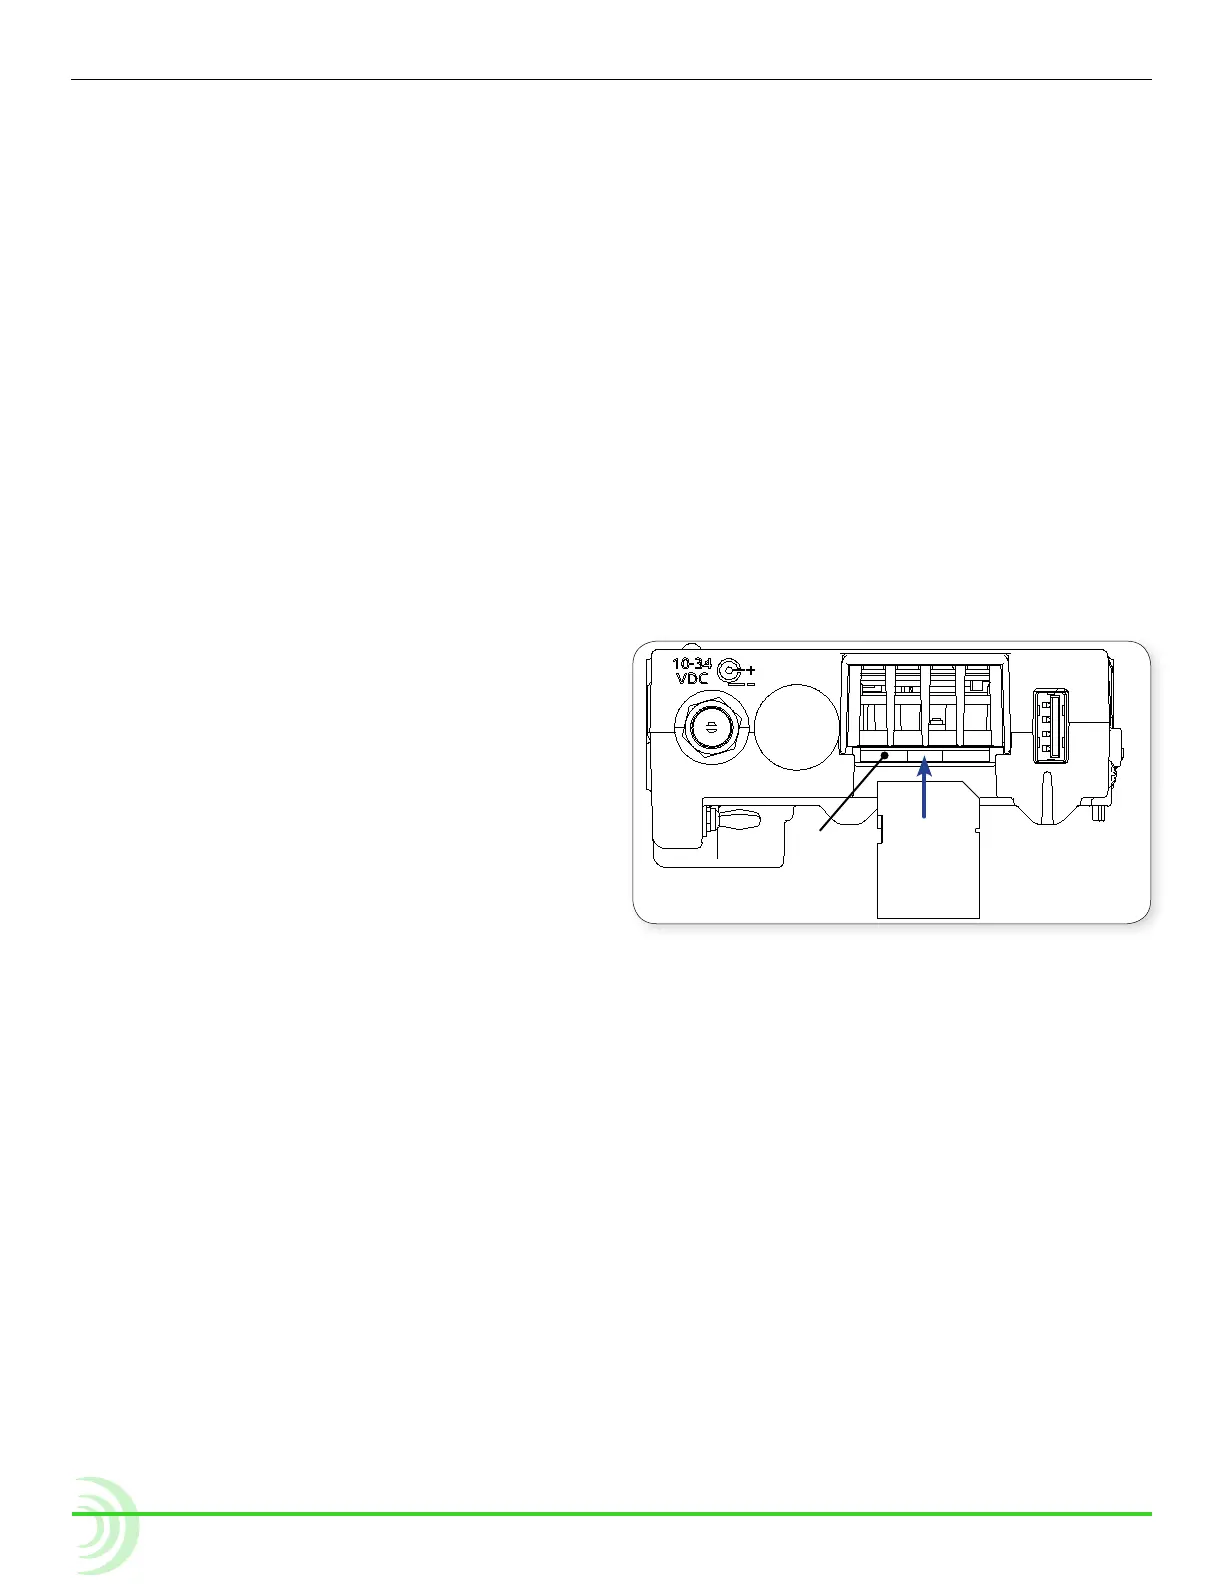
To remove a SpeedDrive:
1. Depress the left retainer clip, labeled SSD, holding the SpeedDrive in place.
2. Carefully slide the SpeedDrive out of the USB connector.
SD Memory Card
The monitor can save and recall its settings on a Secure Digital (SD) ash
memory card, which can also be used to upload LUTs.
It accepts these cards:
SD
• Standard-capacity
(SDSC: 1MB - 2 or 4GB)
• High-capacity
(SDHC: 2GB - 32GB)
• Extended-capacity
(SDXC: 32GB - 2TB)
To install the SD card:
X Slide the SD card into the SD
Memory Card slot on the right panel of the monitor.
i Before saving setup les or custom LUTs to an SD card, it must be formatted by
the monitor. For more information, see Formatting Storage Drives.
Metadata and File Name Format
The monitor lets the user enter scene, take, camera ID, reel, and clip informa-
tion. Files generated by the monitor are named according to this information,
making it easy for post production to identify recordings. These metadata op-
tions are located in the Metadata section of the Main menu.
To view or modify Metadata settings:
1. Press the MENU button.
2. Select Metadata.
3. Use the touch screen or Control knob to select and modify the settings as
needed.