– 53 –
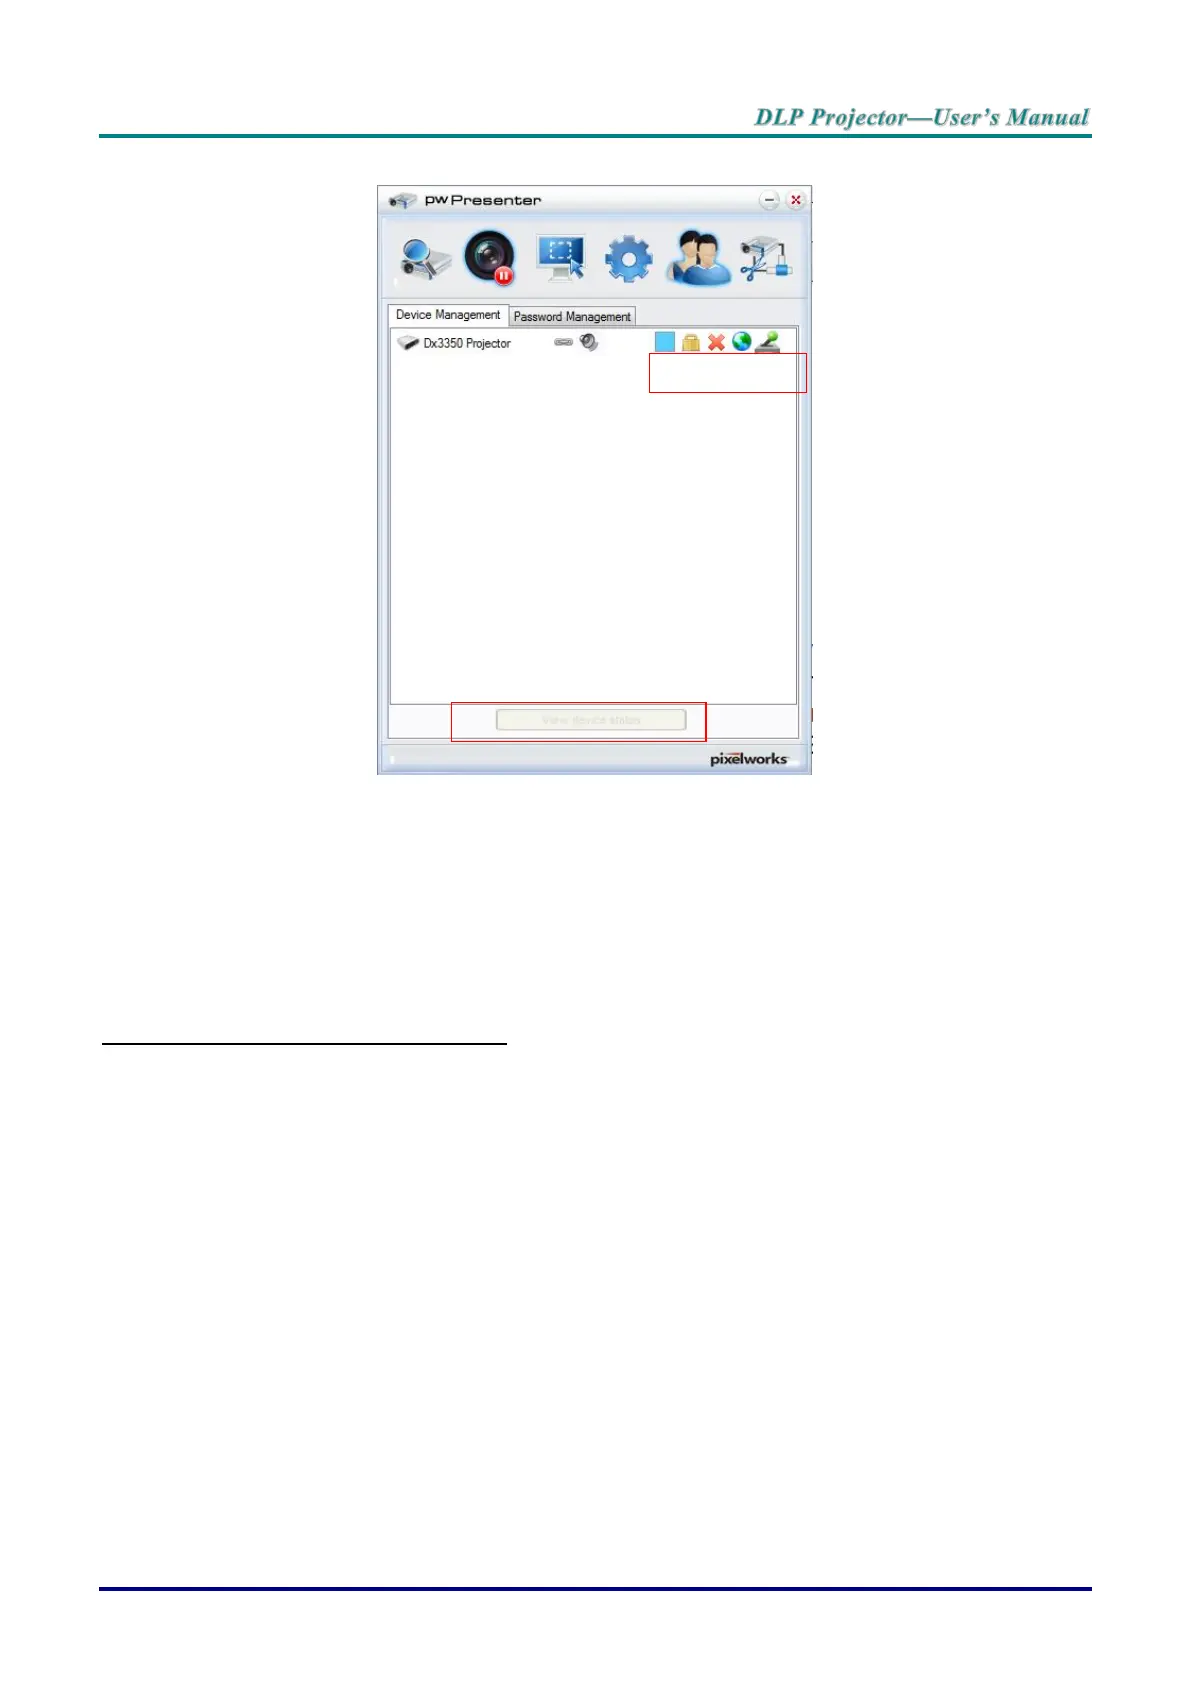
11. Device management.
a. Click the Display Port Location icon to adjust the location of the displayed area.
b. Click the Password icon to change the user password.
c. Click the Disconnect icon to disconnect the projector from the network.
d. Click the Webpage icon to allow access to the Vivitek webpage control interface.
e. Click the Remote Desktop icon to enable the remote access function.
f. Displays the device status and setting information. Also, provides access to conference
control mode.
Using the Broadcasting Function
The 1:N LAN Display is available in two ways.
TCP/IP—supporting up to 8 projectors (default)
Multicast—supporting up to 255 projectors (new design)
Select the channel for the corresponding IP address (grayed out): 1 to 25.
Twenty five channels (25 IPs) are available for selection, for example: 239.192.19.21 ~ 45.
Pre-set channels, such as a channel setup for emergency broadcasting, are automatically detected by the
projector and the source is displayed. Manual source selection is not required.
To activate this function:
1. Go to the SYSTEM SETUP >> Advanced >> Network Settings menu after opening the OSD menu.
2. Press ENTER.