49
PEA-C4XL-S
7
12
11
10
8, 9
P_01618
A2
X
A1
B1
Y1
Y2
Z
B2
OPERATING MANUAL
VERSION 03/2014 ORDER NUMBER DOC2345334
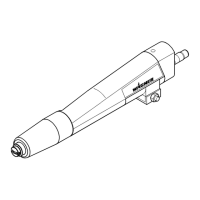
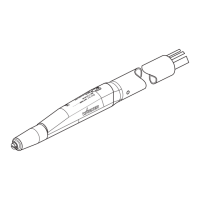
4. Unscrew threaded sleeve 8 and locking
sleeve 9 with mounting tool 10.
5. Pull connecting element 11 out of elbow
tting 12.
6. Insert screwdriver into recess X and turn it until
the nozzle insert 7 loosens.
7. Pull out nozzle insert 7.
8. Replace the wearing parts with new
components.
9. Clean all components thoroughly and remove
any powder residues.
10. Install nozzle insert 7, as shown in magni ed
gures Y1 and Y2, in such a way that the pin B1
is guided into the hole A1.
11. Install connecting element 11 within the angle
piece 12, as shown in the magni ed gure Z,
in such a way that the pin B2 is guided into the
hole A2.
12. Screw threaded sleeve 8 and locking sleeve 9
with mounting tool 10 and tighten them well.
Ensure that it is still possible to turn threaded
sleeve 8 easily.
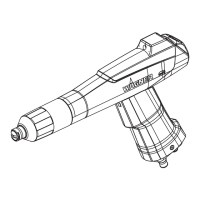
13. Install electrode holder 5 together with
nozzle 6 in the nozzle insert 7.
14. Put on union nut 4 and tighten it well.
15. Mount the angle adapter to the gun again.
 Loading...