9. The installation software will search the printer automatically after wireless network is configured successfully. The search
process may need some time.
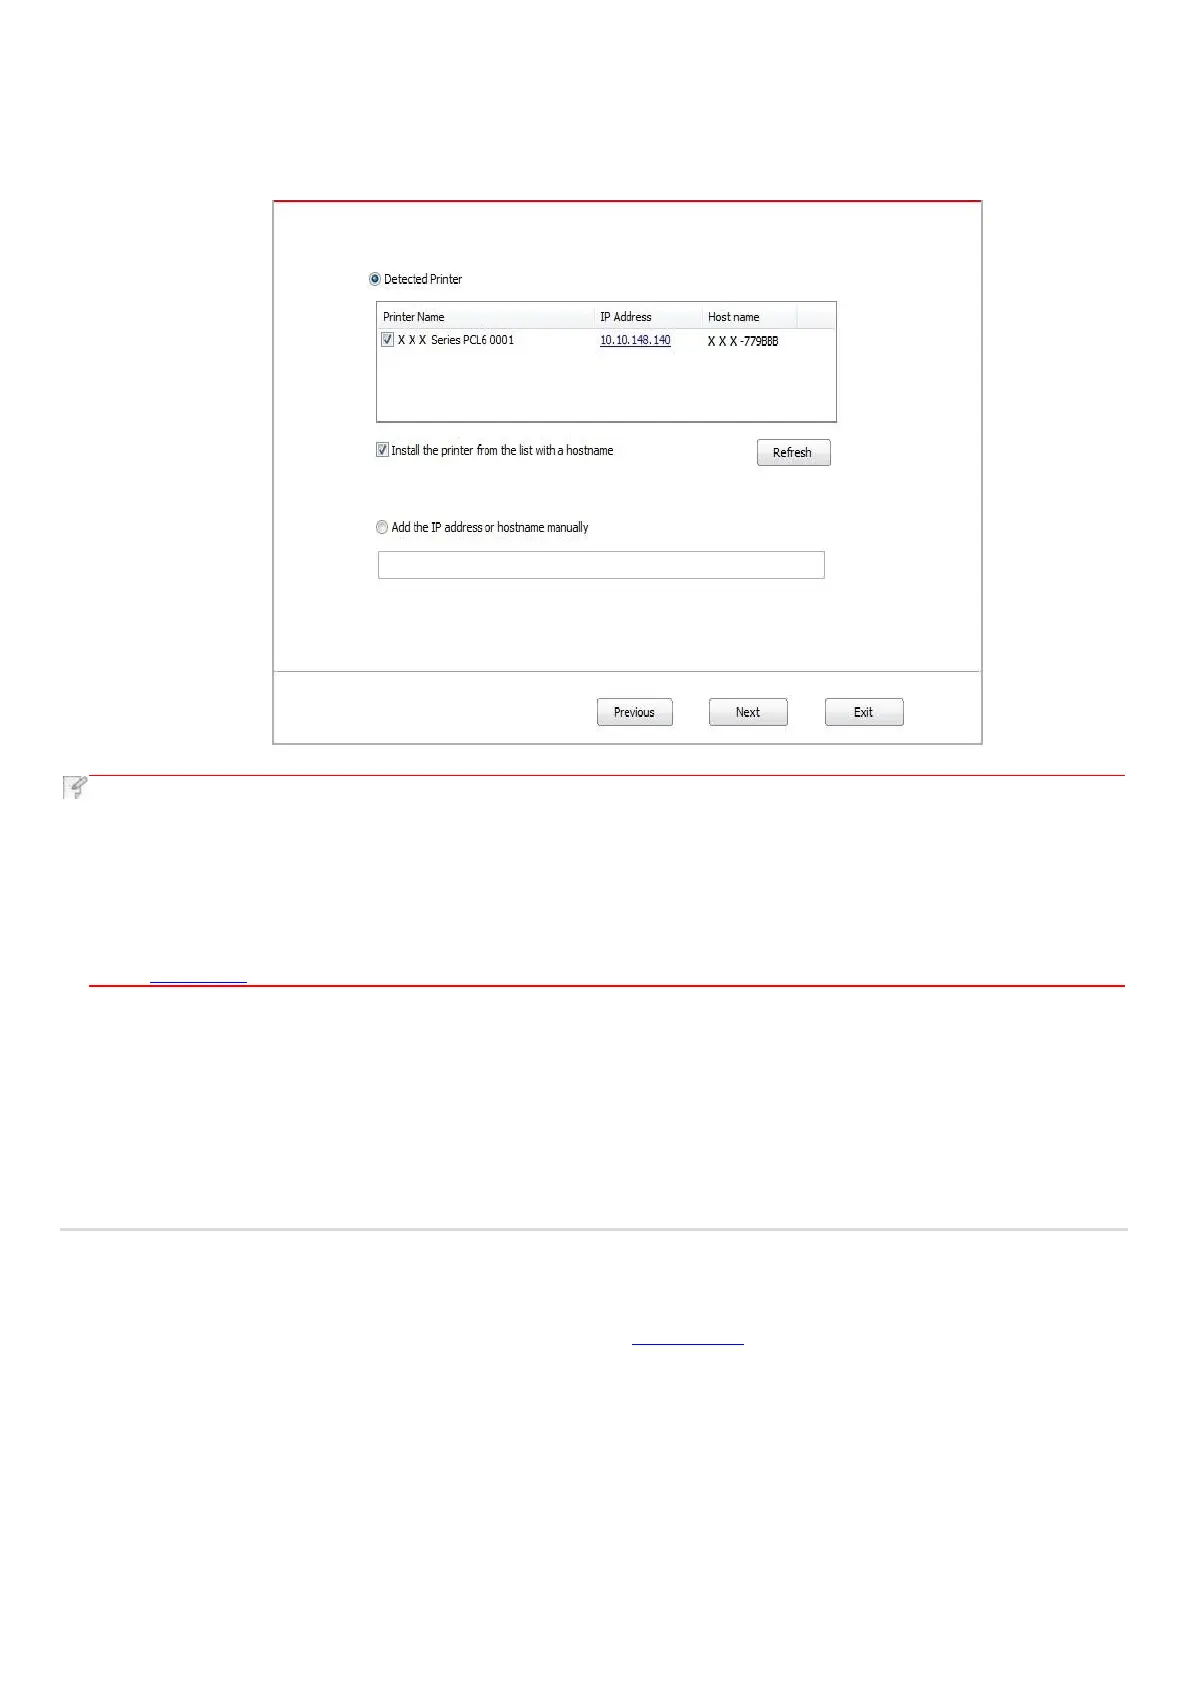
10. Select the printer needs to be connected and click “Next”.
• If the printer you need to connect is not in the list of printers searched, please click “Refresh” to search again.
• When the printer IP address changes under printer driver installed with host ID , you can also directly print without re-
installing the driver. If you need to install the printer driver with the host ID, please check the option "Install the printer
in the list with host ID".
• If IP address or host name is added manually, you need to know the IP address of the printer connected or host
name. If they are not made clear, please print the “NetConf Pg” and view “IP Address” and “Host name” (Please refer to
Chapter 7.2).
11. The software installs the driver automatically and the installation process may need some time. The duration is related to your
computer configuration, please wait patiently.
12. After the installation, click "Print &Test Page" button. If your printer prints the test page successfully, it means that you have
installed the driver correctly.
3.1.2.3.2. Wi-Fi hotspot mode installation
1. Turn the power of printer and computer on.
2. Computer is connected to printer’s Wi-Fi hotspot network (refer to Chapter 5.2.2 for how to make configuration).
3. Place the attached installation CD in the computer CD-ROM:
• Windows XP system: automatically run the installation procedure.
• Windows 7/Vista/Server 2008 system: Pop up "Autoplay" interface, click “Autorun.exe” to run the installation procedure.
• Windows 8 system: When the " DVD RW driver" window pops up from the right top corner of computer desktop, click
anywhere in the pop-up window, then click "Autorun.exe" to run the installation procedure.
 Loading...