1
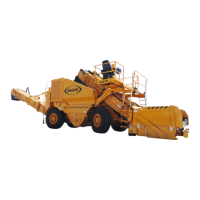
WEILER E1650 REMIXING TRANSFER VEHICLE
3-20
Operating Instructions
3
Paving
NOTICE: Adjust push roller position (9) to prevent
damage to dump hopper and flashing.
12. Slowly raise truck’s dump box until material begins
to slide out. Adjust height of truck’s dump box to
control flow of asphalt into dump hopper.
13. While unloading the first few trucks, meter the
material very slowly using hopper baffle and slow
elevator chain speed. This allows steel parts on the
machine to be lubricated and warmed up to make
material move more easily through machine.
Material unloaded too quickly may stall elevator and
conveyor. In the event of a stall, refer to
"Cleaning or Removing Material", page 3-28.
14. Slowly open dump hopper baffle to allow material to
contact remixing augers and elevator chain.
15. Fill paver hopper or optional hopper insert to near
capacity.
16. When paver hopper, or optional paver hopper insert
is full, release park brake and begin traveling at the
speed of the paver. Adjust speed with the Propel
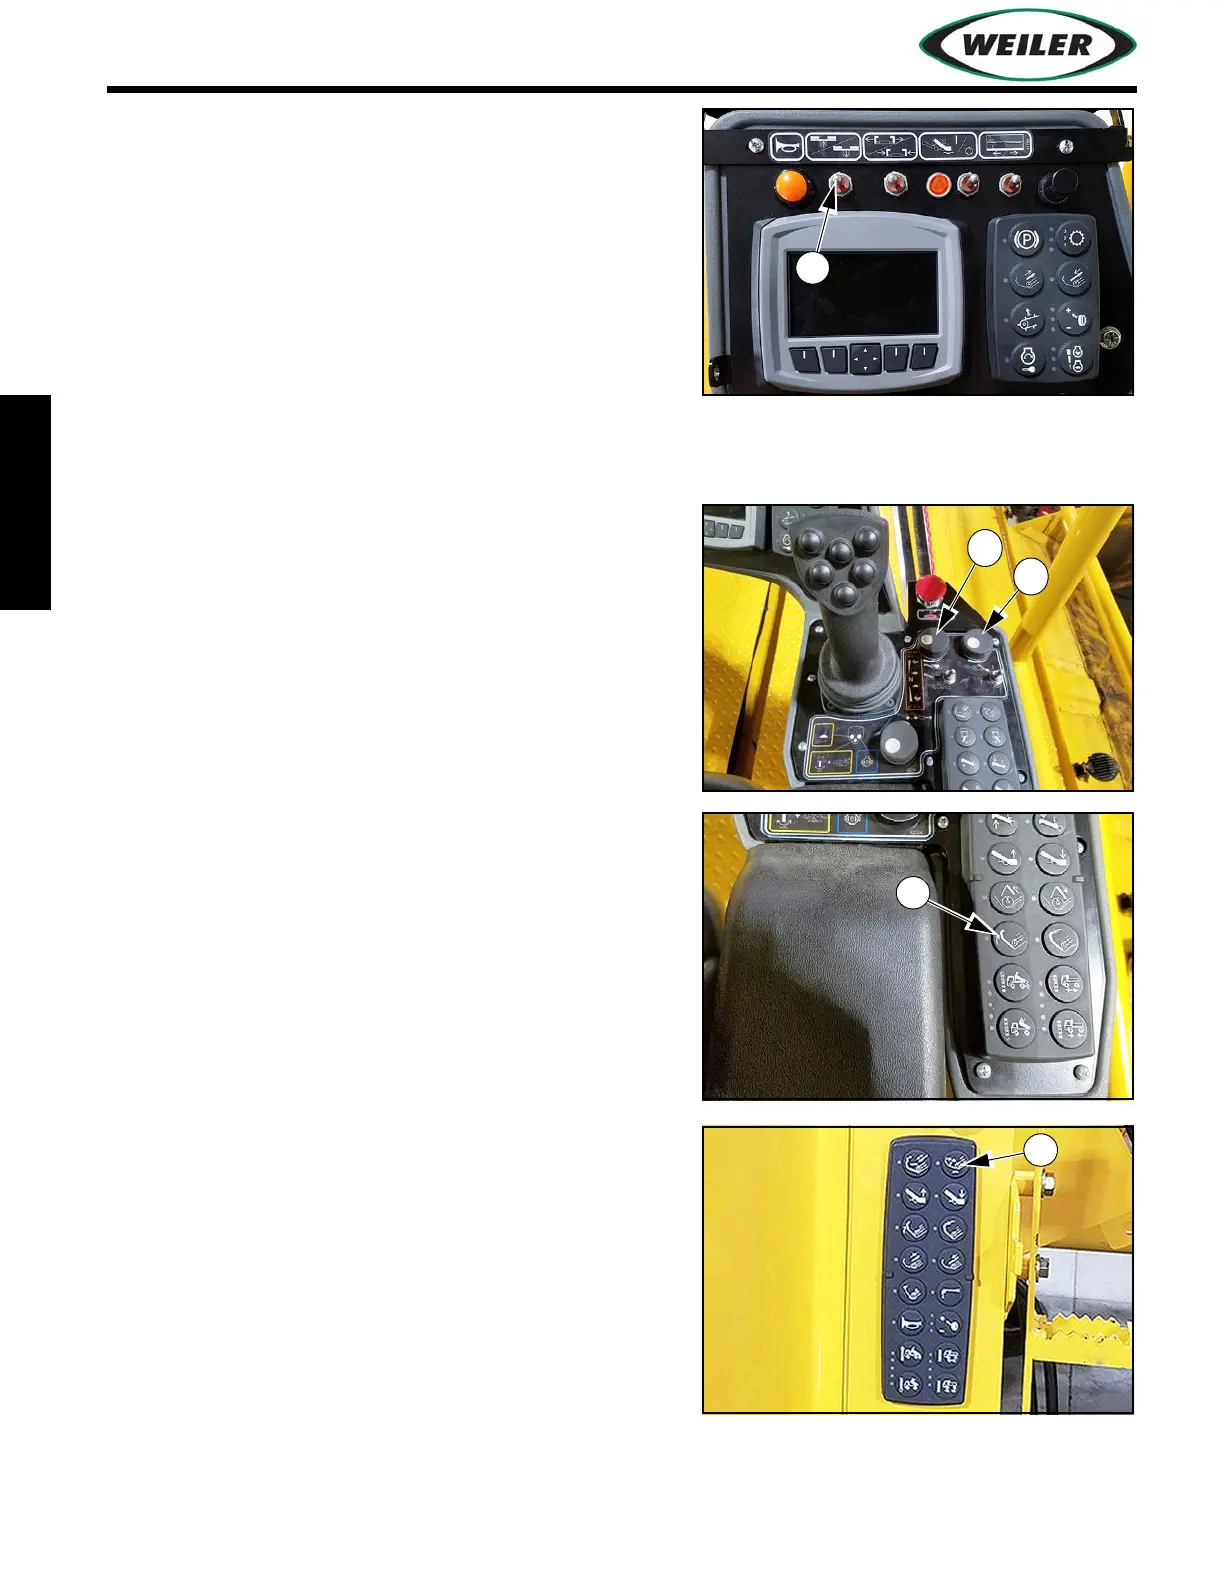
Lever and Propel Speed Dial.
17. Propel speed can be adjusted by setting Propel
Speed Dial to the potential paving speed that will
occur and then using Propel Lever to stop and
restart at the preset speed of paver. If equipped, use
the optional distance control system to maintain
optimal propel speed.
18. Adjust material flow to discharge conveyor and
paver hopper with Elevator Speed Dial (10) and
Hopper & Conveyor Speed Dial (11) or optional
paver hopper management system.
19. After the truck has departed, raise dump hopper
(12) to transfer all material out of dump hopper.
Momentarily turn on dump assist (13) to help loosen
material stuck to hopper.
20. After machine is warmed up, adjust elevator and
conveyor speeds to keep paver hopper, or paver
hopper insert, at least 2/3 full. The best practice is to
set elevator at a speed that does not require starting
and stopping elevator multiple times for each truck.