64 3 Printing
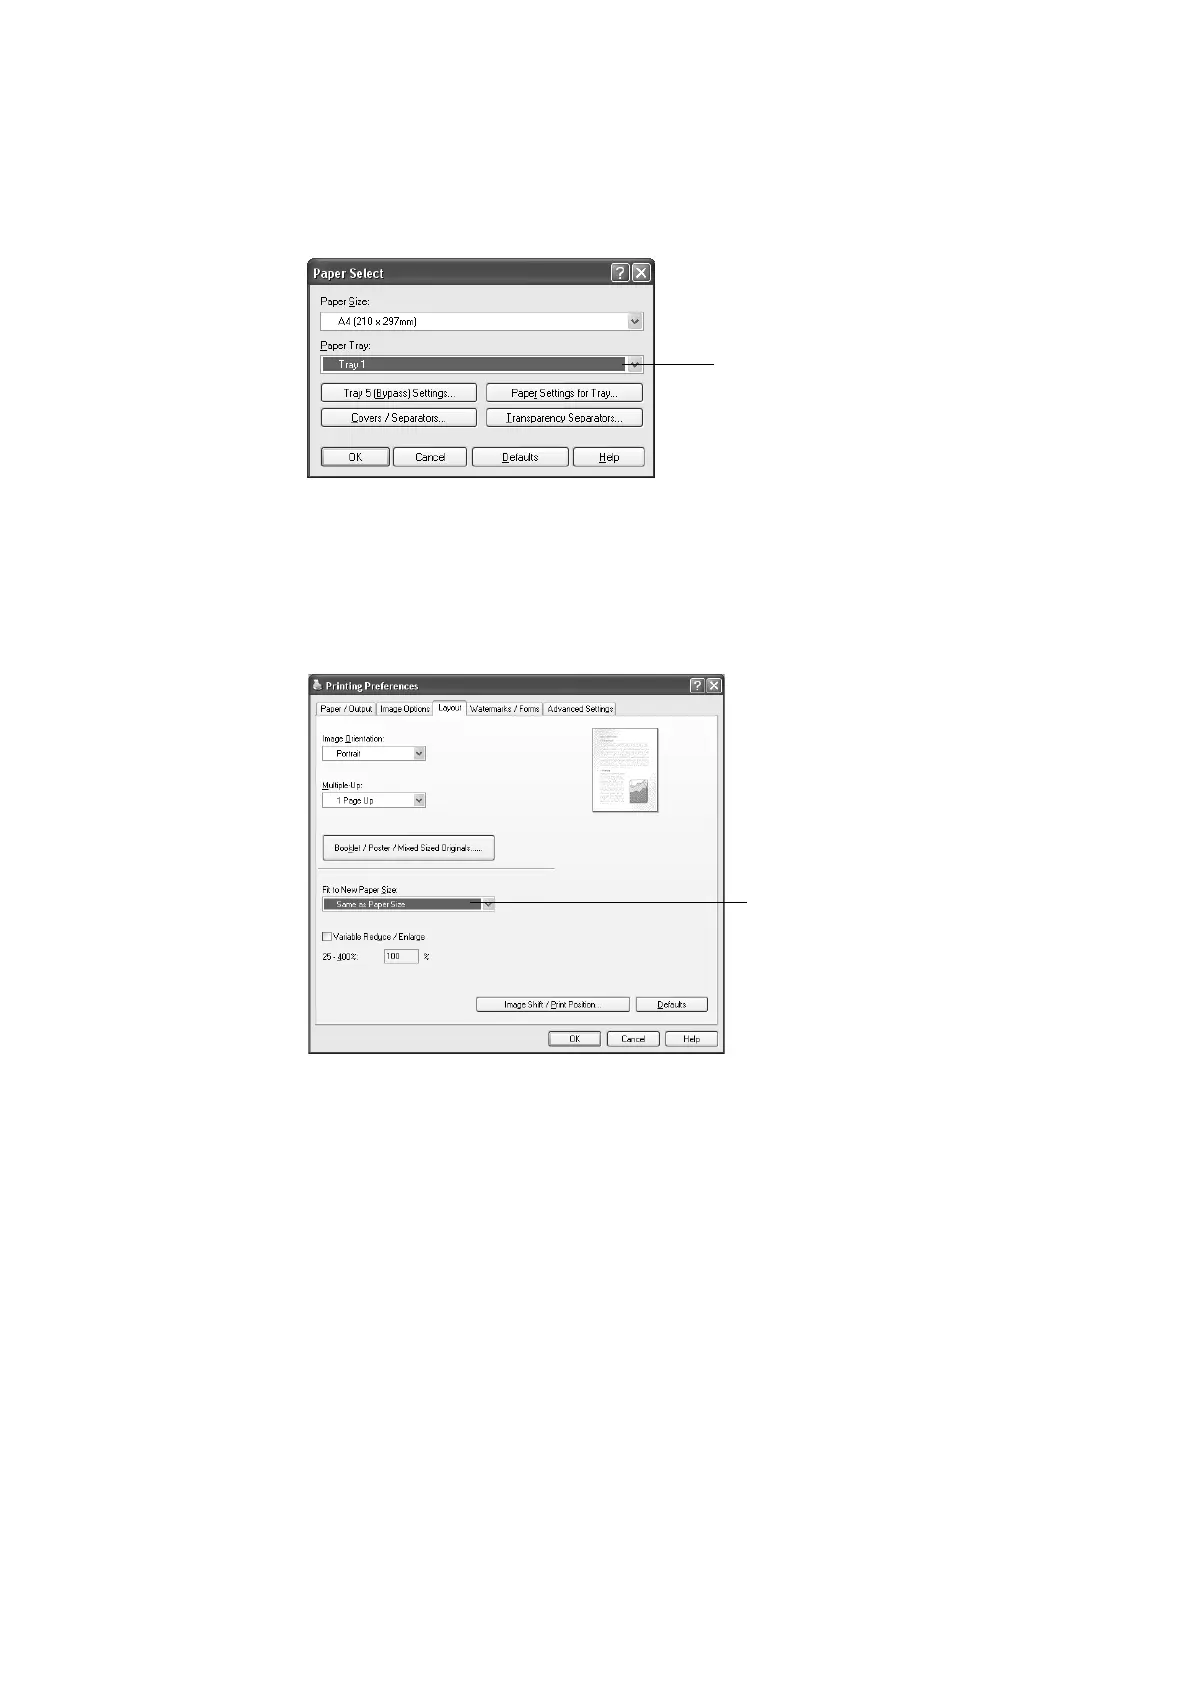
4. For [Paper Tray], select [Tray1].
Note
• If the paper settings are being read by print driver, the dialog box will show the paper size, orientation,
type and color next to the tray name.
5. For [Paper Size], select the size of the document to be printed, and then click [OK] to
close the dialog box.
6. Click the [Layout] tab, and select the size of the output paper from [Fit to New Paper
Size].
7. Click [OK] to close the dialog box.
8. Click [Print] on the [Print] dialog box to start printing.
Printing After Using the Print Driver to Configure the Paper Type
Setting
The example below shows how to print when “Plain Paper” is specified as the paper type of
the tray 1, but the actual type of the paper loaded is “Bond Paper”.
This method allows you to print using the paper type specified by the print driver regardless
of the type of paper specified by the printer setting.
Important
• Images will not be processed properly when the paper type on the print driver does not match the actual
type of the paper loaded in the paper tray. The toner may not fuse properly onto the paper, resulting in
smearing and other print quality problems.
1. On the [File] menu, select [Print].
2. Select the printer from the [Select Printer] list, and then click [Preferences].
4
6