1. Hook
the
outer
book
of
the
starter
spring around
the
post in
the
starter
case. Carefully wind
the
spring counter-
clockwise, and fit
the
spring into
the
case. Thoroughly grease
the
spring after
installation.
2. Feed
the
starter rope into
the
sheave
dru m,
knot
the
end, and fit
the
knot
into
the
cutout
in
the
sheave drum.
3. Wind
the
starter rope 2-1/4 times
counterclockwise around
the
sheave
drum. Insert
the
drum
in
the
starter
case.
Be sure
the
inner hook on
the
starter
spring hooks around
the
post on
the
sheave drum.
4. Install
the
drive pawl and
the
return
spring. Hook
the
spring around
the
first
post on
the
sheave drum as shown in
the
photograph.
2·16
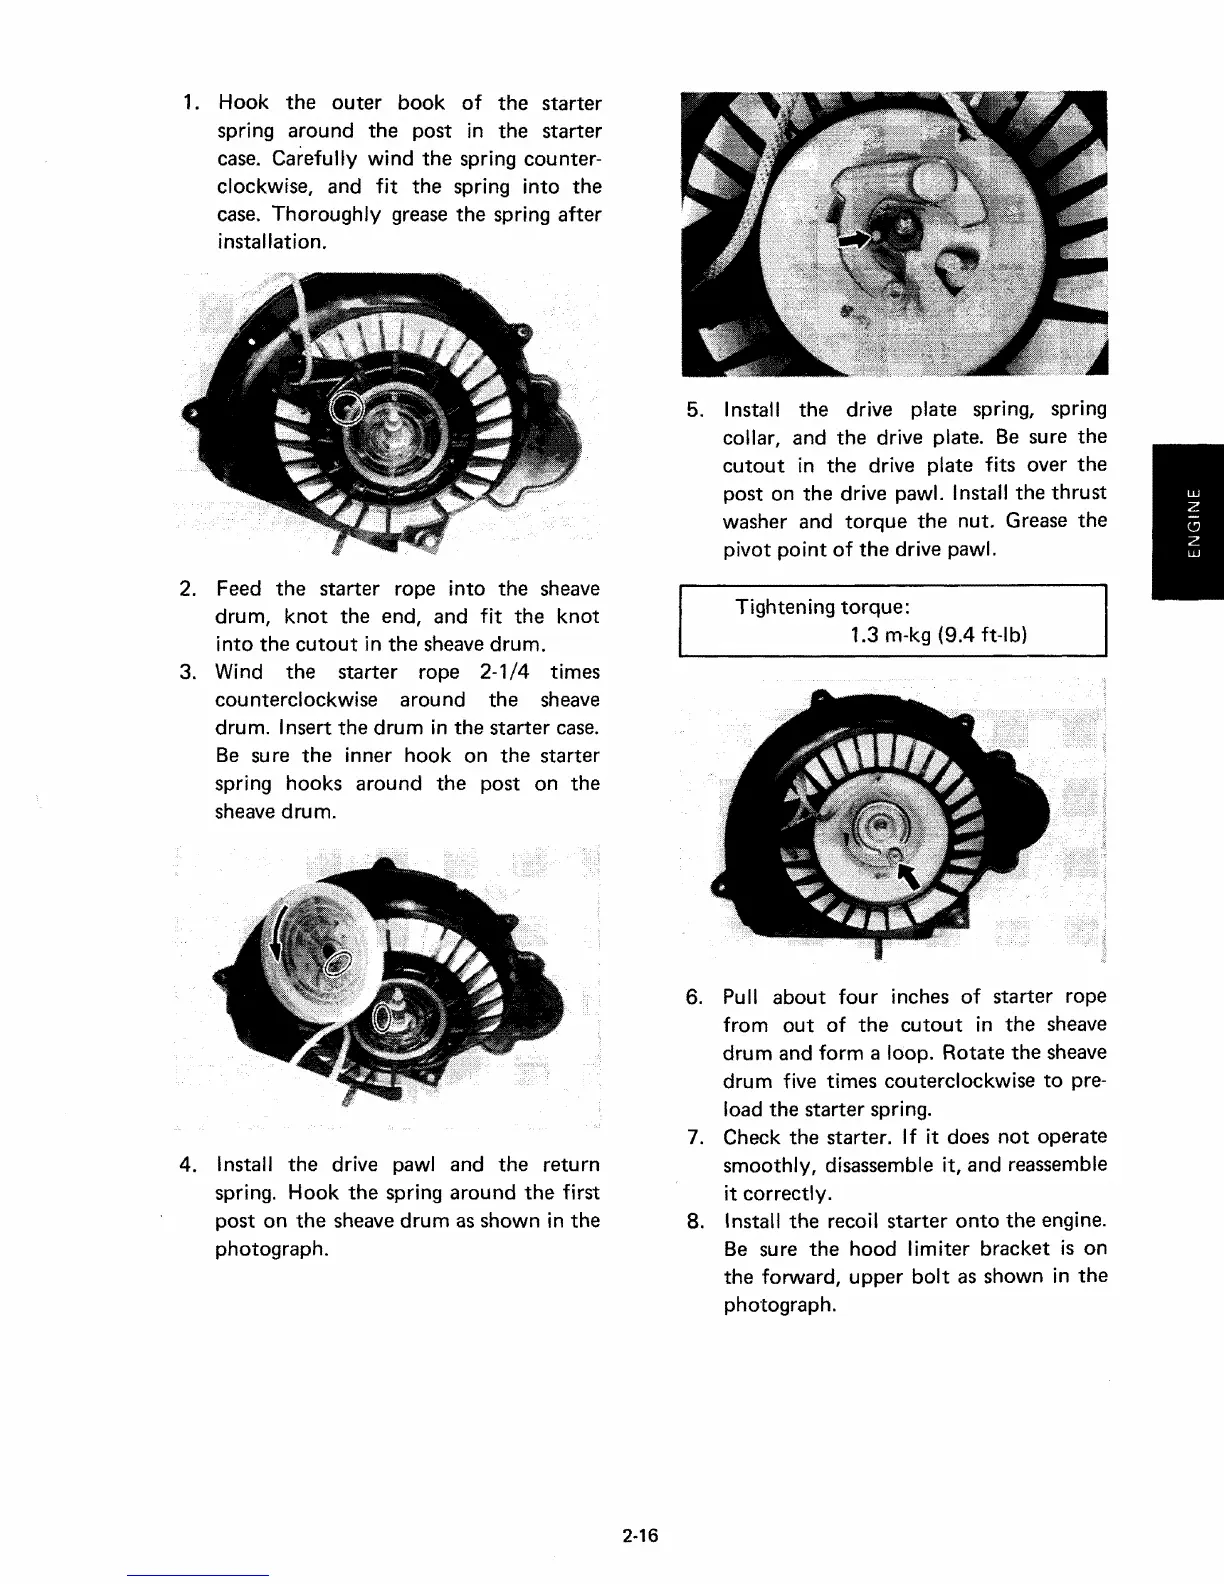
5. Install
the
drive plate spring, spring
collar, and
the
drive plate. Be sure
the
cutout
in
the
drive plate fits over
the
post on
the
drive pawl. Install
the
thrust
washer and
torque
the
nut. Grease
the
pivot
point
of
the
drive pawl.
Tightening
torque:
1.3 m-kg (9.4 ft-Ib)
6. Pull about four inches of starter rope
from
out
of
the
cutout
in
the
sheave
drum
and form a loop. Rotate
the
sheave
drum five times couterclockwise to pre-
load the starter spring.
7. Check
the
starter. If it does
not
operate
smoothly, disassemble it, and reassemble
it correctly.
8. Install
the
recoil
starter
onto
the
engine.
Be sure
the
hood limiter bracket is on
the
forward,
upper
bolt
as shown in
the
photograph.