Getting Started
15
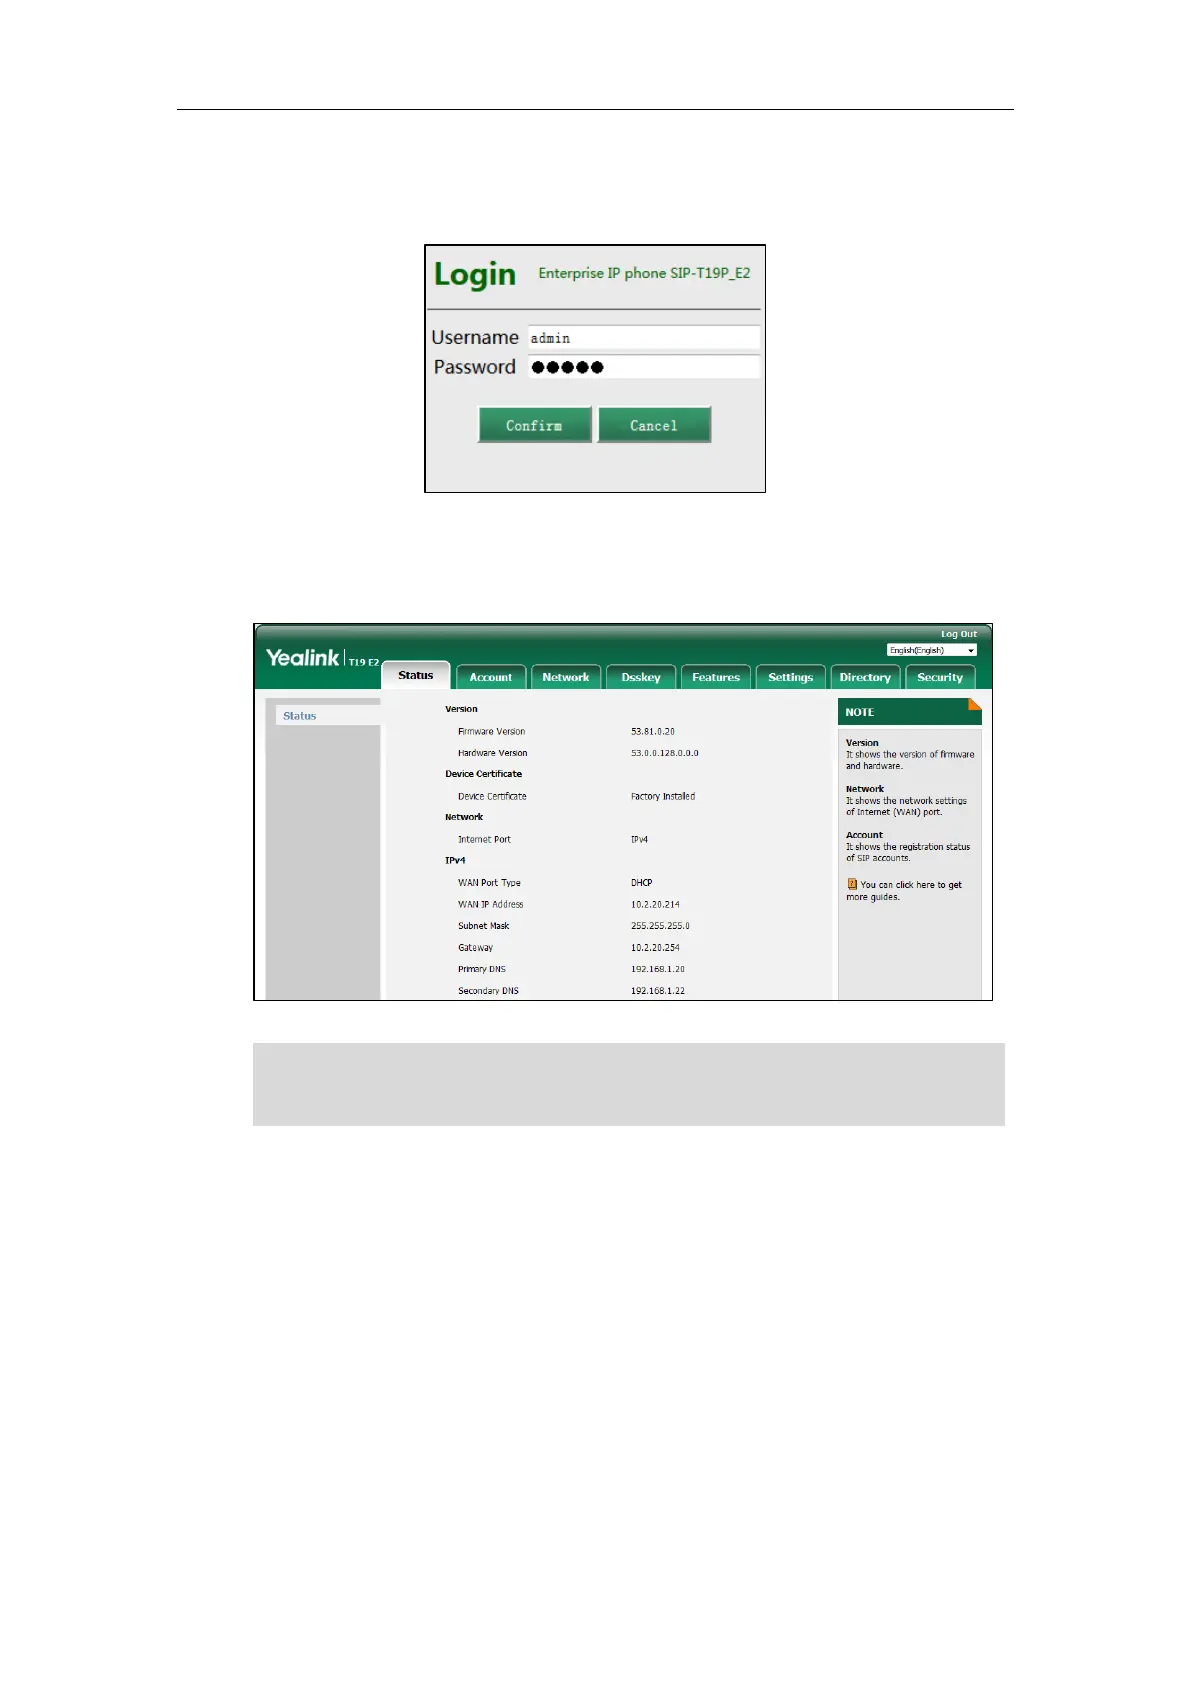
(e.g., “http://192.168.0.10” for IPv4 or “http://[2005:1:1:1:215:65ff:fe64:6e0a]” for IPv6).
3. Enter the user name (admin) and password (admin) in the login page.
4. Click Confirm to login.
The phone status is displayed on the first page of the web user interface.
Note
Basic Network Settings
If your phone cannot contact a DHCP server for any reason, you need to configure network
settings manually. The IP phone can support either or both IPv4 and IPv6 addresses.
To configure the IP mode via phone user interface:
1. Press Menu->Settings->Advanced Settings (default password: admin)
->Network->WAN Port.
If IP mode of the phone is configured as IPv4 & IPv6, you can enter either of them in the
browser’s address bar to view the phone status. IPv6 is not available on all servers. Contact
your system administrator for more information.
 Loading...