User Guide for the SIP-T19(P) E2 IP Phone
34
If Auto is selected, this group will use the ring tone according to the priority: Contact ring
tone (refer to Adding Contacts) >Account ring tone (refer to Ring Tones) >Phone ring tone
(refer to Ring Tones). If a specific ring tone is selected, this group will use the ring tone
according to the priority: Contact ring tone (refer to Adding Contacts) >Group ring tone.
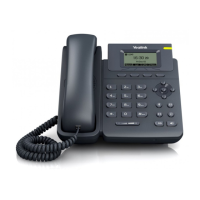
5. Press the Add soft key to accept the change or the Back soft key to cancel.
You can also edit or delete any newly added contact groups.
Editing Groups
To edit a group in the local directory:
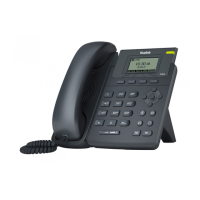
1. Press the Dir soft key.
The IP phone enters the local directory directly as there is only Local Directory enabled in
the directory by default.
If Local Directory is removed from the directory (refer to Directory on page 31), press
Menu->Directory->Local Directory to enter the local directory.
2. Select the desired group.
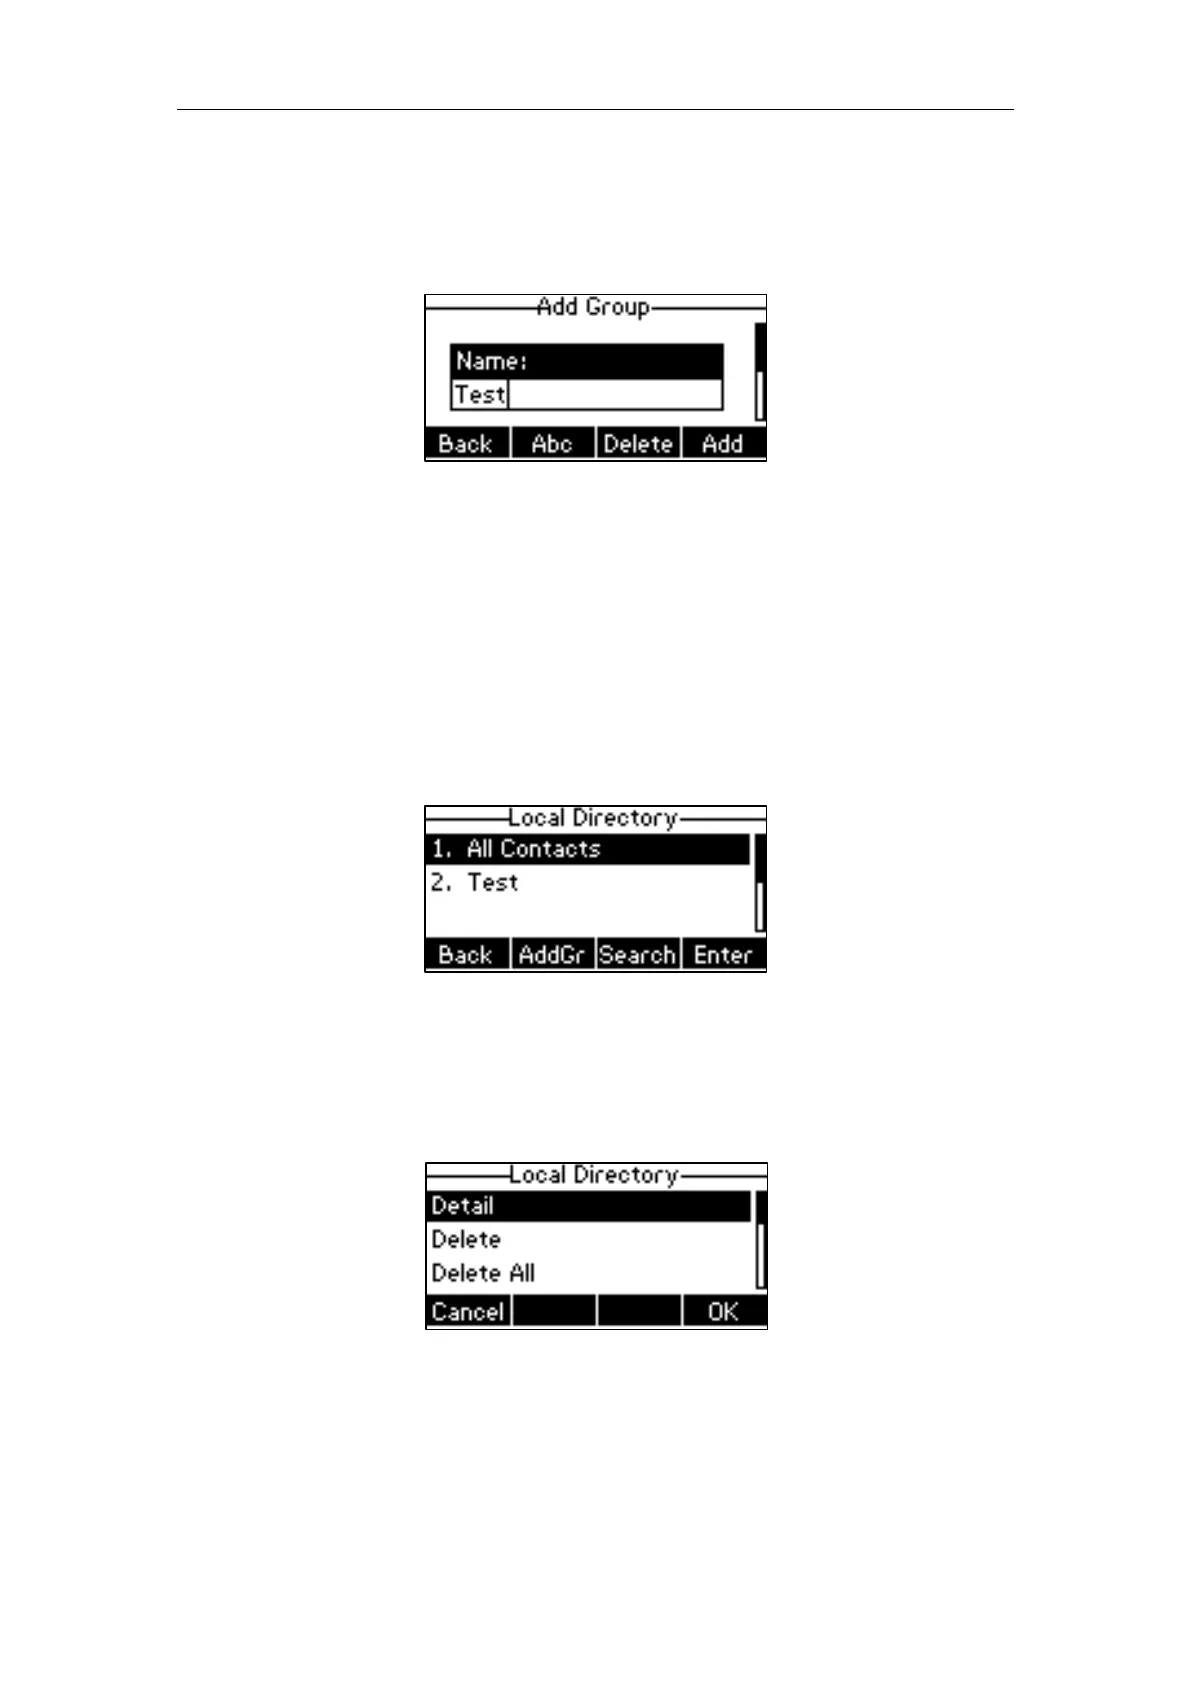
3. Press the Option soft key, and then select Detail.
 Loading...