P1075391-001 • ZQ520 Repair Procedures • 2-19 •
Printer Gears
Installation Instructions
This kit includes the parts necessary to install P1063406-019 Printer Gears. Read
these instructions thoroughly before attempting to install this kit.
Tools Required
• T-8 TORX Driver (2.5 +/- 1 in. lb.)
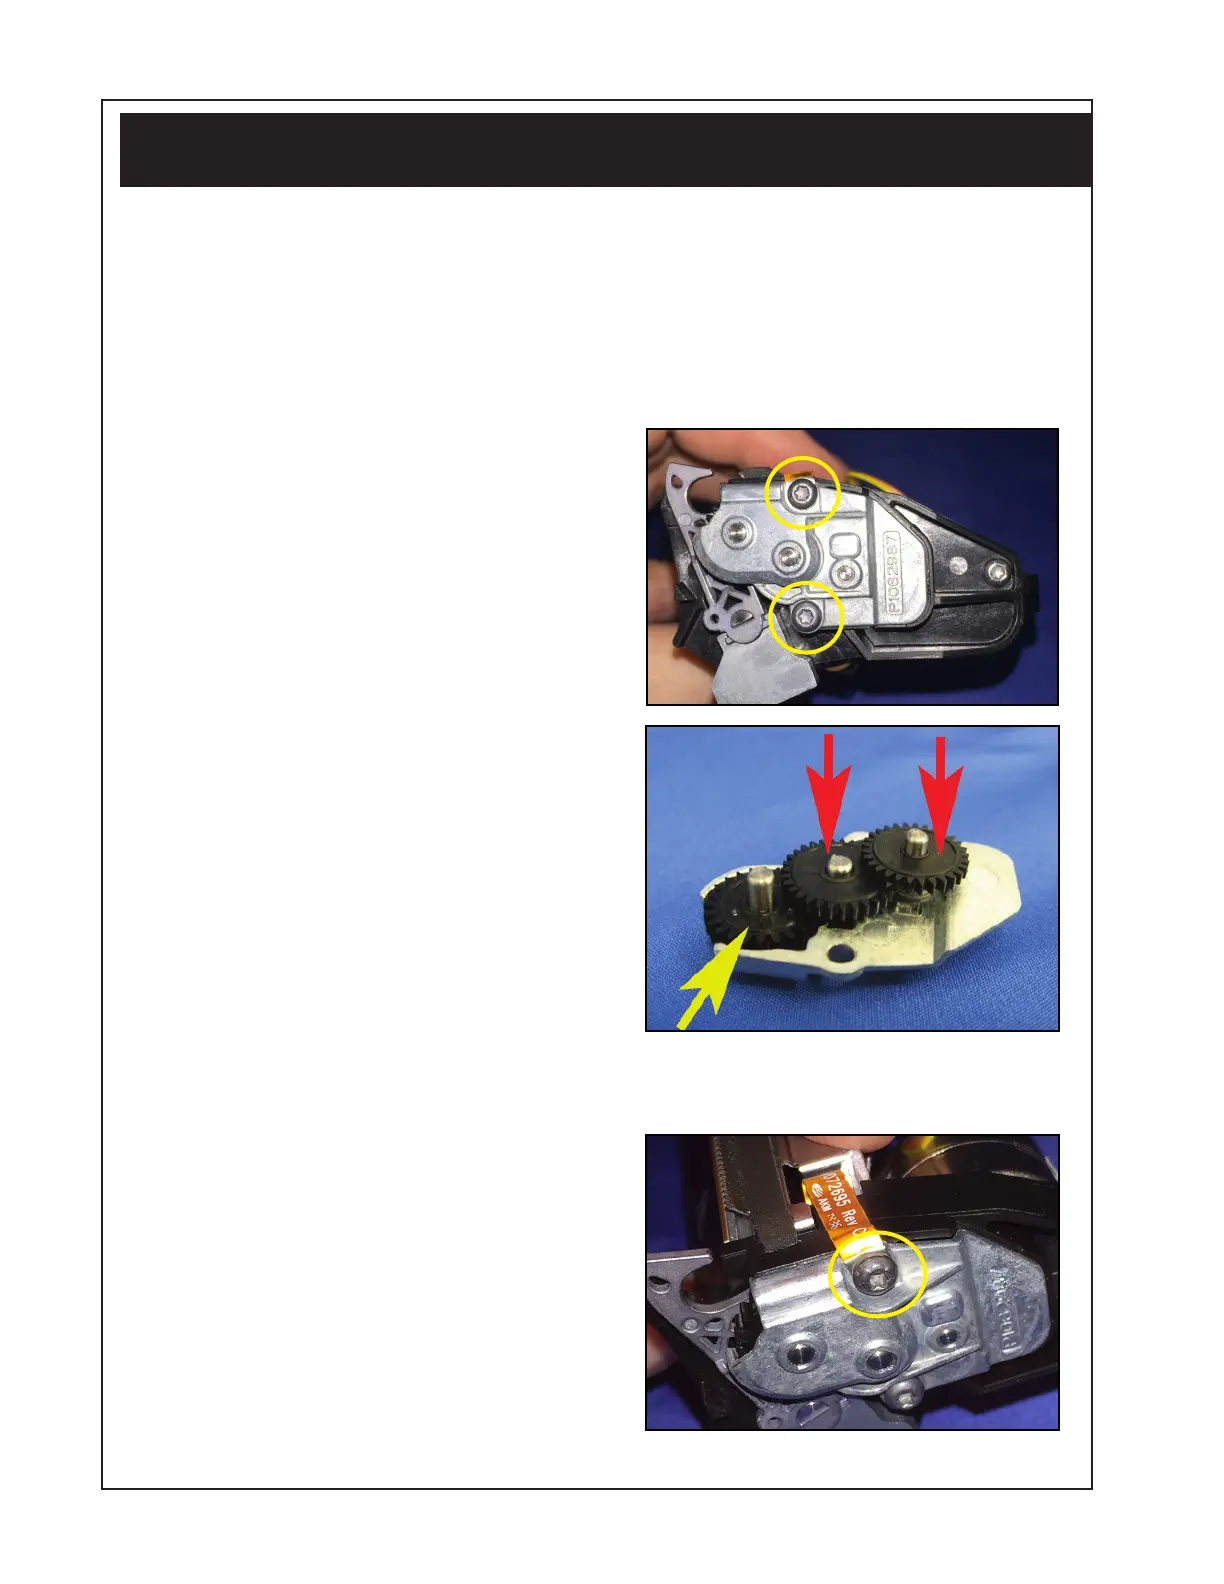
Removing the Printer Gears
1. Remove the Printer Chassis from
the Main Housing as described on
Pages 2-16 & 2-17.
2. Locate the Gear Plate Assembly
on the left side of the Printer Frame.
3. Use a T-8 TORX driver to remove
the two (2) screws that secure the
Gear Plate to the Printer Frame.
4. Remove the Idler Gear (yellow
arrow) and two (2) Compound
Gears (red arrows) from their
respective posts on the inside of the
Gear Plate.
Installing the Printer Gears
1. Place the Idler Gear on its post on
the Gear Plate.
2. Place the two (2) Compound
Gears on the two posts on the Gear
Plate.
3. Use the T-8 driver to secure the
Gear Plate Assembly onto the
Printer Frame with the two (2)
screws. Ensure that the ground
strap (circled) is secured to the
outside of the Gear Plate with the
top screw.
 Loading...