87 - Settings
2. Touch Reset phone.
If you want to remove all data saved to the
installed microSDHC card, check Erase
SD card before touching Reset phone.
3. Touch Erase everything.
Accounts and Sync Settings
The Accounts settings menu lets you add and
manage all your email, social networking, and
picture and video sharing accounts.
Set Up a New Account
Add an Internet or corporate account on your
phone.
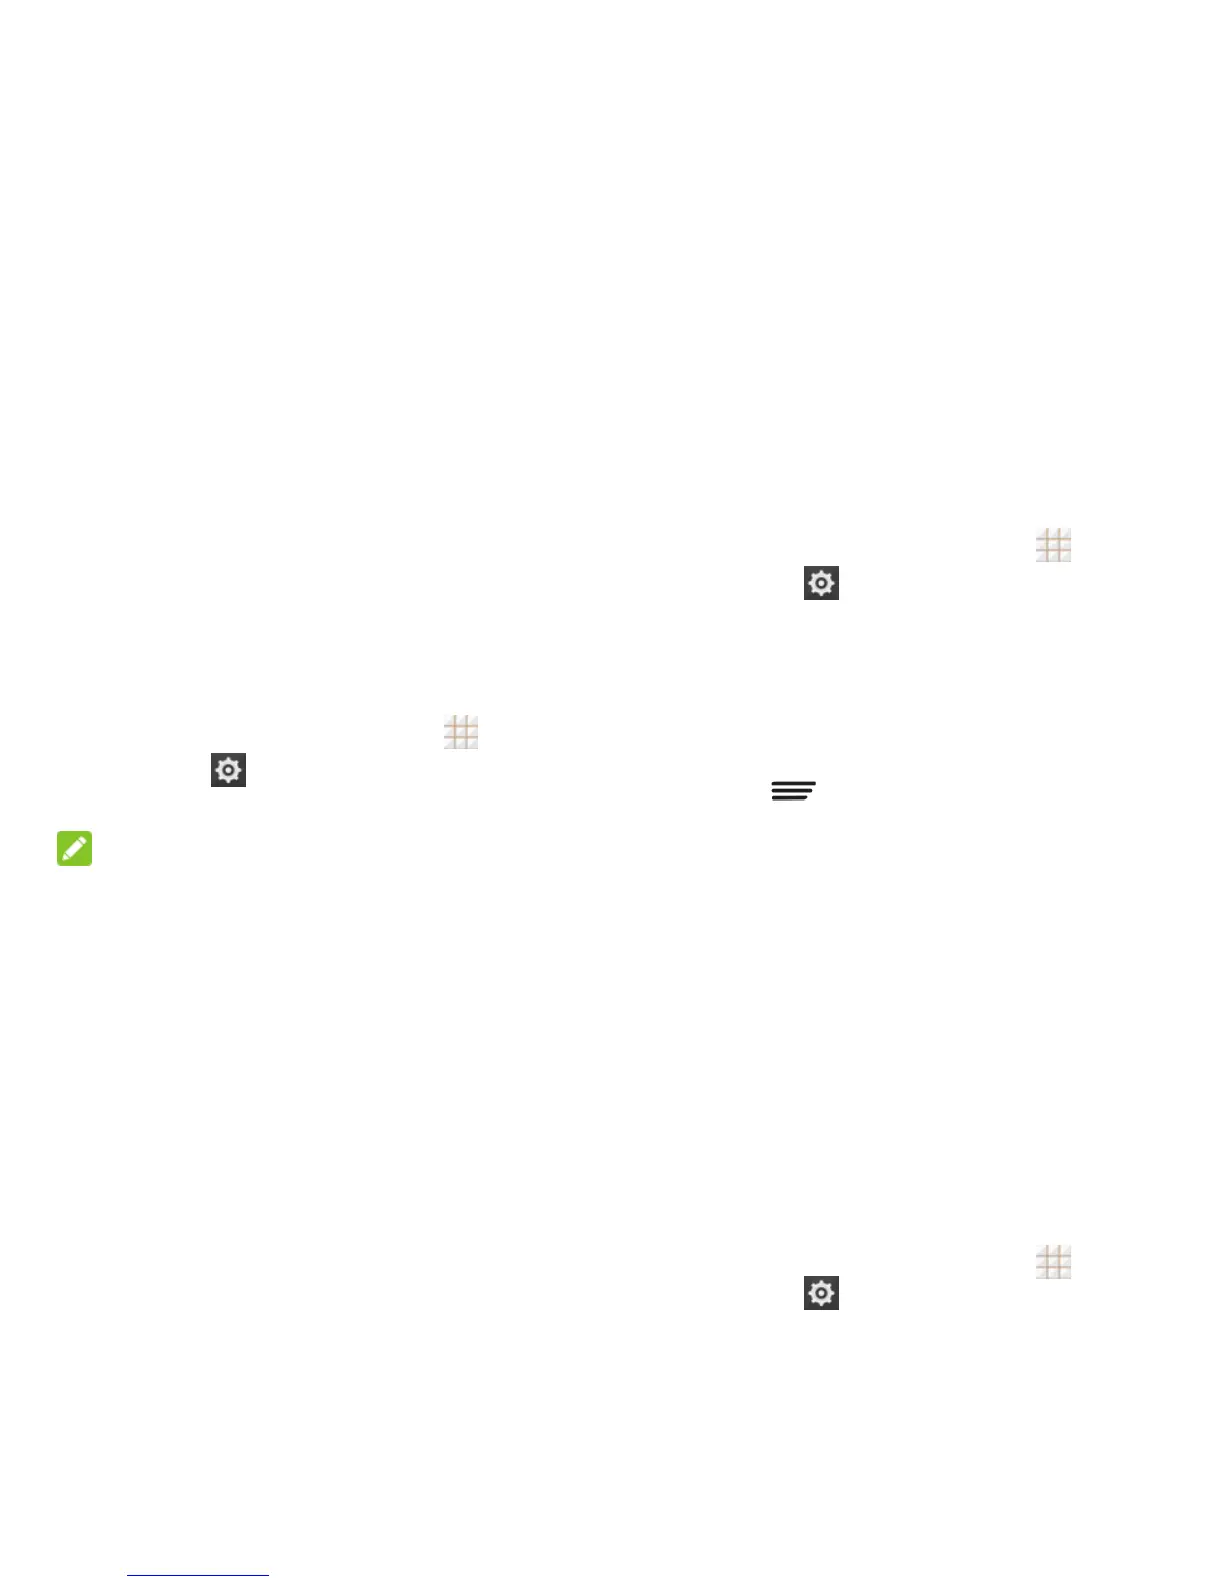
1. From the home screen, touch >
Settings
> Add account.
2. Touch an account type.
NOTE:
Additional account types, such as Facebook,
Twitter, and LinkedIn, may become available
in the Add an account menu if you have
installed related apps on your phone. See
Find and Install an App on page 42 for more
information.
3. Enter your account information and follow
the onscreen prompts to continue.
Depending on the account type, you may
need to enter an email address or user
address, password, domain name, or
other information. For Corporate accounts,
contact your server administrator to
determine what information you will need.
If you are setting up an email account with
unique server settings or other parameters,
touch Manual setup instead of Next and
enter the information as prompted.
4. Follow the prompts to finish the setup.
Remove an Existing Account
Remove an account you do not need from the
phone.
1. From the home screen, touch >
Settings
and scroll to the
ACCOUNTS section.
2. Touch an account type such as Corporate,
Email, or Google.
3. Touch the account you want to remove
from the phone.
4. Touch > Remove account >
Remove account.
Sync the Accounts
Automatically or Manually
When automatic sync is turned on, changes
you make to information on your phone or on
the web are automatically synchronized with
each other.
When automatic sync is turned off, you need
to sync manually to collect emails, updates, or
other recent information.
To sync your account automatically or
manually:
1. From the home screen, touch >
Settings
> Data Usage.