Chapter 1 Introducing the Zyxel Device
VMG/XMG Series User’s Guide
56
1.4.6 Wall Mounting
Please refer to the installation guide below for the wall mounting procedures of the following Zyxel
Devices:
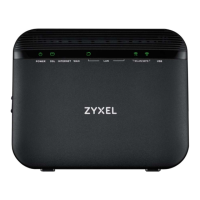
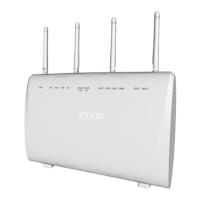
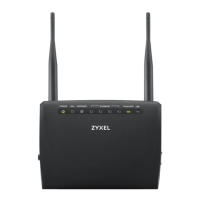
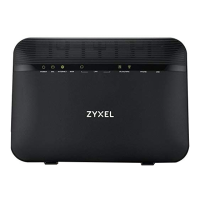
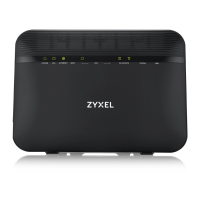
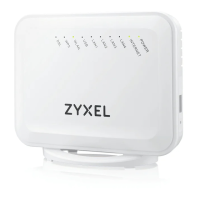
• VMG1312-B10D
• VMG3312-T20A
• VMG3925-B10B
Note: For other Zyxel Devices that have a wall-mounting feature, please refer to Quick Start
Guides.
Do the following to attach your Zyxel Device to a wall.
1 Drill into a wall two holes 3 mm ~ 4 mm (0.12" ~ 0.16") wide, 20 mm ~ 30 mm (0.79” ~ 1.18”) deep and
126mm apart. Place two screw anchors in the holes.
2 Screw two screws with 6mm ~ 8 mm (0.24" ~ 0.31") wide heads into the screw anchors. Do not screw the
screws all the way in to the wall; leave a small gap between the head of the screw and the wall. The
gap must be big enough for the screw heads to slide into the screw slots and the connection cables to
run down the back of the Zyxel Device.
Figure 40 Wall Mounting Screw Specifications
3 Use the holes on the bottom of the Zyxel Device to hang the Zyxel Device on the screws.
VMG8623-T50A More than five seconds
VMG8823-BX0B Five seconds
VMG8825-BX0A More than five seconds
VMG8825-BX0B More than five seconds
VMG8825-BX0C More than five seconds
VMG8825-T50 More than five seconds
VMG8924-B10D Five seconds
VMG1312-T20B Five seconds
Table 18 RESET Button
MODEL RESET BUTTON

 Loading...
