User’s Manual
Enterprise Access Point ENGLISH
Copyright © 4IPNET, INC. All rights reserved.
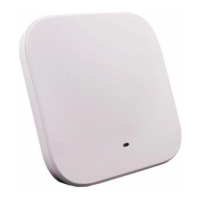
2.3 Hardware Installation
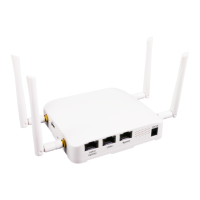
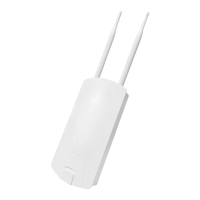
Please follow the steps mentioned below to install the hardware of EAP210 / EAP220 / EAP320 /
EAP330:
Step 1. Place the EAP210 / EAP220 / EAP320 / EAP330 at the best location. The best location is usually at
the center of your intended wireless network.
Step 2. Connect the EAP210 / EAP220 / EAP 320 / EAP330 to your network device. Connect one end of the
Ethernet cable to the Uplink port of EAP210 / EAP220 / EAP320 / EAP330 and the other end of the
cable to a switch, a router, or a hub. EAP210 / EAP220 / EAP320 /EAP330 is then connected to
your existing wired LAN network.
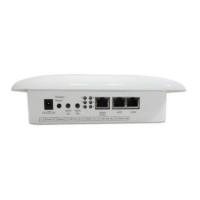
Step 3. There are two ways to supply power to EAP210 / EAP220 / EAP320 / EAP330
a) Connect the DC power adaptor to the EAP210 / EAP220 / EAP320 /EAP330 power jack socket.
b) The EAP210 / EAP220 / EAP320 / EAP330 Uplink port is capable of receiving DC currents.
Connect a (IEEE 802.3at-compliant for EAP220 / EAP330 and 802.3af/at-compliant for EAP210 /
EAP320) PSE device (e.g. a PoE-switch) to the Uplink port of EAP210 / EAP220 / EAP320 /
EAP330 with the Ethernet cable.