Storage/Share · / actiNAS Manager
RAID Configuration Screen
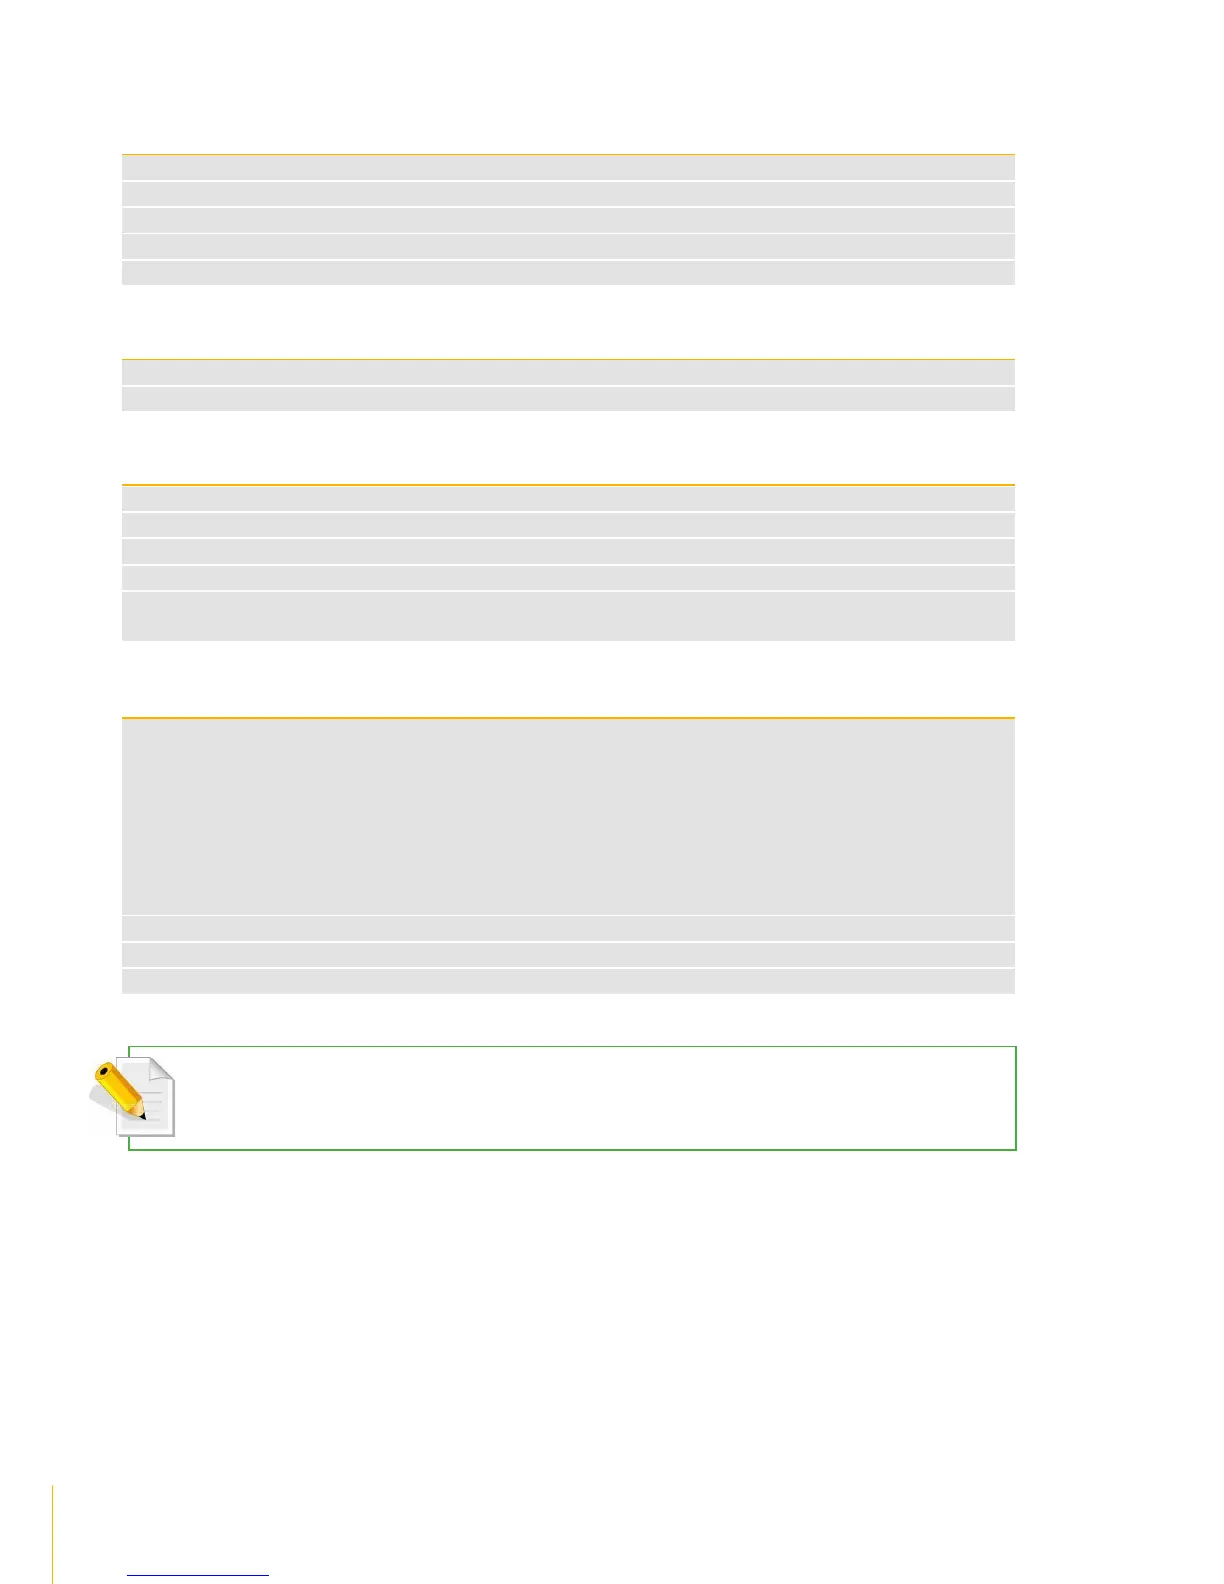
The RAID disk name. This defaults to RAID_00 if this is the first RAID disk created
The RAID level used by the RAID disk
The hard disk drives (slots) joined to the RAID disk
The capacity size of the RAID disk
The current status of the RAID disk. Status can be active, degraded, rebuilding, or failed
RAID Configuration Options
Use to create a RAID disk using the hard disk drives
Used to edit an existing RAID disk, such as extend the RAID (add another hard disk drive).
The hard disk drive slot number
The hard disk drive device name. The first disk drive is named /dev/sda
The capacity size of the hard disk drive
The hard disk drive model name
The current status of the hard disk drive. Status can be RAID_MEMBER, UN_USED, or
SPARE
Use to perform SMART test on a selected disk drive
There are two types:
Long Test - does extended/in-depth test on the disk drive which can run in about an
hour (more or less 60 minutes).
Short Test – does short test on the disk which can run in more or less 2 minutes.
Use to set a selected hard disk drive as a Spare Disk
Use to remove the Spare Disk setting on a hard disk drive
NOTE: To display the SMART Information of a disk drive, double-click on the disk drive in the Disk Information
list.