/ actiNAS Manager · Storage/Share
How to Setup the NAS as RsyncClient
The NAS can function as Rsync client using the Data Backup feature. To setup the NAS as Rsync client:
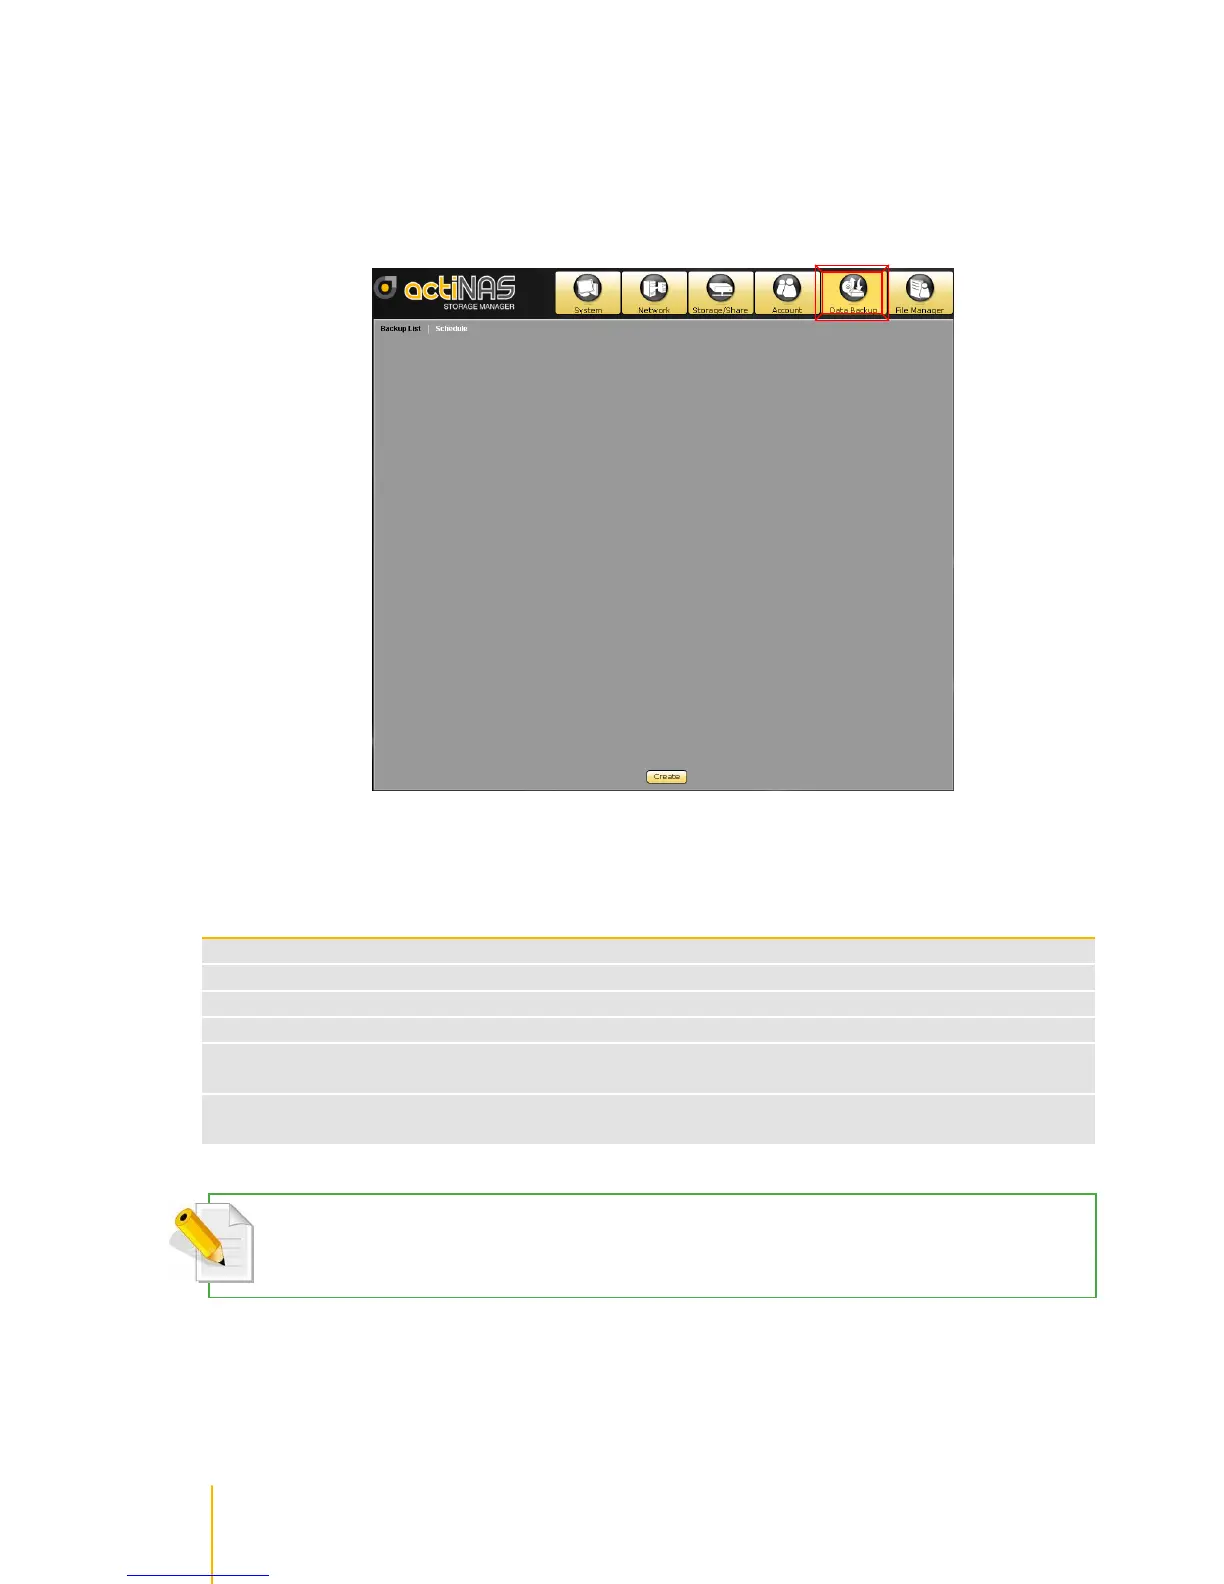
1. Select Data Backup. Click Create.
2. Setup Rsync client options. Enter the Backup Name and select the Backup Method as Rsync.
Select the share (only one share) that will be used for back up using Rsync. In the Client Options,
setup the IP, Remote Path, Account, Password, and Mode.
the IP address of the remote Rsync server
the share name on the remote Rsync server
the account name that will be required by the Rsync server for authentication
the password of the account
Select the mode of file transfer, whether to upload to Rsync server or to download from
Rsync server
Specify here the Rsync options to be used. For more information about Rsync options,
please visit http://samba.org/ftp/rsync/rsync.html
NOTE: Only one share folder can be selected and used for Rsync backup, since the remote path is also single
share folder.