/ actiNAS Manager · Network
Configure Network Trunking
Steps to Configure Trunking Function:
NOTE: It is necessary that the network switch supports the type of trunking mode that will be used. Otherwise,
the network connections may become unstable.
1. In Network Device Configuration screen, click Create Trunking.
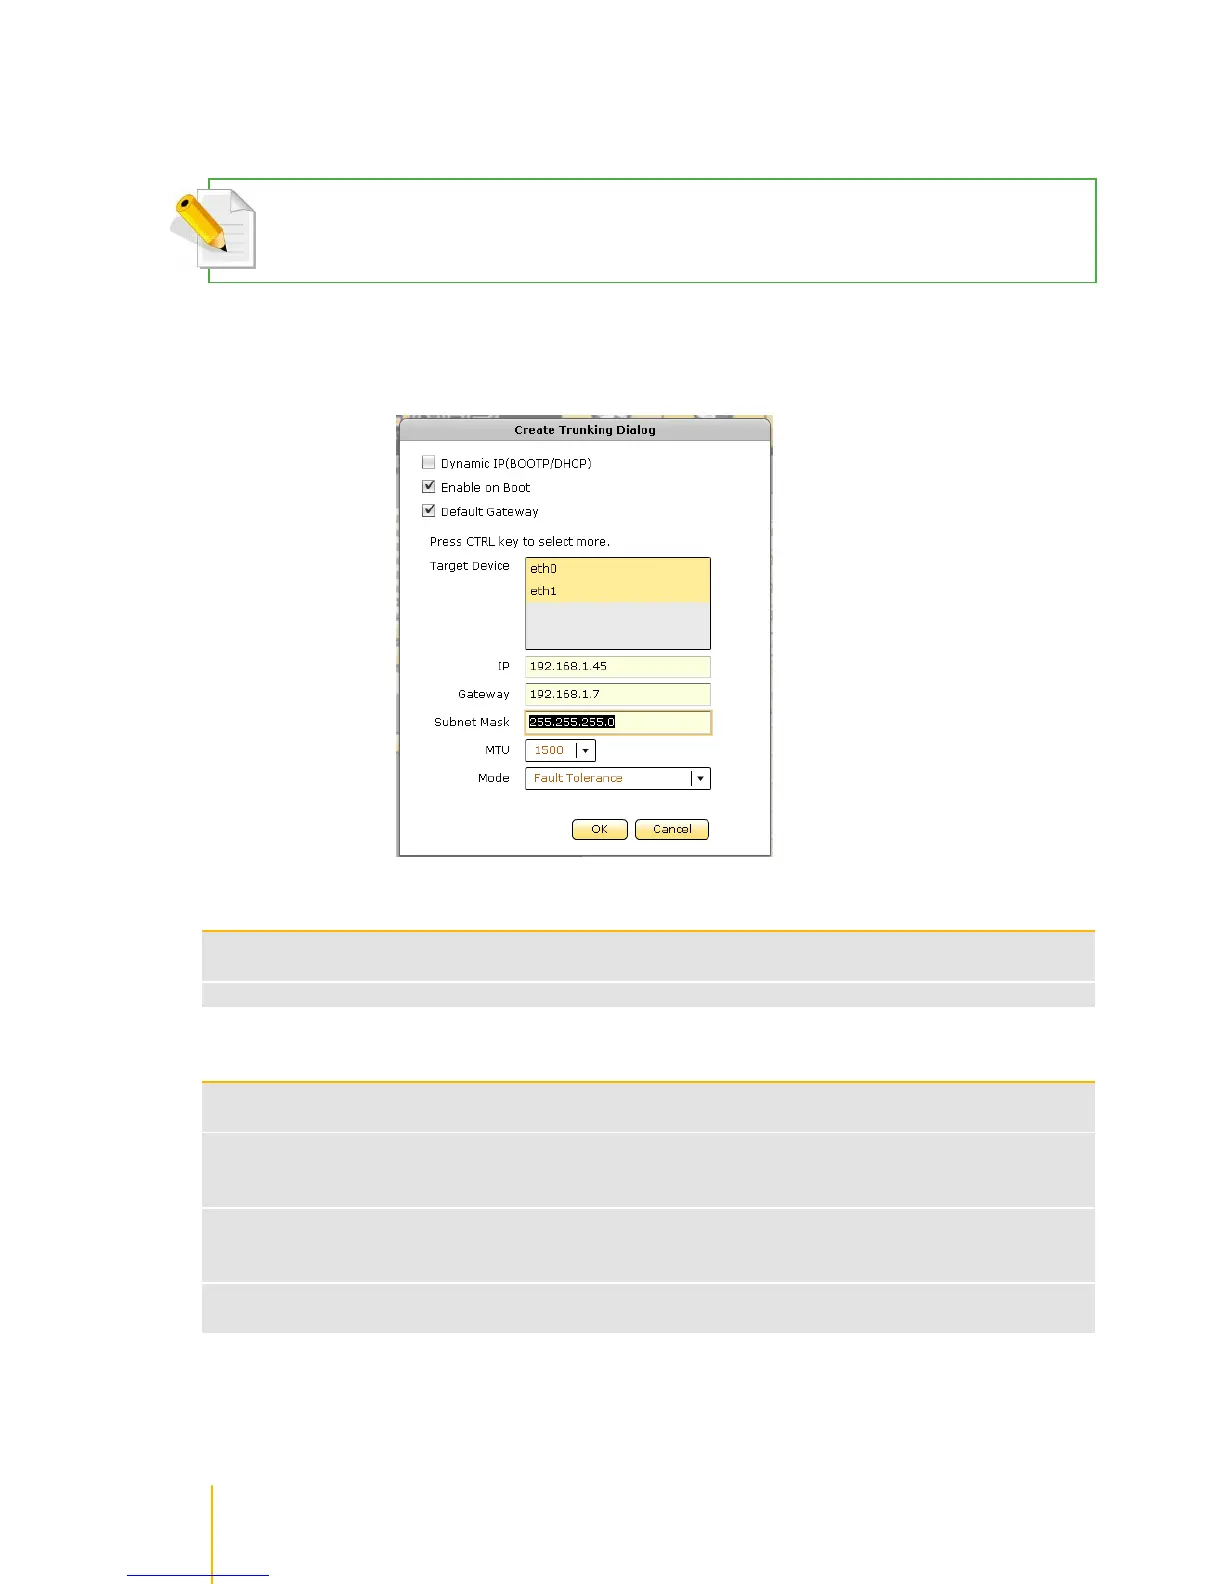
2. The Create Trunking Dialog window will be displayed. Configure the necessary options.
Create Trunking Configuration Options
Shows the network device names that can be included in Trunking. To select, press the Ctrl
key and at the same time click the network device names.
Select the Trunking Mode that will be used.
Active-Backup policy: If the active Ethernet port fails, the standby Ethernet port will become
active. This enhances the availability of access to the NAS.
Load Balance / Fault
Tolerance
XOR policy: Transmit based on source MAC address XOR with destination MAC address.
This selects the same slave for each destination MAC address. This mode provides load
balance and fault tolerance.
802.3ad policy: Combines multiple physical network links into a single logical link for
increased performance. Transmits and receives on all slaves in the active aggregator. Pre-
requisite: the network switch must support IEEE 802.3ad.
ALB (Adaptive Load Balancing) policy: The receive load balancing is achieved by ARP
negotiation and does not require special switch support.