309
ADOBE ILLUSTRATOR CS2
User Guide
To return a compound path to its original components
1 Select the compound path using the Selection tool or Layers palette.
2 Choose Object > Compound Path > Release.
Clipping masks
About clipping masks
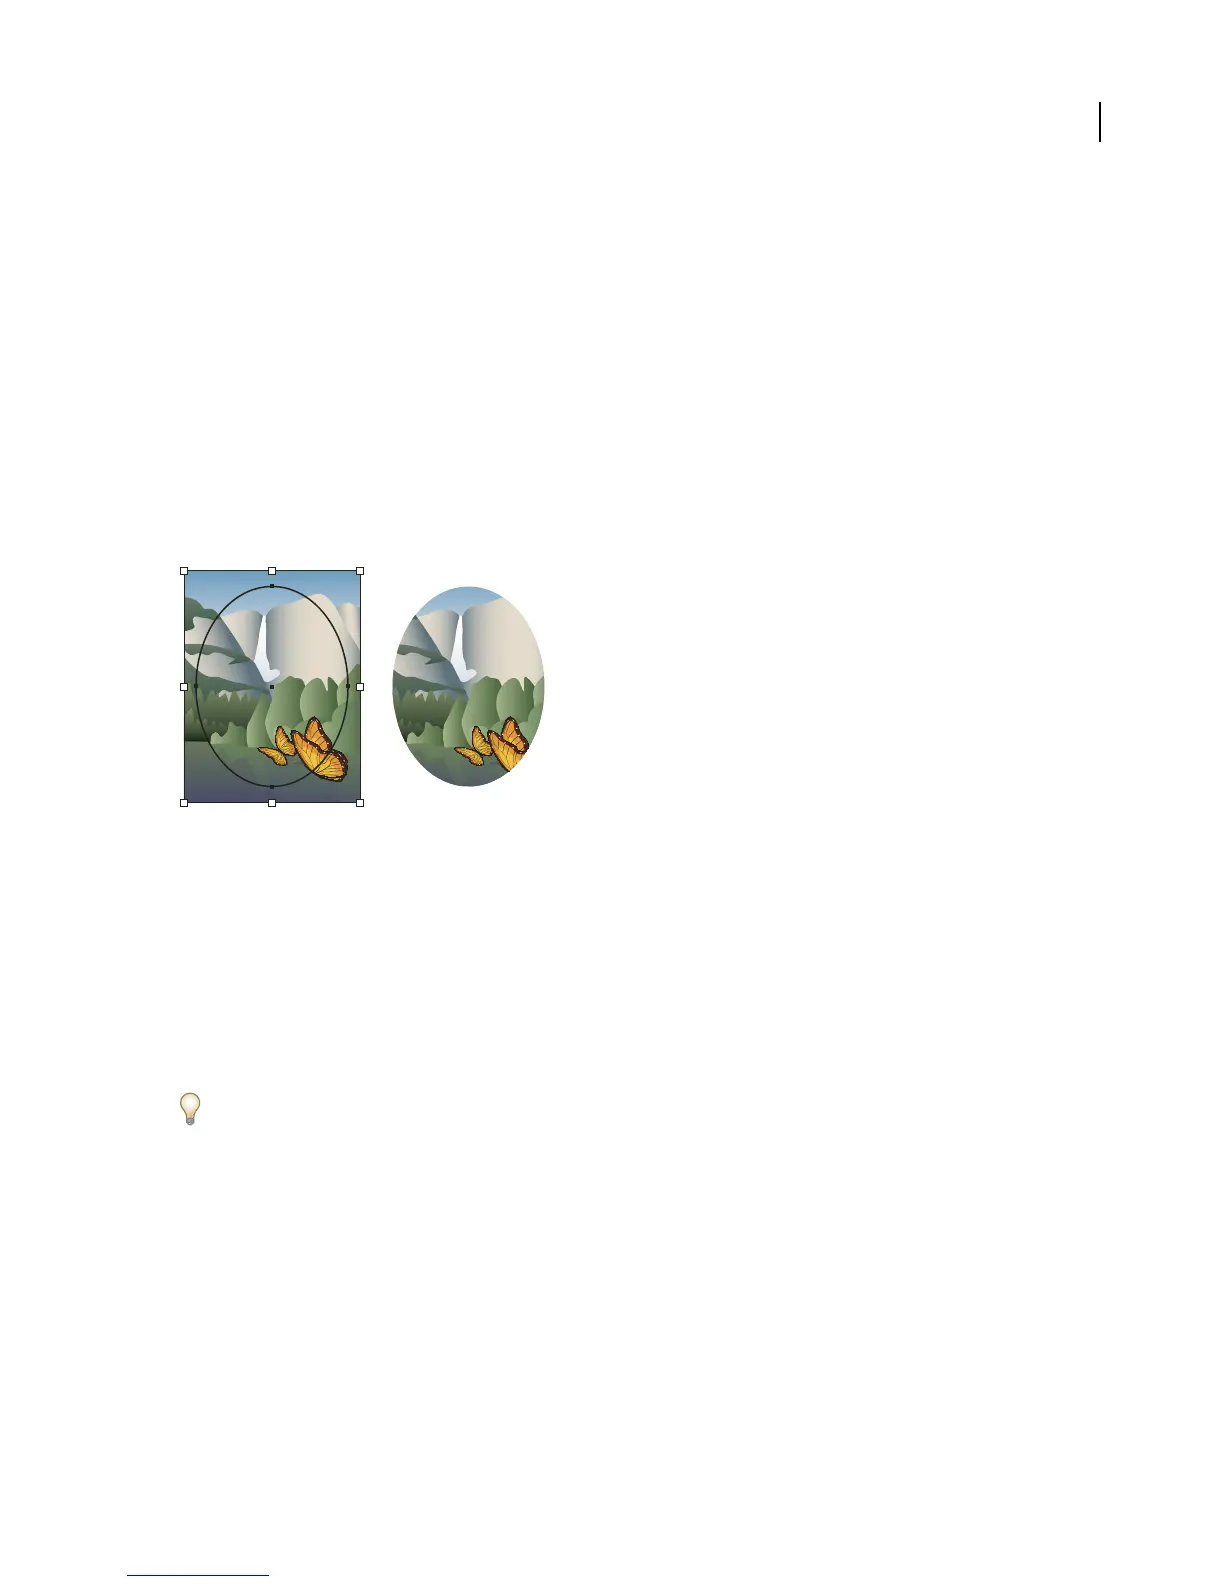
A clipping mask is an object whose shape masks other artwork so that only areas that lie within the shape are visible—
in effect, clipping the artwork to the shape of the mask. The clipping mask and the objects that are masked are called
a clipping set andare marked with adottedlineinthe Layers palette. Youcan make aclipping setfromaselection of
two or more objects or from all objects in a group or layer.
Before masking (left) compared to after masking (right)
The following guidelines apply to creating clipping masks:
• The objects that you mask are moved into the clipping mask’s group in the Layers palette if they don’t already
reside there.
• Only vector objects can be clipping masks; however, any artwork can be masked.
• If you use a layer or group to create a clipping mask, the first object in the layer or group masks everything that is
a subset of the layer or group.
• Regardless of its previous attributes, a clipping mask changes to an object with no fill or stroke.
To create a semitransparent mask, use the Transparency palette to create an opacity mask.
See also
“Cutting, dividing, and trimming objects” on page 306
“To create opacity masks” on page 246
To hide parts of objects with a clipping mask
1 Create the object you want to use as the mask.
This object is called the clipping path. Only vector objects can be clipping paths.