316
ADOBE ILLUSTRATOR CS2
User Guide
You can achieve the same results with the Round Corners filter (Filter > Stylize > Round Corners). However, you
can’t change a filter after you apply it, whereas you can modify or remove the effect at any time.
See also
“About effects and filters” on page 423
“To apply an effect or filter” on page 423
“To modify or delete an effect” on page 426
Creating 3D objects
Creating 3D objects
3D effects enable you to create three-dimensional (3D) objects from two-dimensional (2D) artwork. You can control
the appearance of 3D objects with lighting, shading, rotation, and other properties. You can also map artwork onto
each surface of a 3D object.
There are two ways to create a 3D object: by extruding or revolving. In addition, you can also rotate a 2D or 3D object
in three dimensions.
Extruding 3D objects
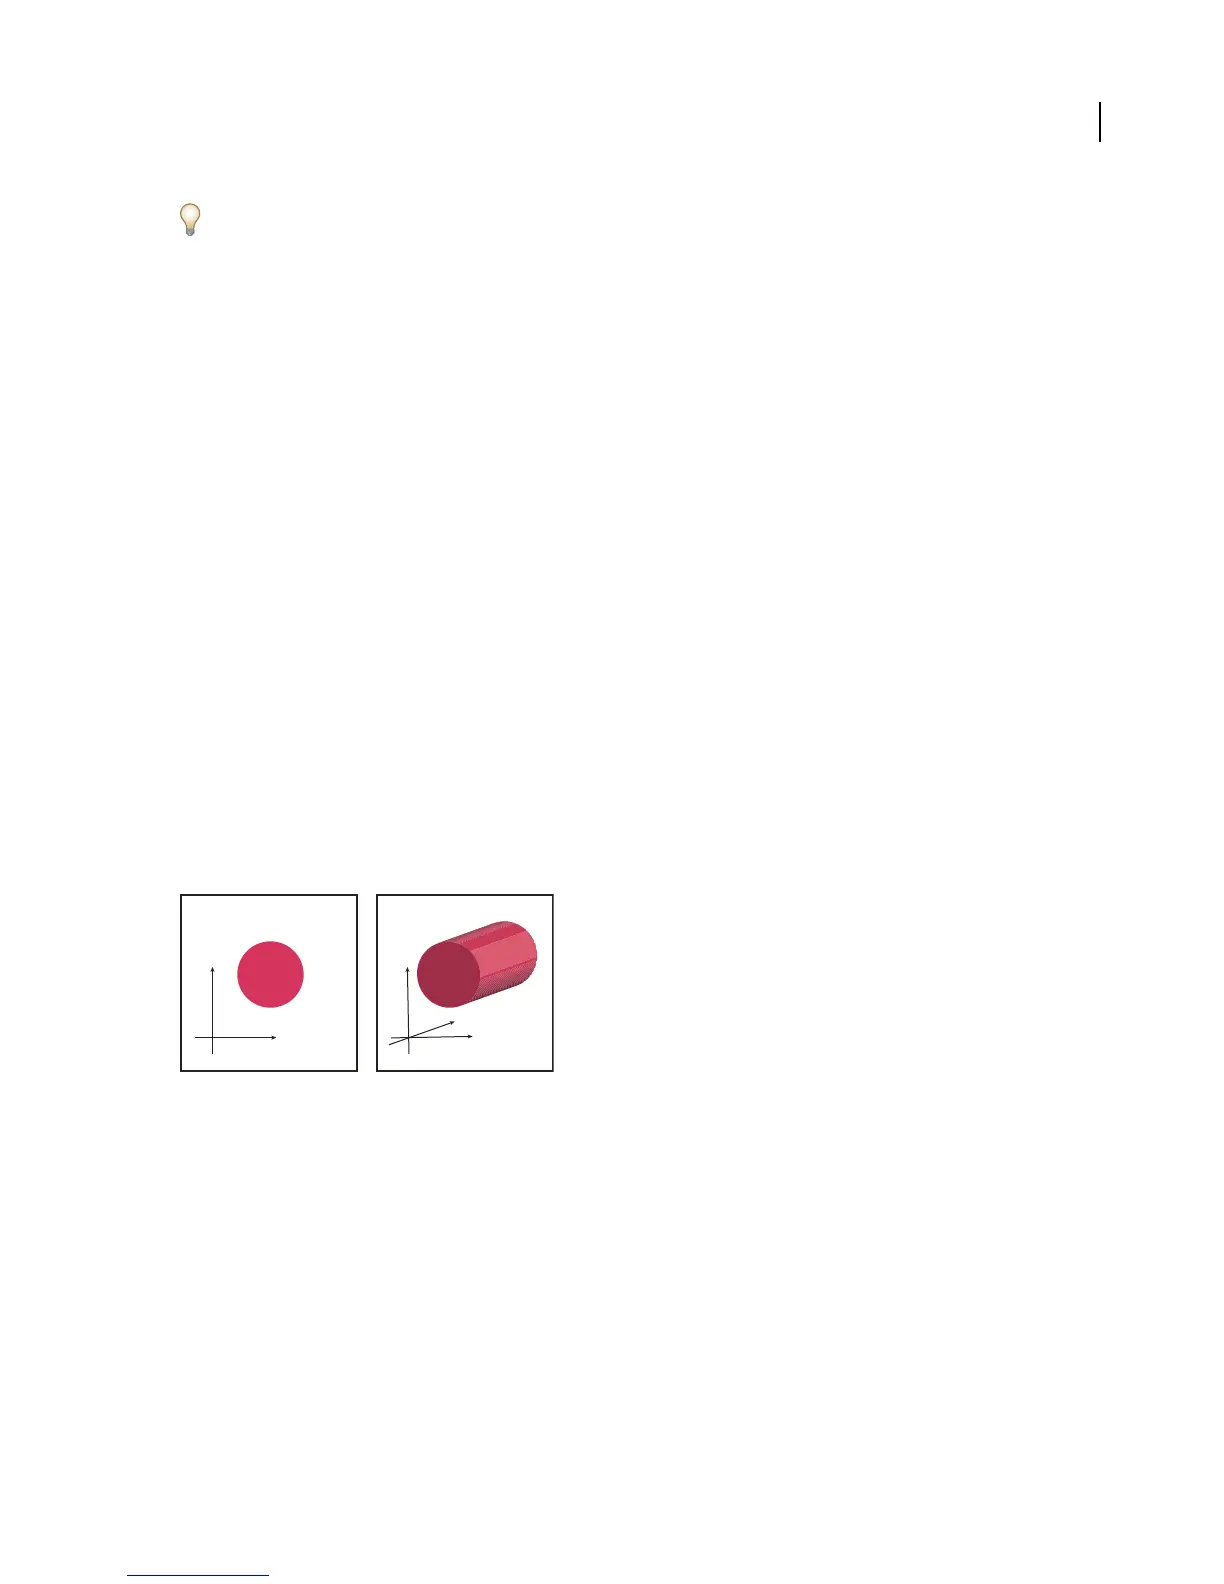
Extruding extends a 2D object along the object’s z axis to add depth to the object. For example, if you extrude a 2D
ellipse, it becomes a cylinder.
Note: Theobject’saxisalwaysliesperpendicular to theobject’sfront surfaceand movesrelativetothe object if theobject
is rotated in the 3D Options dialog box.
y
z
x
y
x
Extruding an object
Revolving 3D objects
Revolving sweeps a path or profile in a circular direction around the global y axis (revolve axis) to create a 3D object.
Because the revolve axis is vertically fixed, the open or closed path that you revolve typically needs to depict half of
the desired 3D object’s profile in a vertical and front-facing position; you can then rotate the 3D object’s position in
the effect’s dialog box.