91
ADOBE ILLUSTRATOR CS2
User Guide
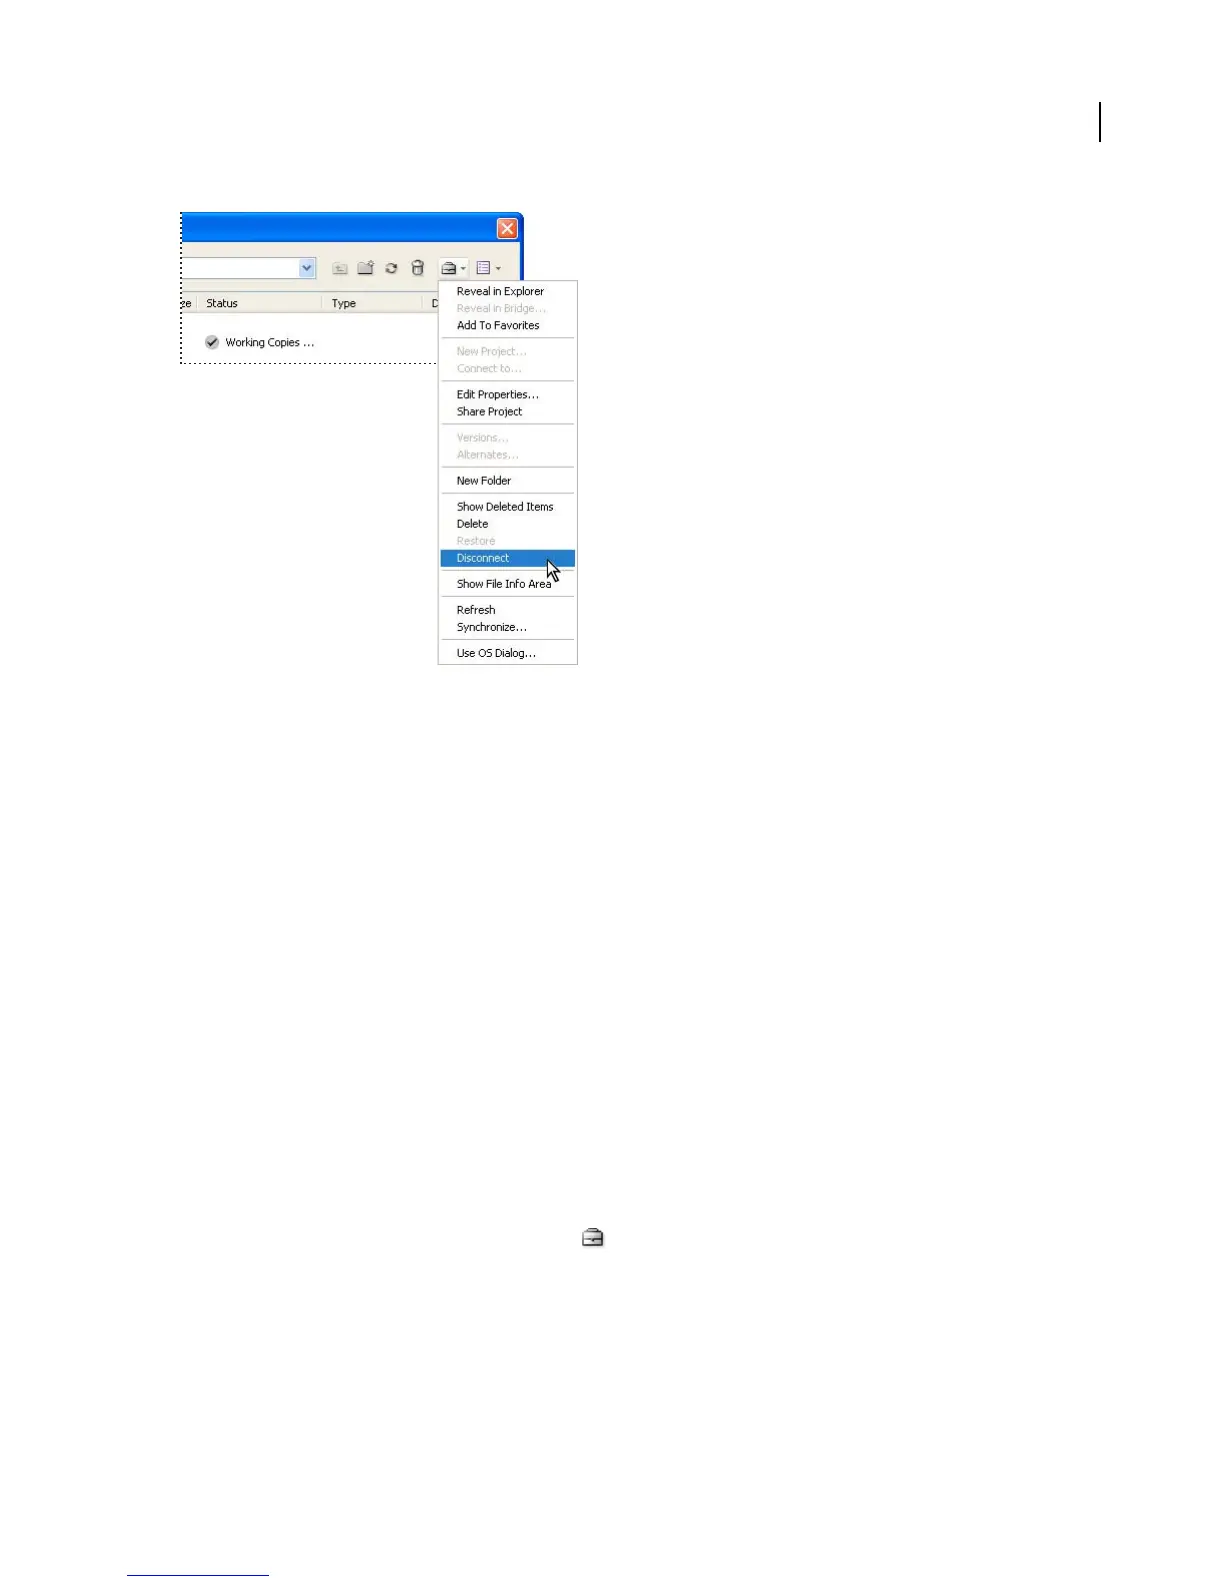
The Project Tools menu contains frequently used commands
See also
“To create a project” on page 91
“To edit Version Cue project properties” on page 130
“To create a new Version Cue project from a folder” on page 128
“To share or unshare a project” on page 93
“To share or unshare a project from Bridge” on page 94
“Availability of Version Cue features” on page 81
To create a project
Note: You can perform this task only if you have access to the full Version Cue feature set, available in Adobe Creative
Suite or in a shared workspace. See “Availability of Version Cue features” on page 81 for more information.
For information on creating a project in Acrobat 7, see Acrobat Help.
1 In Illustrator, InCopy, InDesign, or Photoshop, choose File > Open. Click Use Adobe Dialog if you’re using the
OS dialog box.
2 Click Version Cue in the Favorites panel.
3 Choose New Project from the Project Tools menu
4 Choose a location for the project from the Location menu.
5 Enter a name for the project in the Project Name box and a description in the Project Info box. (The description
you enter appears as a tool tip when the pointer is over the project in the list of workspaces.)
6 To make this project and its files available to others, select Share This Project With Others. (If the Version Cue
Workspace is on a computer other than your own, the Version Cue project is shared by default.)
.