320
ADOBE ILLUSTRATOR CS2
User Guide
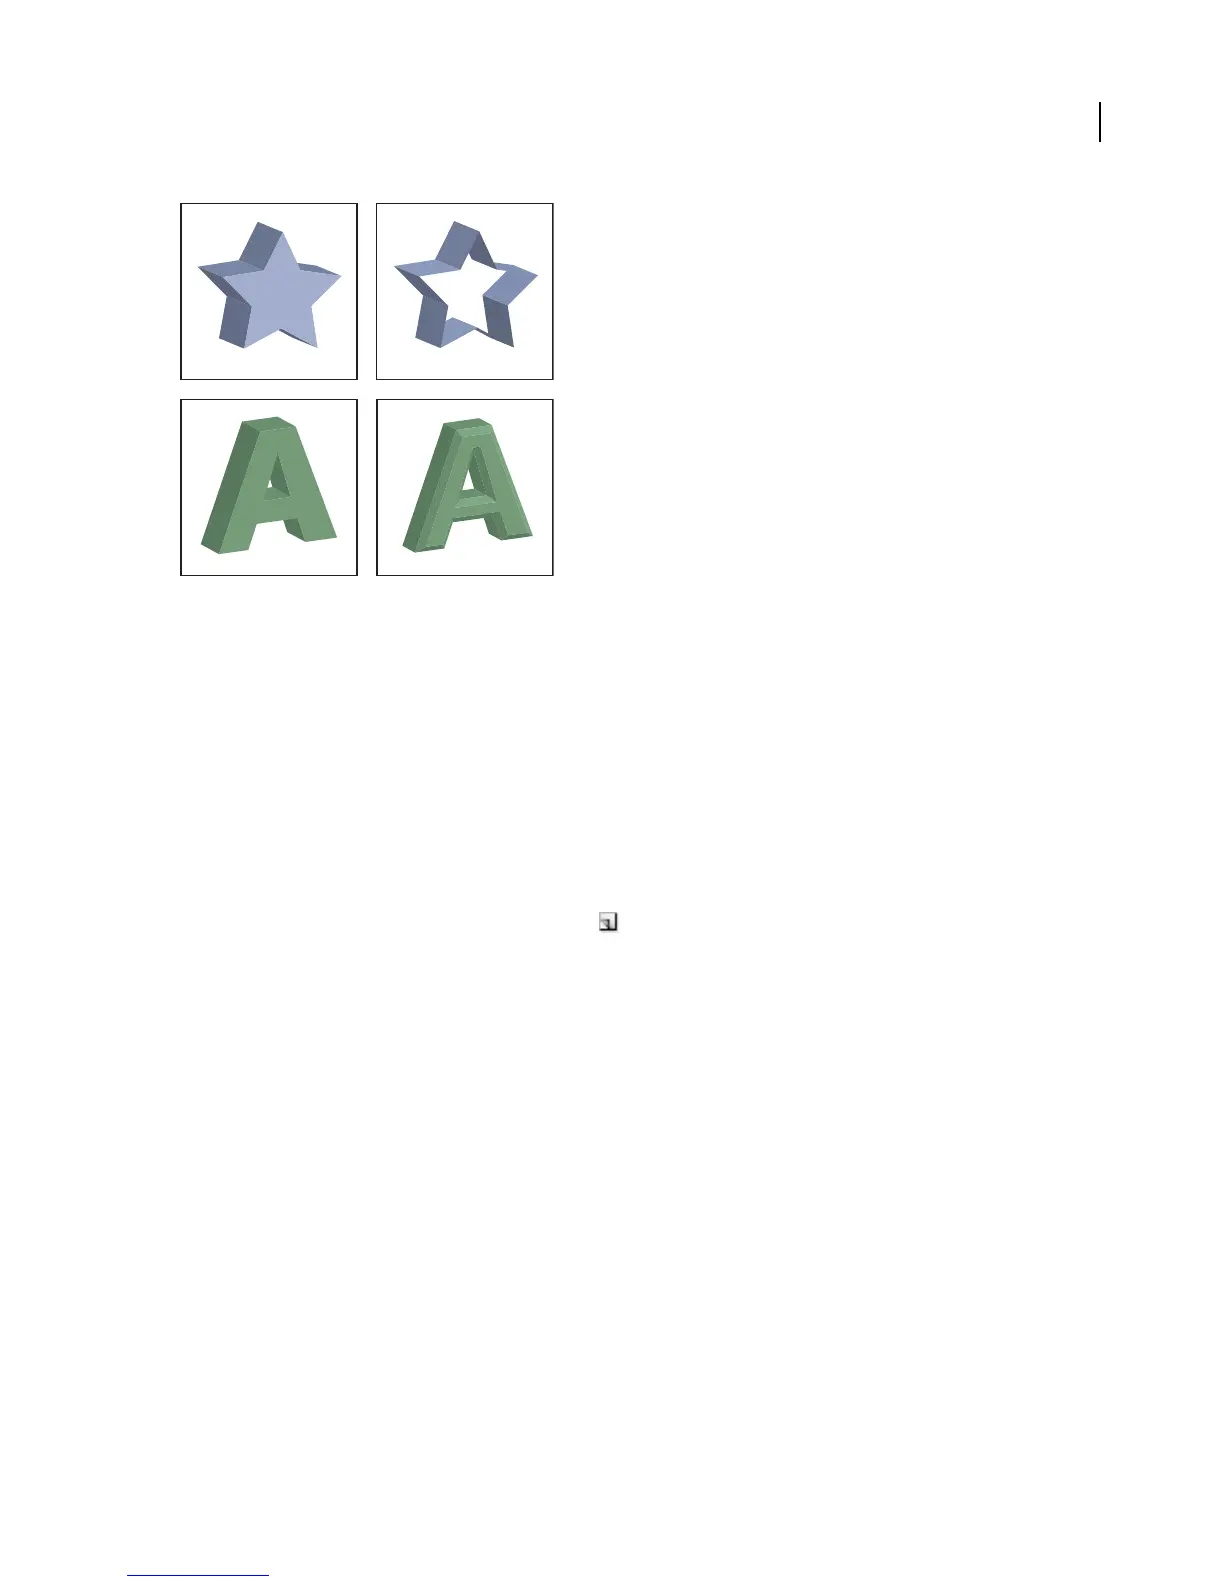
Extruded object with cap (top left) compared to no cap (top right); object without a beveled edge (bottom left) compared to object with a beveled
edge (bottom right)
See also
“To add a custom bevel path” on page 320
To add a custom bevel path
1 Open the Bevels.ai file located in the Adobe Illustrator Plug-ins folder.
2 Create a single open path in the Bevels.ai file.
3 Choose Window > Symbols, and do one of the following to make the path a symbol:
• Drag the path to the Symbols palette.
• With the path selected, click the New Symbol button in the Symbols palette or choose New Symbol from the
palette menu.
4 To rename the symbol, double-click the symbol in the Symbols palette, enter a name in the Symbol Options dialog
box, and click OK.
5 Choose File > Save.
6 Quit Illustrator and then relaunch Illustrator.
The Bevel menu in the 3D Extrude & Bevel Options dialog box lists the bevel.
7 To apply the custom bevel, do one of the following:
• To apply the bevel to an extruded 3D object, select the 3D object, and then double-click the 3D Extrude & Bevel
effect in the Appearance palette. In the 3D Extrude & Bevel Options dialog box, choose the bevel from the Bevel
menu.
• To apply the custom bevel to 2D artwork, select the 2D object, and then choose Effect > 3D > Extrude & Bevel. In
the 3D Extrude & Bevel Options dialog box, choose the custom bevel from the Bevel menu.
Revolve options
Angle Sets the number of degrees to revolve the path, between 0 and 360.