494
ADOBE ILLUSTRATOR CS2
User Guide
Tint Reduction Reduces the tint of the lighter color being trapped; the darker color remains at 100%. This option is
useful when trapping two light-colored objects, where the trap line may show through the darker of the two colors,
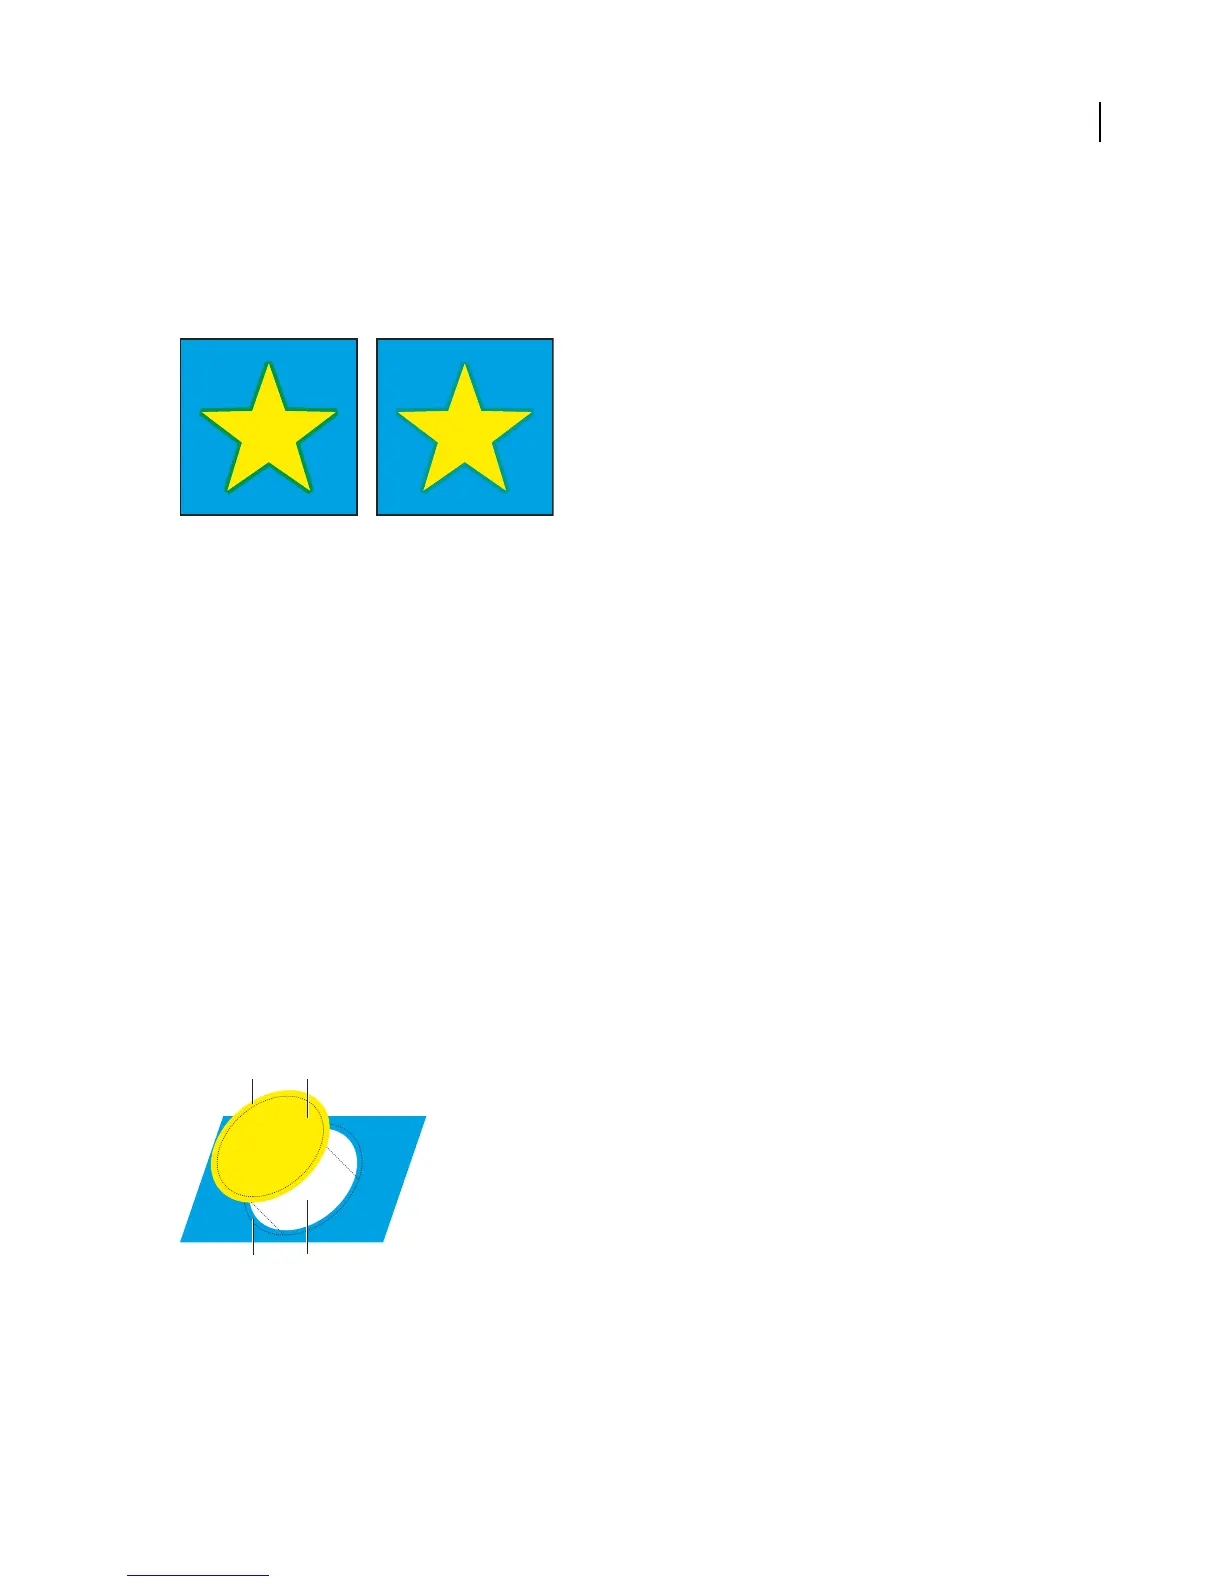
resulting in an unsightly dark border. For example, if you trap a light yellow object into a light blue object, a bright
green border is visible where the trap is created. Check with your print shop to find out what percentage of tint is
most appropriate given the type of press, inks, paper stock, and so on being used.
Tint reduction value of 100% (trap contains 100% of lighter color) compared to tint reduction value of 50% (trap contains 50% of lighter color)
Traps With Process Color Converts spot-color trapstoequivalentprocess colors.Thisoptioncreates an object of the
lighter of the spot colors and overprints it.
Reverse Traps Traps darker colors into lighter colors. This option does not work with rich black—that is, black that
contains additional CMY inks.
Precision (as effect only) Affects how precisely an object's path is calculated. The more precise the calculation, the
more accurate the drawing and the more time is required to generate the resulting path.
Remove Redundant Points (as effect only) Removes unnecessary points.
To create a spread or choke
For more precise control of trapping and for trapping complex objects, you can create the effect of a trap by stroking
an object and setting the stroke to overprint.
1 Select the topmost object of the two objects that must trap into each other.
2 In the Stroke box in the toolbox or the Color palette, do one of the following:
• Create a spread by entering the same color values for the Stroke as appear in the Fill box. You can change the
stroke’s color values by selecting the stroke and then adjusting its color values in the Color palette. This method
enlarges the object by stroking its boundaries with the same color as the object’s fill.
A
B
C D
Object stroked with fill color
A. Overprinted stroke creates spread trap B. Fill creates knockout C. Area of trap D. Area of knockout
• Create a choke by entering the same color values for the Stroke as appear in the lighter background (again, using
the Color palette); the Stroke and Fill values will differ. This method reduces the darker object by stroking its
boundaries with the lighter background color.