Replacing Assemblies 6
16900A, 16902A, and 16903A Service Guide 51
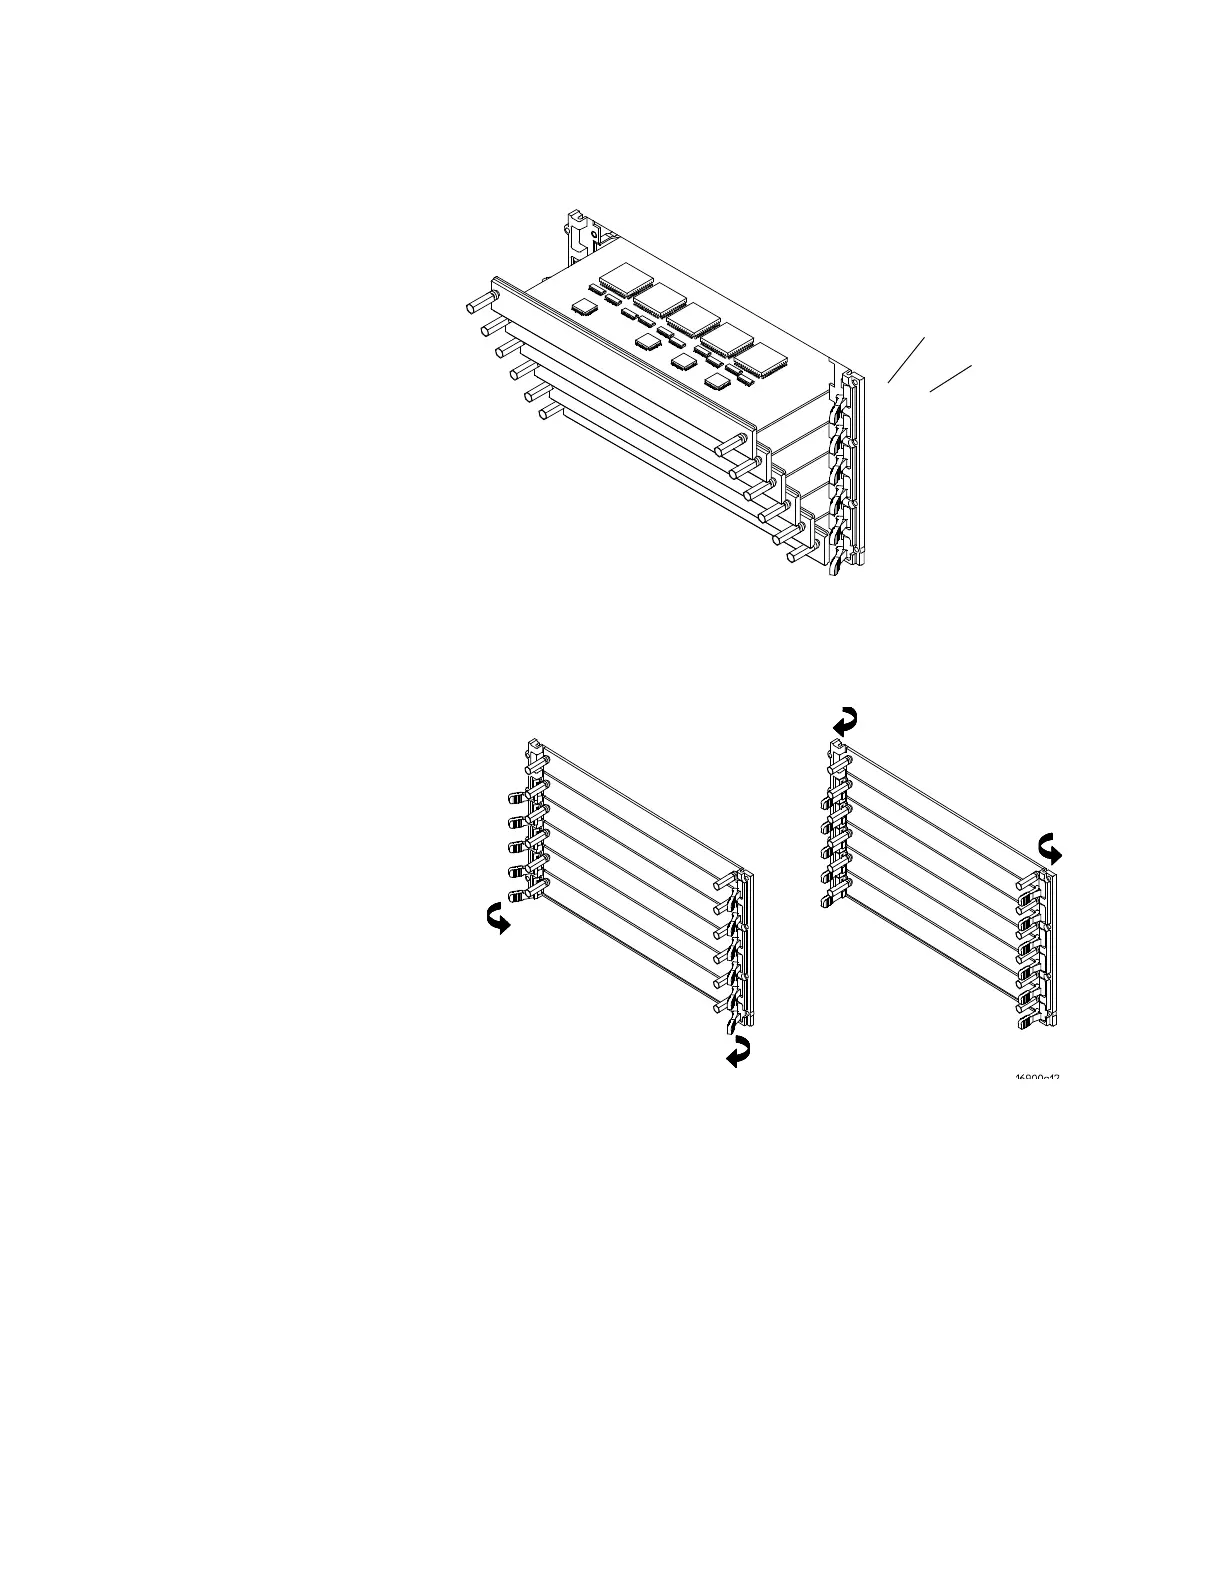
6 When inserting, seat the modules then rotate the ejector
tabs to the lock position. Repeat for all modules or filler
panels.
7 Tighten the thumb screws until finger tight in the same
order used in step 5 above. If using a hex socket or
torque driver, avoid over tightening (2 in- lb maximum).
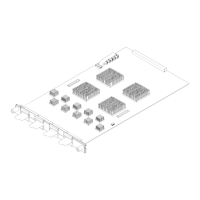
8 For correct air circulation, install filler panels in all
unused card slots. Correct air circulation keeps the
instrument from overheating. Keep any extra filler panels
for future use.
Insertion Order
Removal Order
6
5
4
3
2
1
1
2
3
4
5
6
Ejecting Order
Locking Order
6
5
4
3
2
1
1
2
3
4
5
6
 Loading...