Replacing Assemblies 6
16900A, 16902A, and 16903A Service Guide 71
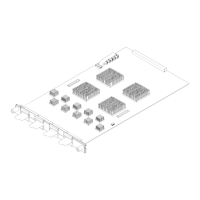
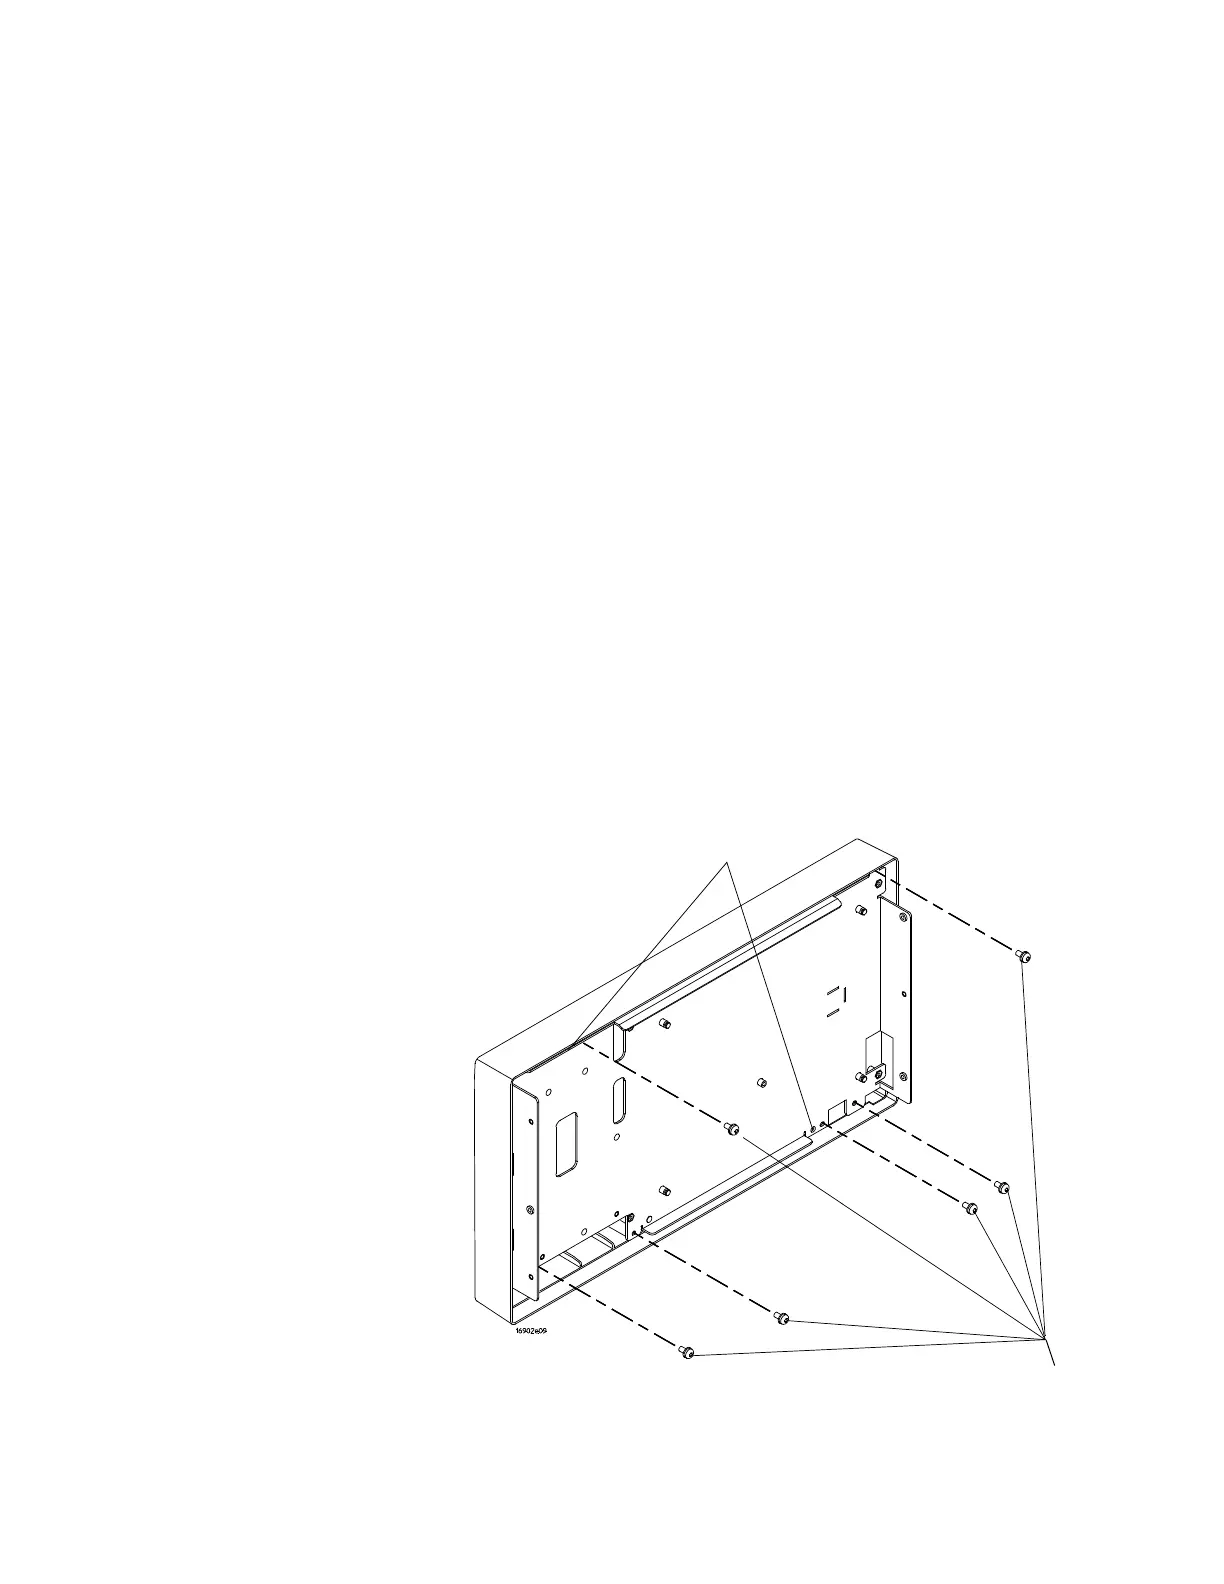
To remove and replace the LCD bracket assembly
1 Perform previous procedures:
• “To prepare the instrument for disassembly" on
page 48
• “To remove and replace the cover" on page 52
• “To remove and replace the front panel assembly" on
page 64
• “To remove and replace the touch- screen controller
board" on page 66
• “To remove and replace the backlight inverter
board" on page 68
• “To remove and replace the front panel interface
board" on page 69
2 Using a Torx T10 screwdriver, remove the 6 screws that
secure the LCD bracket assembly to the front frame.
3 Feed the cables through the bracket and remove.
4 Use the guide pins to align the bracket when
re- assembling.
Guide Pins
T10
Screws (6)