38 34410A/11A/L4411A Service Guide
2Quick Start
Basic Multimeter Operations
This section introduces the basics of the 34410A/11A multimeter, and how
to use it.
Preparing the Multimeter for Use
To verify that your 34410A or 34411A multimeter is ready for use:
1 Check the list of supplied items.
Verify that you have received the following items with your multimeter.
If anything is missing, contact your nearest Agilent Sales Office.
• Test Lead Set (34410A/11A only).
• Power Cord.
• USB 2.0 Cable.
• Agilent 34410A/11A/L4411A Product Reference CD–ROM.
• Agilent Automation Ready (IO Libraries) CD–ROM.
• Certificate of Calibration.
The product documentation, including the Agilent 34410A/11A/L4411A
Programmer’s Reference Help and the product manuals, are included
on the Product Reference CD–ROM. Printed (hardcopy) manuals are
optional, and included only if you ordered them.
2 Connect the power cord and turn on the multimeter.
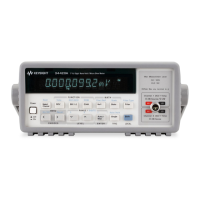
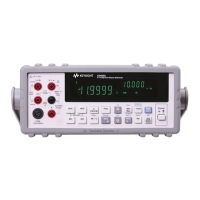
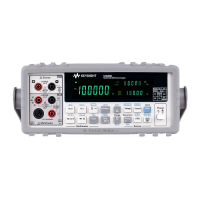
34410A/11A The front–panel display will light up while the multimeter
performs its power–on self–test. The multimeter powers up in the dc
voltage function with autoranging enabled (unless a previous user has
configured power–up using a non–default stored state (see Chapter 2,
“Features and Functions” in the Agilent 34410A/11A User’s Guide).
L4411A The front-panel display lights up while the multimeter performs
its power–on self–test. The display briefly shows the model number and
firmware revision code, followed by the instrument MAC address, and
finally the readings and LAN status display.
 Loading...


