56 Operating Guide
5 Operating the 7693A Automatic Sampler
10
Slide the plunger carrier down until it is completely over
the syringe plunger, and tighten the plunger thumb screw
until finger- tight.
11 Manually move the plunger carrier up and down. If the
syringe plunger does not move along with the carrier,
repeat the previous steps until installed correctly. Be sure
the plunger thumb screw is secure and tight. If the
carrier is not completely attached to the syringe plunger
it may become detached after a few injections.
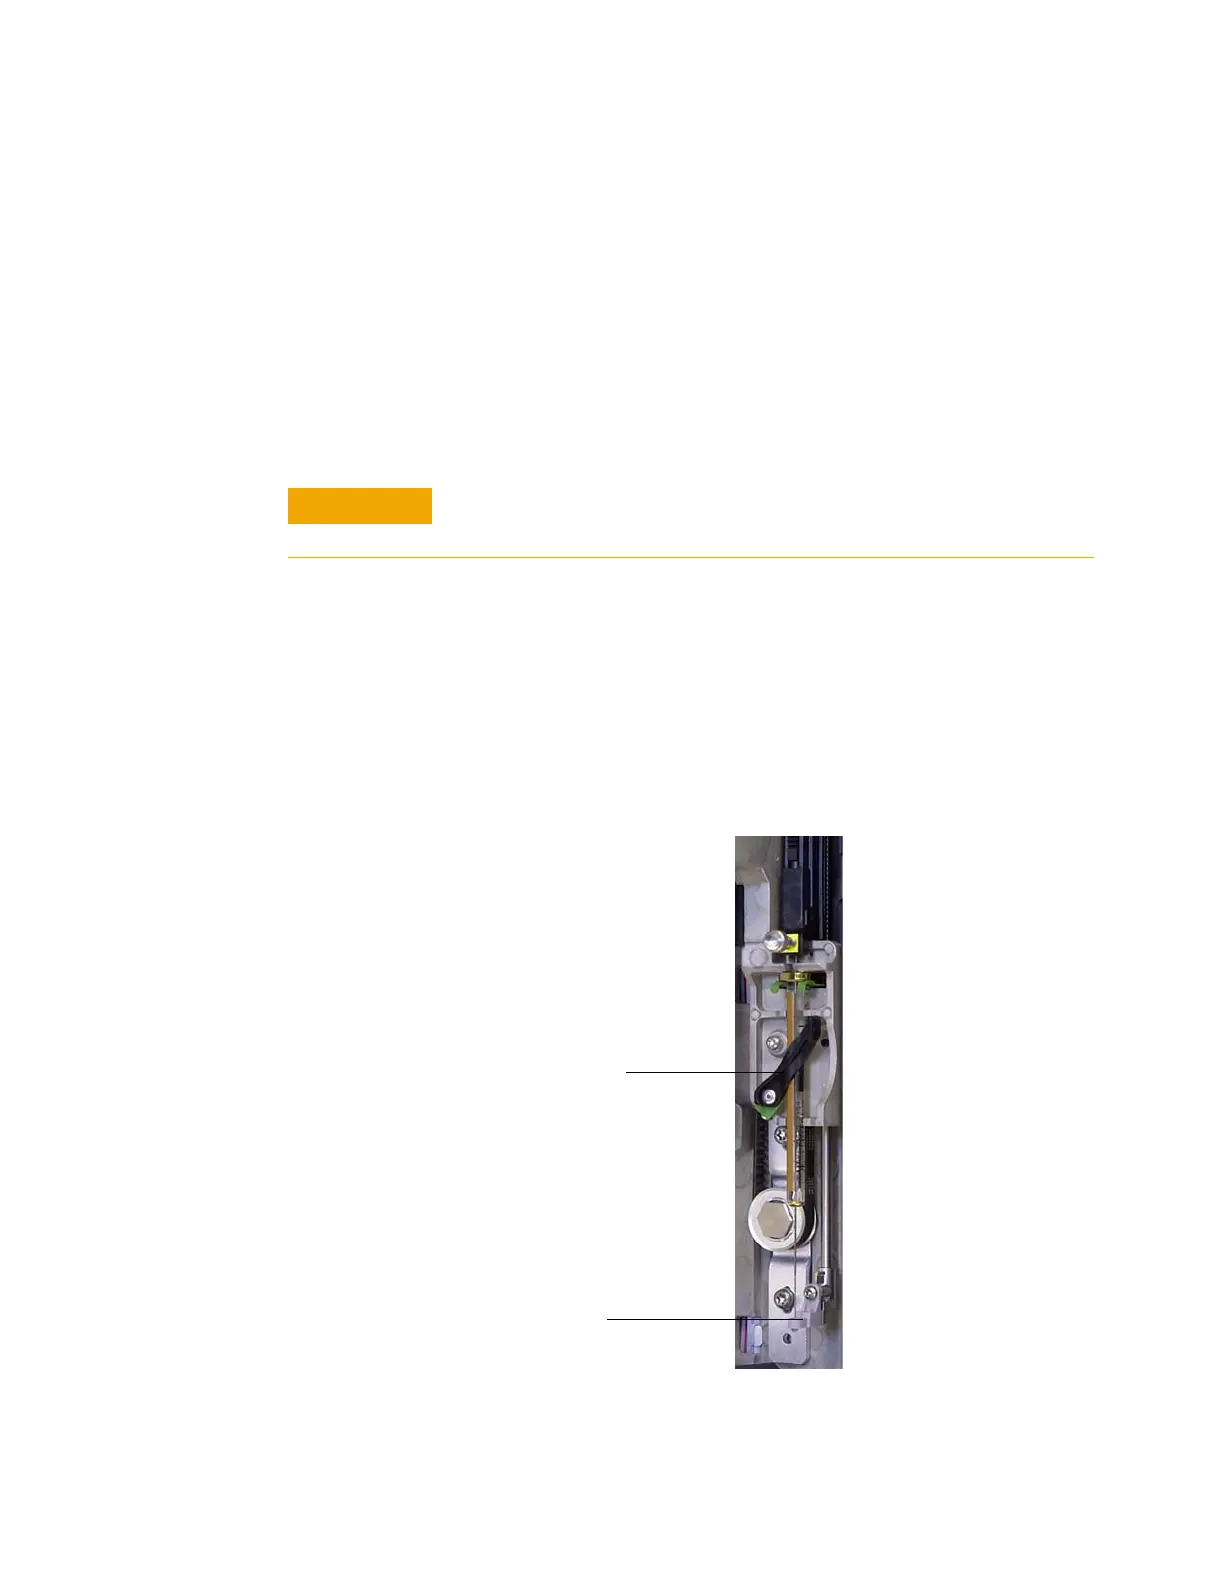
12 Verify that the needle is inside the guide hole of the
needle support foot. The needle should be straight and
pass freely through the needle guide hole.
If the needle is bent or is outside the guide hole, remove
the syringe and reinstall. See Figure 7 for a properly
installed syringe.
Repeating this movement can damage the syringe.
Figure 7 Syringe carriage and needle support with syringe installed
Syringe latch (closed)
Needle support foot