51
MT- S
2.4GHZ FH4T RADIO SYSTEM USER'S GUIDE
Telemetry System with Sanwa Synchronized Link Support
TELEMETRY MENU
LOGGER MENU
VIEW TELEMETRY DATA LOGS
TELEMETRY
TheLOGGERmenuallowsyoutoviewalogoftheTelemetryDatathatissentfromthereceivertothetransmitter.Youareable
to view Telemetry Data for both Temperature outputs, the RPM output and the receiver's Voltage. This information can be used
to track specific information about your model, such as cylinder head temperature if you're running a nitro-powered model, or
battery temperature if you're running an electric model, plus much more. The interval that Telemetry Data is read and stored
can be adjusted so that Telemetry Data can be stored for up to 90 minutes of use. The Telemetry Log can store 120 different
data entries at intervals ranging from 00.1 seconds to 45.9 seconds.
For information about using an optional Airtronics or Sanwa RX-461 or RX-462 Telemetry receiver with your MT-S and
installing Telemetry Sensors into your model, see the RX-461 and RX-462 Receiver Telemetry Connections and Mounting
section on pages 64 and 65. In addition, to be able to read and log Telemetry Data, the Telemetry System must be turned ON.
For more information, see the Turning the Telemetry System ON and OFF section on pages 52 and 53.
IMPORTANT: Full telemetry support requires the use of an Airtronics or Sanwa RX-461 or RX-462 FH4T Telemetry receiver and
associated Temperature and RPM Sensors, or when the included RX-482 2.4GHz FH4T Super Response SSL receiver is used
along with a Sanwa Super Vortex series ESC. On its own, the included RX-482 2.4GHz FH4T Super Response SSL receiver can
send Telemetry Data for the voltage of the receiver battery pack only. In addition, the Modulation Type must be set to FH4T.
Starting and Stopping the Telemetry Log:
TheTelemetryLogfunctionmustbeStartedinorderforthetransmittertoreadandstoreTelemetryDatafromthereceiver.You
must first Assign the LOGGER function to Auxiliary Switch Sw1 before you can Start and Stop the Telemetry Logger.
3) To start the Telemetry Log, press Auxiliary Switch Sw1. The Condition LED will flash, indicating the Telemetry Log is storing
Telemetry Data. Data is stored for all four Telemetry functions, whether the Telemetry Sensors are hooked up or not.
4) To stop the Telemetry Log, press Auxiliary Switch Sw1 a second time.
Each time the Telemetry Log is Started, any old Telemetry Data is automatically erased. In addition, the Telemetry Log
will Stop automatically once the Telemetry Log is filled. The Telemetry Log can store 120 separate entries. If the Log
Interval is set to 00.1 seconds, the Telemetry Log can record for 12 seconds. If the Log Interval is set to 45.1 seconds, the
Telemetry Log can record for 90 minutes. To change the Log Interval value, see the
Changing the Telemetry Log Step Value section on page 53.
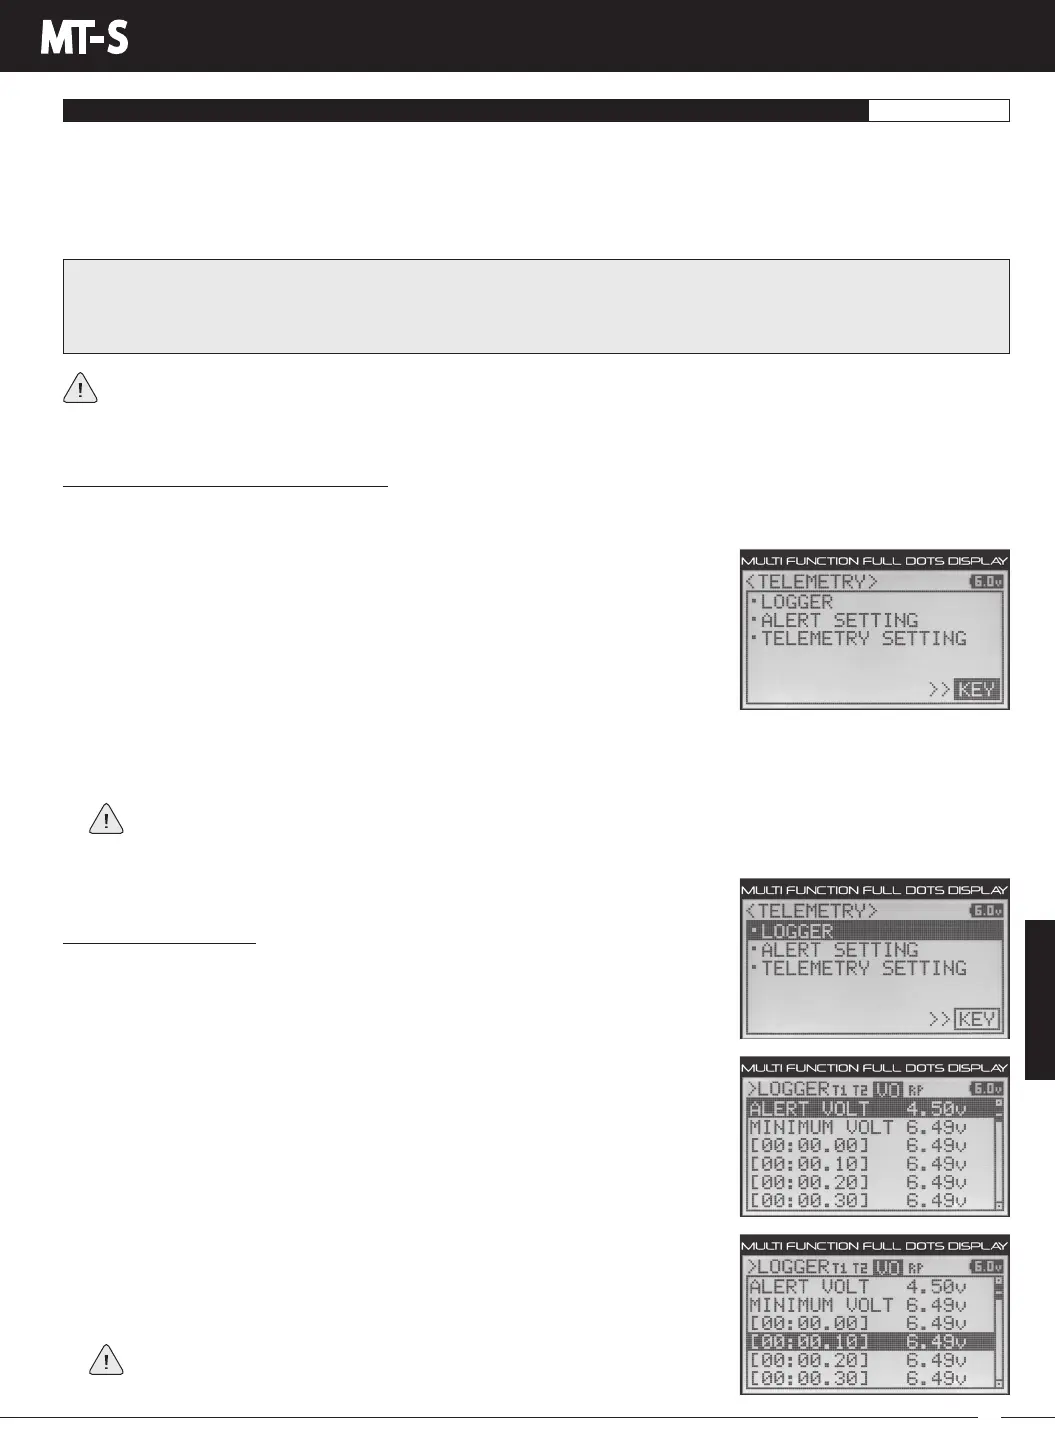
1) FromwithintheTELEMETRYmenu,presstheUPorDOWNkeystohighlightKEY.
2) Pressthe ENTER key to open the KEY ASSIGN menu, then Assign the LOGGER
functiontoAuxiliarySwitchSw1.Formoreinformation,seetheKEYASSIGNMenu
section on pages 56 through 60. The LOGGER function can only be Assigned to
Auxiliary Switch Sw1.
Viewing Telemetry Data:
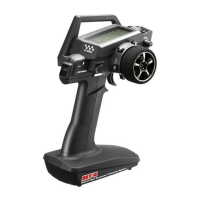
1) From within the TELEMETRY menu, press the UP or DOWN keys to highlight the
LOGGER menu.
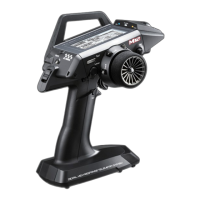
5) Press the UP or DOWN keys to scroll through the Telemetry Data entries. The Alert (or
Max) value is always displayed at the top, followed by the Minimum (or Max) value,
depending on the Telemetry function selected. Pressing the ENTER key will skip
ahead 6 entries to make scrolling faster.
YoucanStartandStop the Telemetry Log function while viewing Telemetry
Data by pressing the HOLDING the ENTER key.
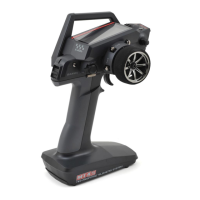
2) Press the ENTER key to open the LOGGER menu. The cursor will be flashing over
Channel/Options.
3) Press the UP or DOWN keys to highlight the desired Telemetry function you would
like to view Telemetry Data for. Choose from T1 (Temperature 1), T2 (Temperature 2),
VO (Receiver Battery Voltage) or RP (RPM).
4) Press the ENTER key to open the highlighted Telemetry Log.