171
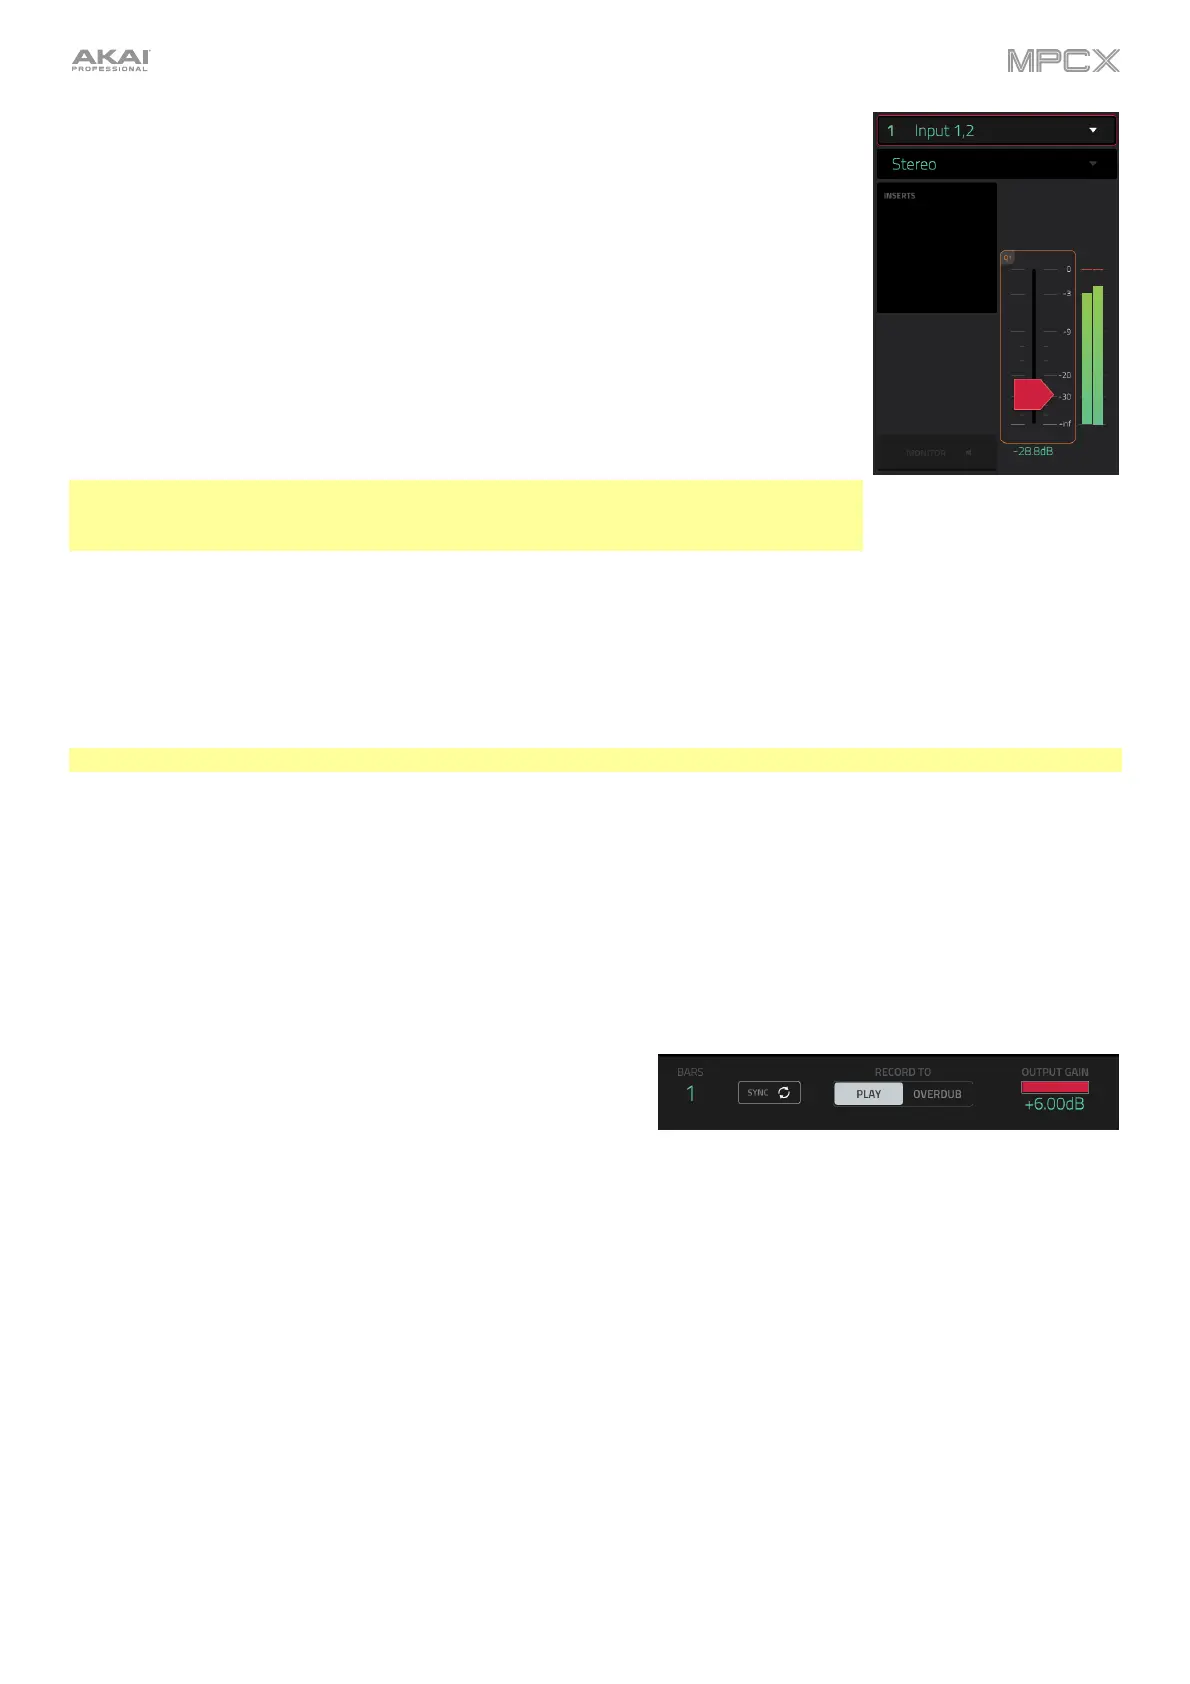
The upper-left Input Source field defines whether you are going to record an external
audio signal (Input 1,2, Input 3,4, or one of Input 1–4) or an internal signal from within
MPC X (Resample L, Resample R, or Resample L+R).
Resampling does not require an audio connection because the source is within MPC X
and is therefore recorded without any loss in audio quality. You can, for example, use
Resample to record two or more samples by pressing the corresponding pads
simultaneously.
Use the second upper-left Mono/Stereo field to choose whether your recorded loop
will be monaural (Mono) or binaural (Stereo).
The Inserts field shows any enabled or disabled effects for the Looper. Tap the area under
Inserts to open a window where you can load, change, and enable or disable the effects.
Important: These effects are applied to the audio as you record it. This means that the
effects cannot be “removed” from the sound later. Learn more about how effects work
in General Features > Effects.
Tap the Monitor button to enable or disable input monitoring.
When on, the audio you hear in your headphones will be taken before it reaches the Looper, ensuring zero latency.
You can turn input monitoring on only if the Input Source field is set to an input, not to a Resample setting.
When off, the audio you hear in your headphones will be taken after it is processed in the Looper, so there may
be some latency, but you will hear the audio source as it sounds in the recording.
Tip: To avoid possible clicks or feedback while input monitoring, reduce the level of the audio sources.
Use the threshold slider to adjust the threshold. Alternatively, turn Q-Link Knob 1 (Threshold). The threshold slider
will work only when Sync is off (see below).
When the Looper is record-armed, it automatically starts recording when the level of the incoming source exceeds
this setting. If you set it too high, the recording may not start when you play the input source, or the start of the
material you wanted to record may be missing. If you set it too low, the recording may start too early, before you play
the external source. Set this parameter to an appropriate level using the level meter.
To reset the “peak hold,” which shows the highest level of your input signal in the level meter, tap it.
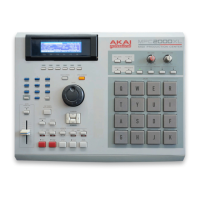
Use the Bars field to define the length of your loop. Regardless
of how much or how little audio you record, this is how long
your loop will be.
Use the Sync button to sync or un-sync the looper with
sequence playback. When on, the Looper will stay in step with
your current sequence. When you play or record into the Looper,
it will wait until the sequence starts playing Bar 1 to start.
Use the Record To selector to determine the loop recording
behavior:
Play: Before recording, you must first tap the /Play button
on the touchscreen, which will start playing the Looper.
Overdub: Before recording, you must first tap the Rec/Record
button in the lower-right corner to record-arm the Looper.
Use the Output Gain slider to set the output signal level of the
Looper.