A
L
B
E
D
O
T
e
l
e
c
o
m
-
J
o
a
n
d
’
À
u
s
t
r
i
a
,
1
1
2
-
B
a
r
c
e
l
o
n
a
-
0
8
0
1
8
-
w
w
w
.
a
l
b
e
d
o
t
e
l
e
c
o
m
.
c
o
m
User Guide
14
3. Program the test start time and duration with the help of the Autostart / stop menu
(within Test) or start the test immediately by pressing the run button in the test
control area.
Note: Most of the configuration is blocked when there is an ongoing test.
4. Wait for the test to finish or press run to finish immediately.
5. Check the test results in the Results menu.
Note: Most test results are upgraded in real time as the test progresses. That
means that is not really necessary to wait for the test to finish to check current
results.
It must be stressed that this is only a high level description of test configuration and
execution using xGenius. For a detailed description of the configuration procedures for
specific tests visit the corresponding sections in the User Guide.
1.5.Upgrading the Unit
The test unit software can be upgraded with the help of a USB memory stick. Before
proceeding with the upgrade, copy the ALBEDO software to the root directory in the
memory stick. The file name of the upgrade package must not be modified. The USB
must have a FAT32 file system.
Once the USB memory stick is ready. Follow this procedure to install the new software:
1. Switch the unit off.
2. Press the Power button and keep the button pressed until you see the Power LED
to start blinking.
3. Release the Power button.
You will hear a beep and the ALBEDO Software Installer will be loaded and exe-
cuted. An informative panel will display the xGenius software version number
found in the storage device.
4. Press Continue to continue with the installation process or Cancel to finish.
5. Select Install or Upgrade. Install regenerates all the software in the unit even if it is
up to date. Upgrade regenerates only the software that has changed since the last
upgrade. Use Install if you need to recover the unit after operation failure due to
corrupted software. Use Upgrade otherwise.You can also cancel the process at
this point by pressing Cancel.
6. Confirm your previous selection by pressing Continue or cancel with Cancel.
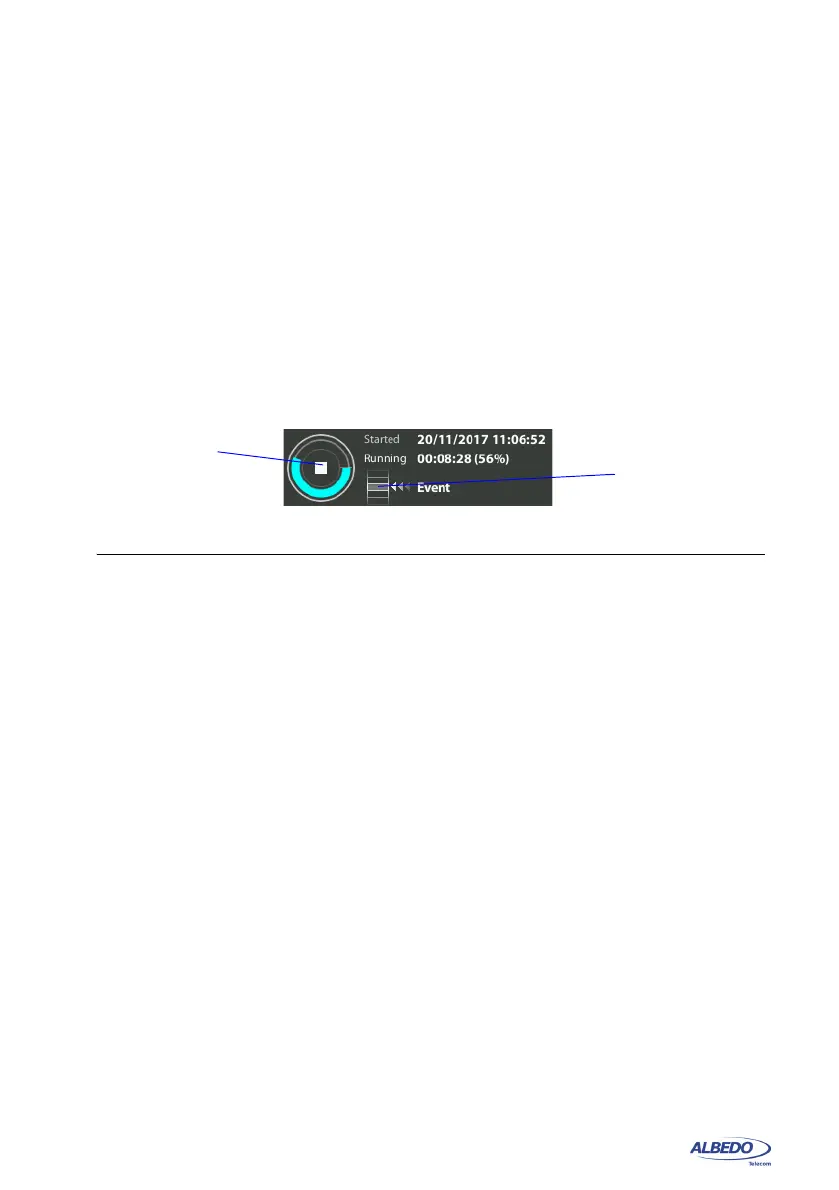
Event insertion
button
Run
button
Figure 1.10: xGenius test control area with progress indication.