o
Phillips screw driver
1. Begin by releasing the print head (Menu>Maintenance Functions> Print Carriage Controller >
Release Carriage).
............................................................................................................................................................
2. We must now remove the print head cage from the carriage. There will be 6 phillip screws
holding the cage down.
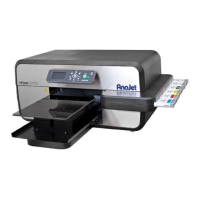
3. In order to make the proper adjustment you will need to move the wiper blade to its "engage"
position. Press ENTER + JOBS + MENU at the same time to go into the technical menu >
MODULE TEST > MAINTENANCE STATION > WIPER BLADE ENGAGE. The wiper blade
should now be moving forward to the wipe position. See photo 2.5.3
See Photo 2.5.3
............................................................................................................................................................
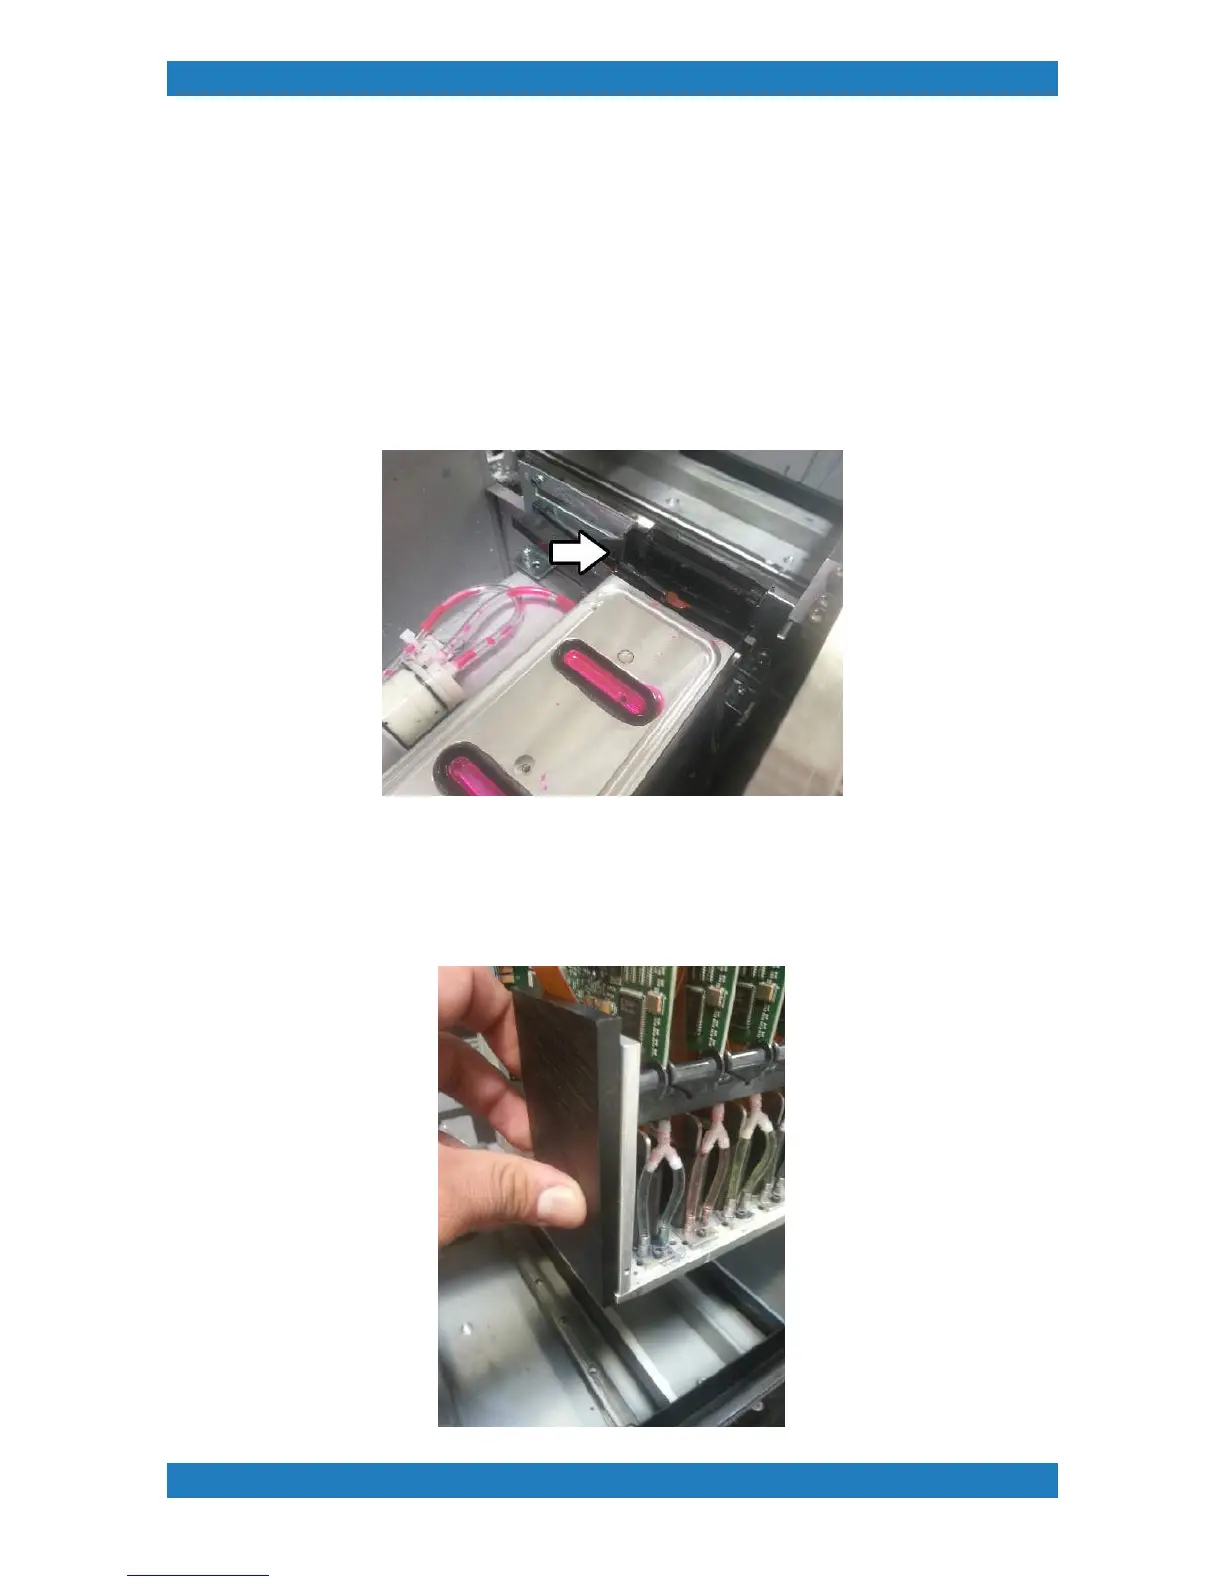
.. 4. Once the print head has been released use your Anajet Wiper Height Tool and place it on the
left hand side of the carriage. The wiper blade tool will have a groove where you can place the tool
on top of the nozzle plate. See photo 2.5.4 below.