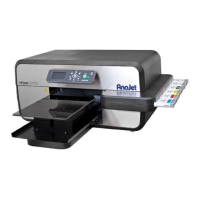
Photo 3.1.3
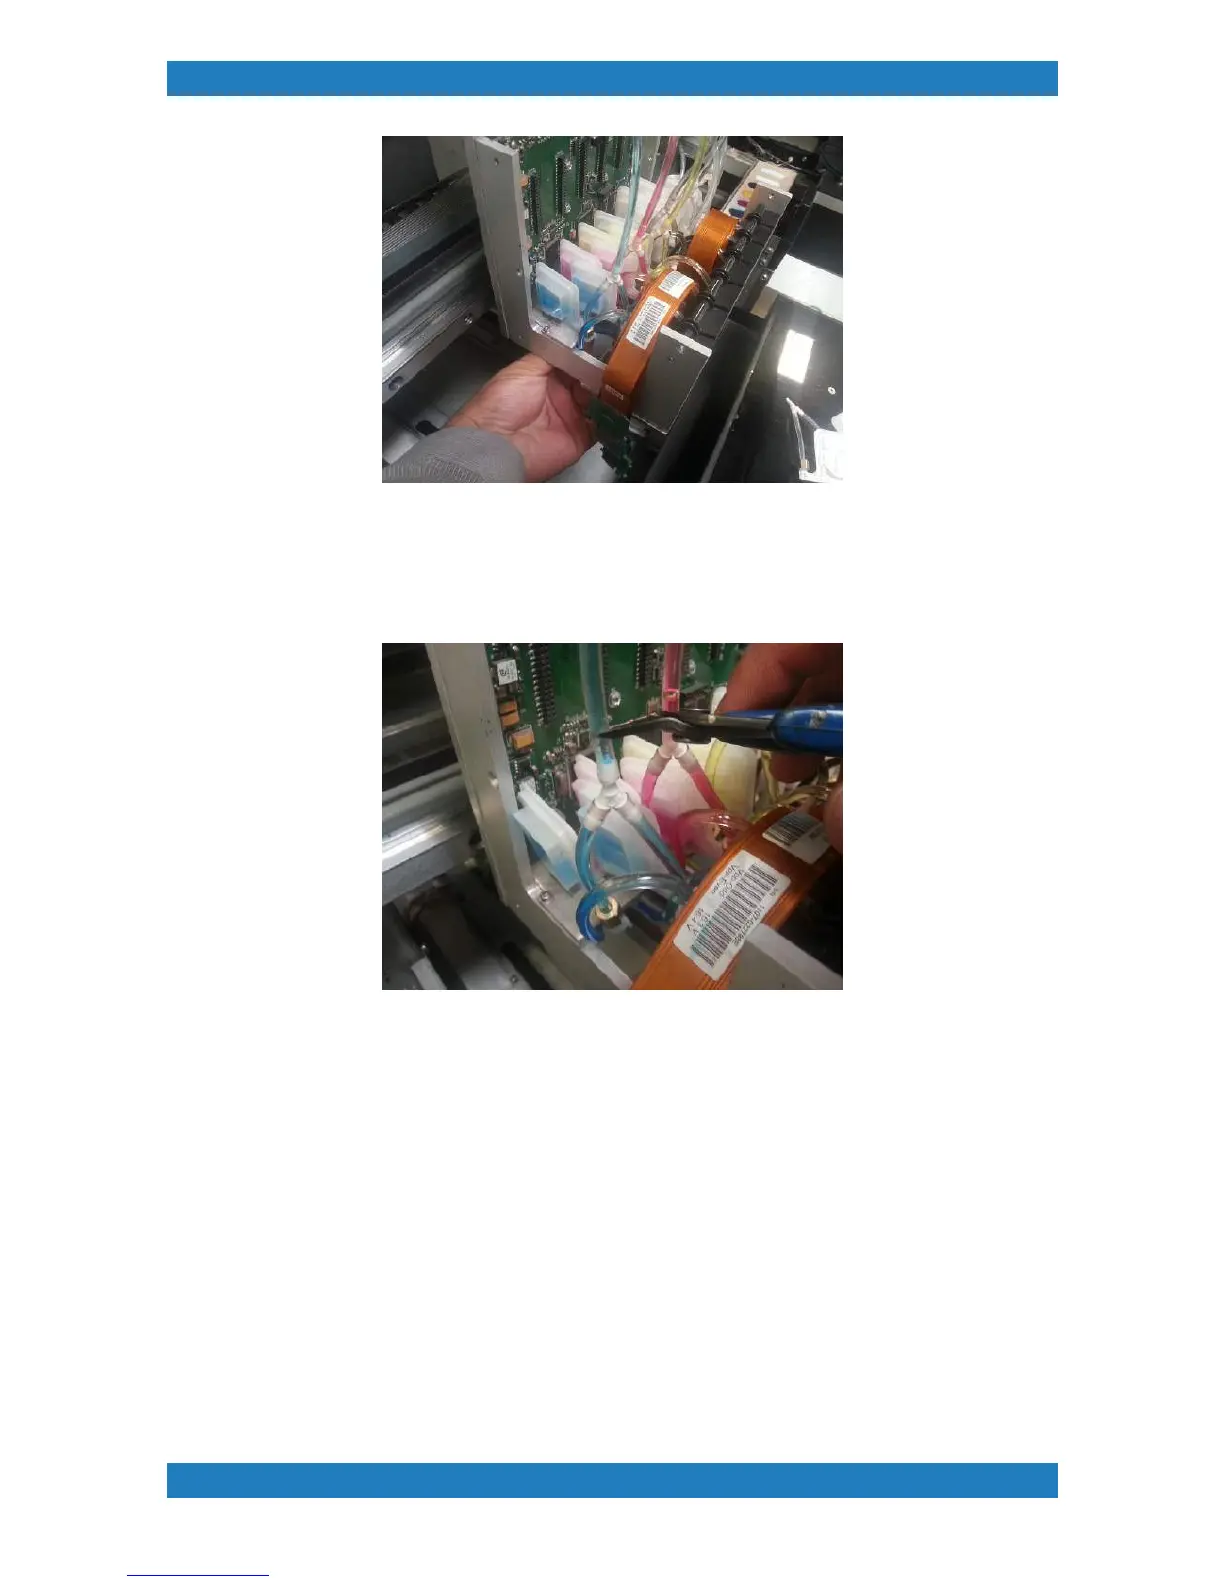
5. With the elbow disconnected we can now cut the tubing above the damper assembly. It is very important
that the cut on the tube is nice and straight. If the cut on the tube is not even we can can potentially have an
air leak. See photo 3.1.4
See Photo 3.1.4
6. With the tube cut we can now remove the damper assembly. Grab your new damper and connect the
elbows to the damper. Its very important that the elbow is fully connected to the damper, a bad connection
can result in poor ink flow. With the elbows connected we can now connect the print tube back to the top of
the Y splitter connecting the dampers. The tube should reach the far end of the Y splitter. See photo 3.1.5