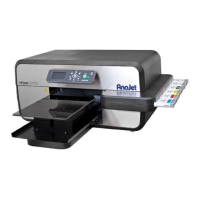
Photo 3.2.11
10. The back two needles (white ink) will have two tubes connected to it. Cut both the tubes from
both valves.We always recommend replacing the White Ink needle valves when replacing the
tubes. See section 3.7.2 for valve replacement. See Photo 3.2.12
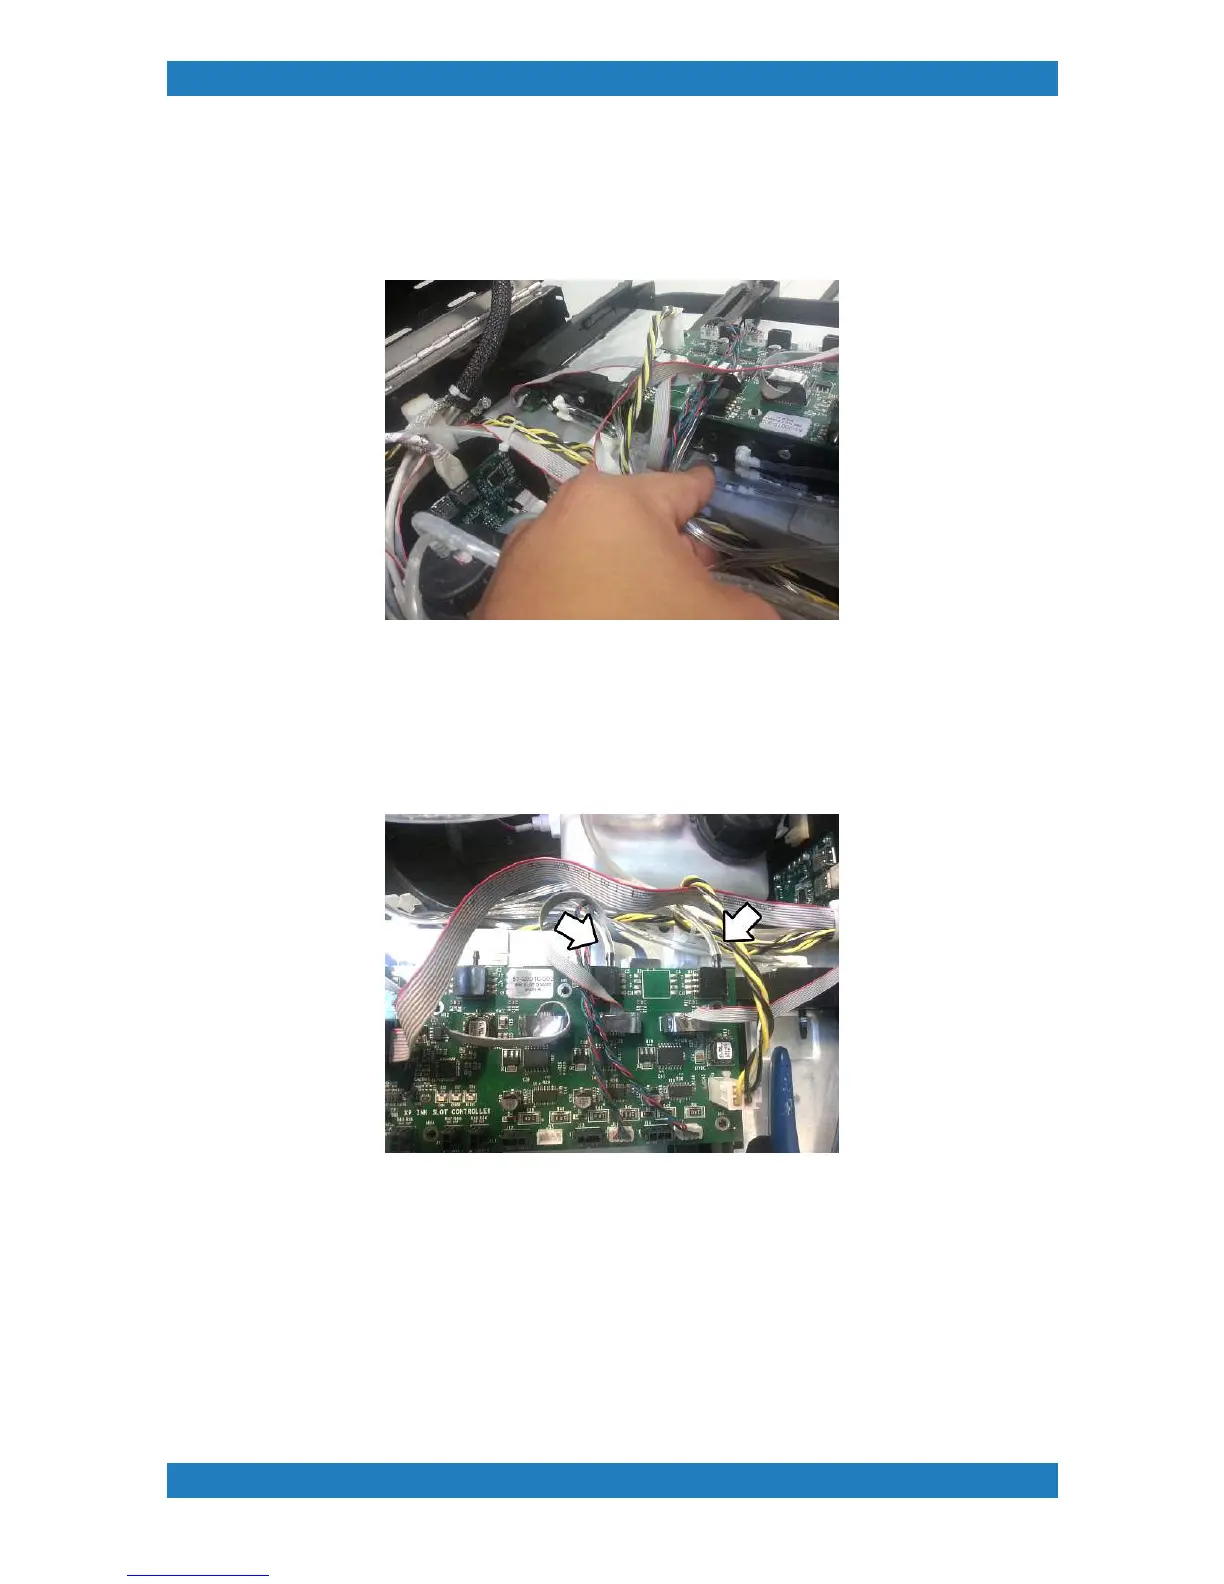
Photo 3.2.12
11. The remaining set of tubes (purge lines) should still be connected. To remove the purge lines
we must disconnect the tubbing from the Ink Slot Boards. Use a small flat head screw driver to
push on the tubbing and at the same time you will want to pull on the tube. Be very careful when
removing these tubes, the Ink Slot board can be damage if too much pressure is applied by the
flat head screw driver. See photo 3.2.13
Photo 3.2.13
12. We can now cut the tubing at the purge pumps. The purge pumps are located next to the
waste ink tank in the far bottom right. Cut the right hand side tube (if you are facing the pumps).
See photo 3.2.14