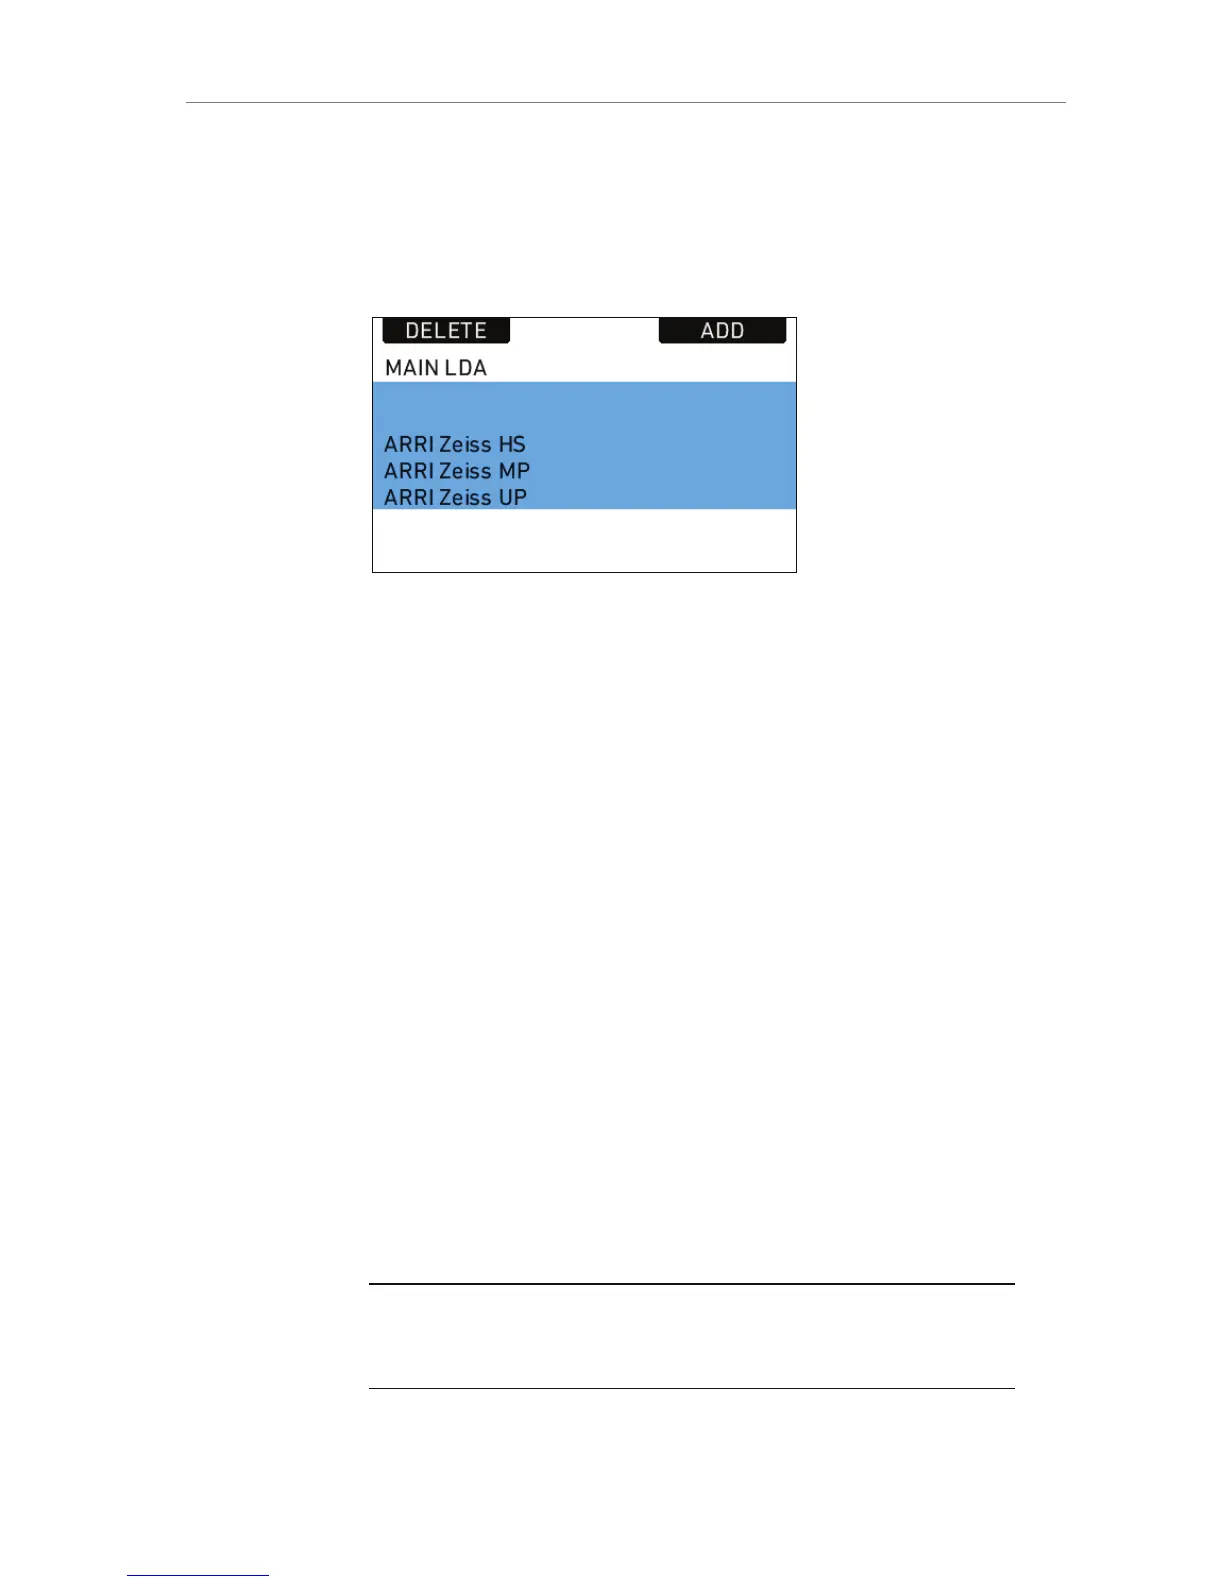
To add a lens table from the main archive, access the User LDA screen
and press the ADD button. This opens the MAIN LDA screen. From the
main archive, first select a lens type, then a lens model and then a lens
class. The lens class can be found on the lens barrell below the infinity
symbol of the focus scale. Select to add the lens table to the user list
(Press ADD), use it without adding (USE), or both (ADD+USE).
Figure 85: Main LDA screen
To delete a lens table from the user archive, access the user list and
press the DELETE button. Select the lens table to delete and press the
two buttons labelled DELETE simultaneously.
Custom lens tables can be added to the main archive via the SD card.
Place the lens table on the SD card in a folder named "LDA". Insert the
SD card into the camera. Go to the main archive list and press ADD.
Select the desired lens table and press the wheel. The lens table will be
located in the main archive as lens type "Custom".
It is possible to inverse the iris, zoom and focus scales for lens tables if
necessary. Press OPTIONS on the USER LDA screen to access the LDA
OPTIONS screen, where these adjustments can be made.
Lenses can also be equipped with the lens data mount LDM. The mount
contains a chip with the lens table stored inside, so the lens transmits
its data to the camera as soon as it is connected. For information on
current ring positions, these lenses must be used in combination with
controlled lens motors.
CLM screens
The screens for IRIS, FOCUS and ZOOM controlled lens motors all have
the same layout. They show the motor type, motor direction and motor
torque.
Note: For CLM-2 motors the torque value is greyed out as torque is only active
for CLM-3 or CLM-4 motors. It can nonetheless be changed in case a CLM-3 or
CLM-4 motor might be used but is currently not at hand.
In addition, a lens motor calibration can be triggered, either for all lens
motors, or only for the one featured in the particular screen.
 Loading...