Chapter 5 - Accessories
UM-18400E-U ATEQ F580 User manual Page 144/168
2. OPTIONAL ACCESSORIES
2.1. CALIBRATED LEAK
Calibrated leaks are used to check the instrument's calibration.
Type of leak
PRESSURE
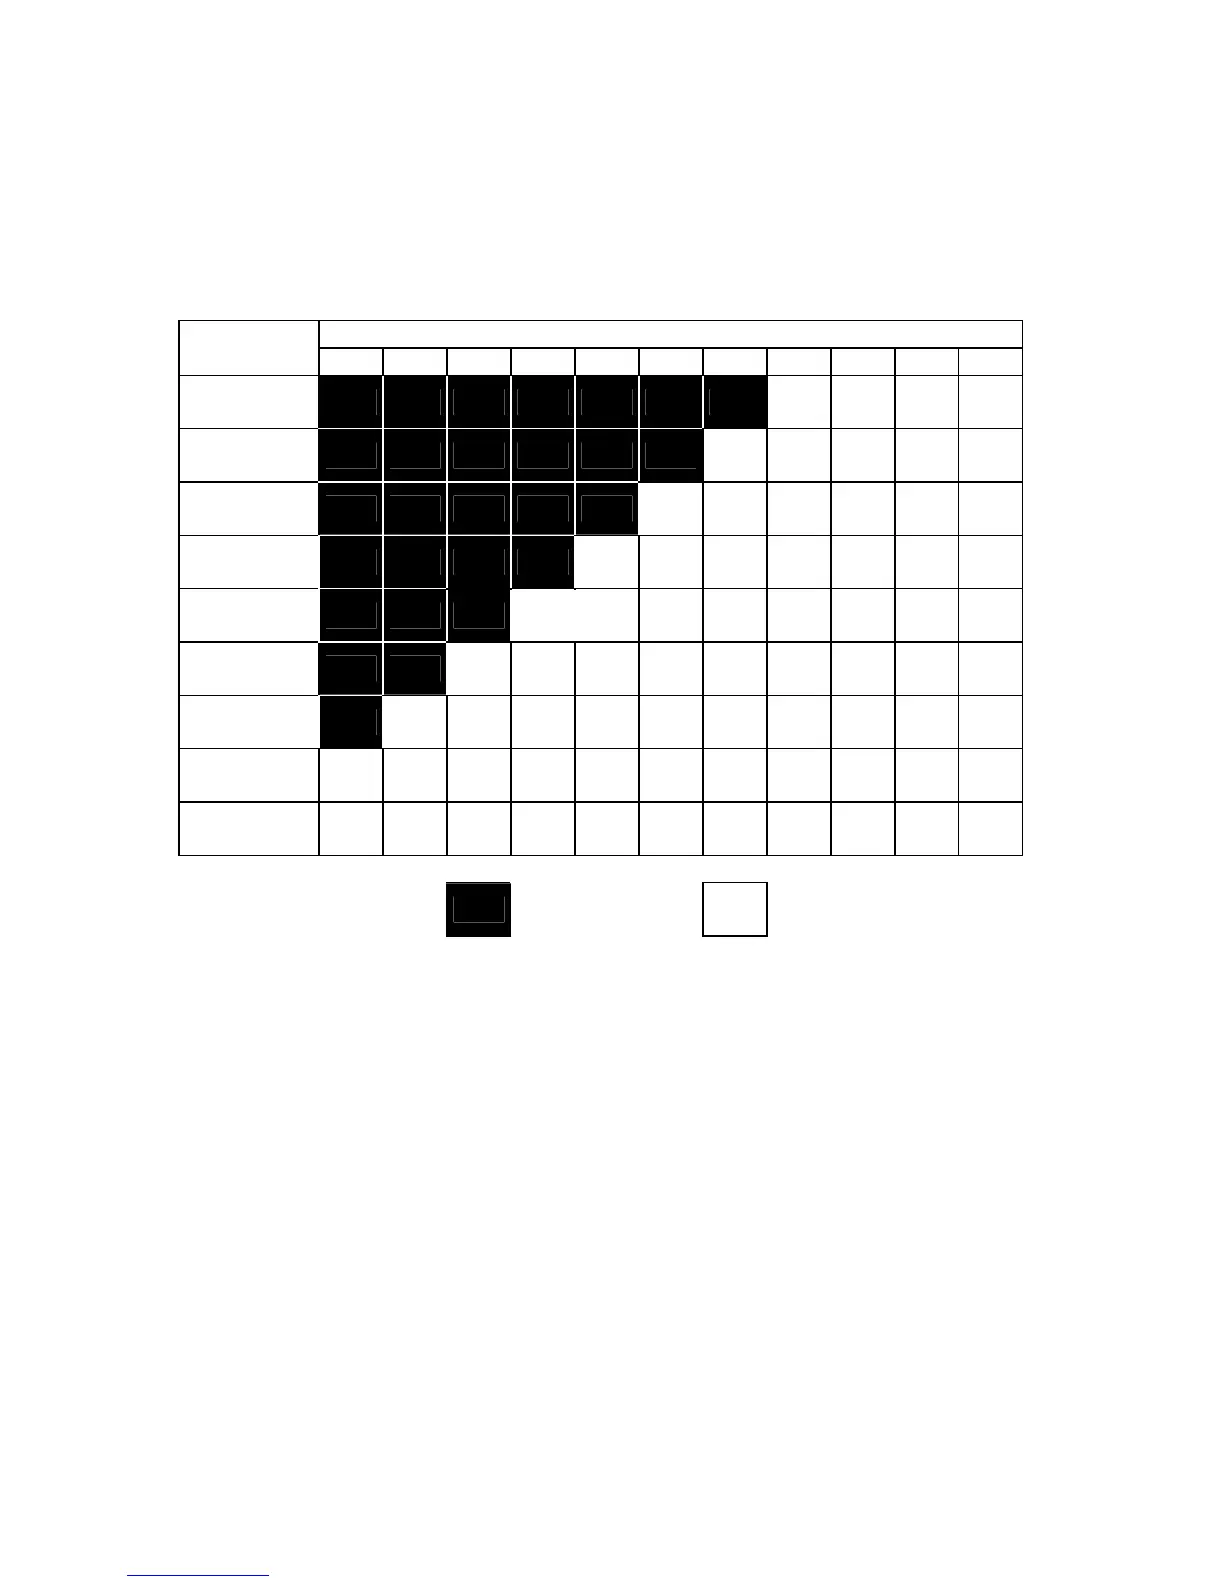
A B 5 C D 50 E F G 1000 5000
2 kPa
(20 mbar)
1.5 3.12 6.6 18 31.2 1.24 2.05 4.2 53
5 kPa
(50 mbar)
2.3 4 7.4 17.5 42 1.3 2.6 5.25 11.3 132
15 kPa
(150 mbar)
2.82 6.7 12 23 55 2.2 4 8.2 17 35.5 338
30 kPa
(300 mbar)
4.8 12 24 46.8 2.12 3.6 7.6 22.4 40 74.5 700
50 kPa
(500 mbar)
10 25 48 1.4 3.5 8 15.5 31 63 150 1142
100 kPa
(1 bar)
23 56 1.8 3.3 8 19 37 74 149 360 2230
200 kPa
(2 bar)
55 2.3 4.6 8.5 21 47 89 194 380 830 4343
400 kPa
(4 bar)
2.5 6.6 12.1 23.3 56 125 220 540 1030 1500 8750
1 MPa
(10 bar)
11.5 29 50 95 198 420 705 2310 3700 4450
kPa.cm
3
/h
(bar.cm
3
/h)
kPa.cm
3
/min
(bar.cm
3
/min)
Note : the values shown in the table above are for information only and may vary by +/-
20%. The true rate of flow is measured precisely to +/- 5% up to 1MPa.cm
3
/min
(10 bar.cm
3
/min) and +/- 3% above this value. Special leaks can be supplied on
request within 5% of the requested value.
9 The calibrated leaks must be used with clean, dry air.
9 The leaks must not be dipped in water. It is essential that they are stored in their
case after use.
9 The leaks must be checked periodically by the company's metrology department or
by the ATEQ metrology service.
9 Check that there is an 0-ring seal and that is in good condition.
9 The instrument zero check must be done by replacing the leak with a sealing connector
and not by sealing off the leak itself.
9 To check that the leak has not been blocked, attach a piece of flexible tubing to its
extremity and submerge this in water to watch for bubbles.
 Loading...