Copyright © 2007, 2008 AudioNote Kits
www.AudioNoteKits.com
audionotekits@rogers.com
Page 64
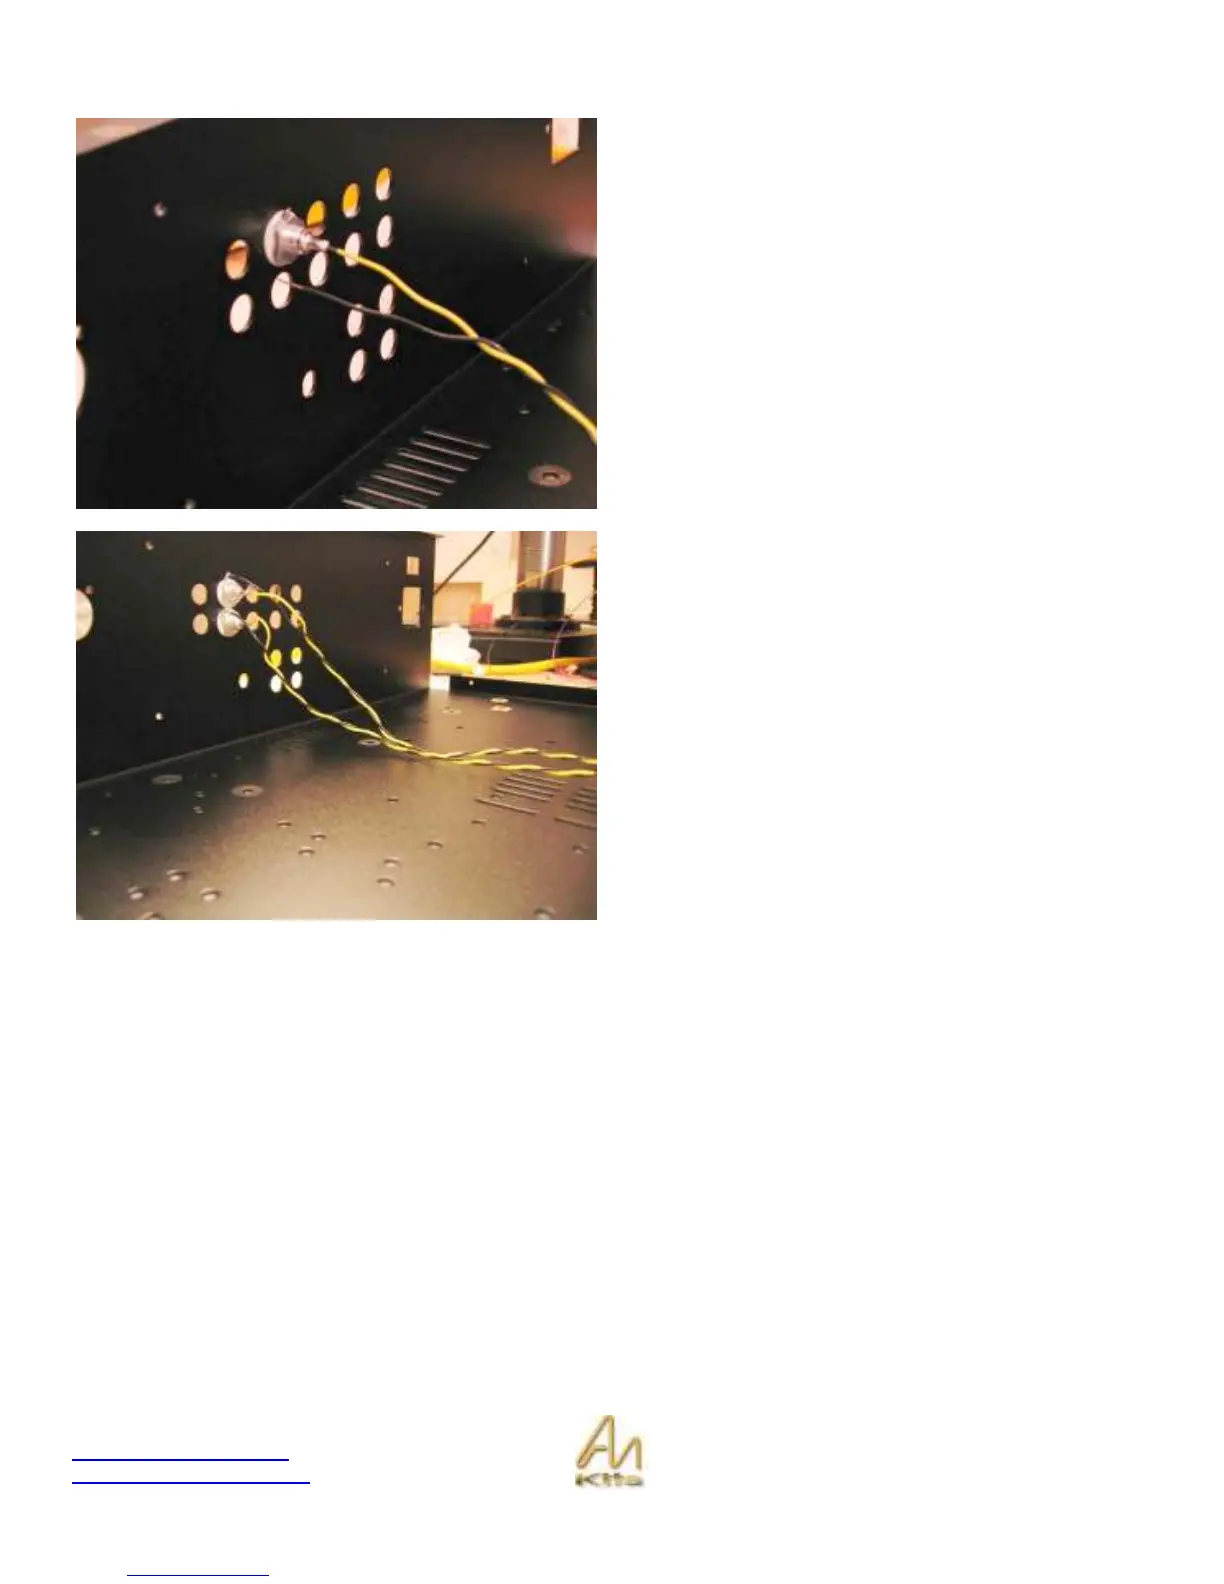
Step 3: Solder the twisted pair to the RCA connector.
Next, tine the RCA post - applying a small amount of solder
to the center area. Also, tine the ground lug.
One the RCA has been tinned, heat the solder in the center
section of the RCA. It should be like a little puddle and slide
the yellow lead into position – hold for a couple of seconds
until it is solid.
Then slide the black wire through the ground post and
touch the ground lead with the soldering iron – the tinned
wire and tinned ground lead should quickly adhere!
(Note that the picture opposite has not had it’s ground lug
soldered yet).
While working with the RCA’s the black wire will always be
the ground lead and we will use colored wire for the signal.
Any pairs of RCA’s will use the same color for the signal –
for example the pair of RCA’s we are working on now will
both use the yellow wire.