Chapter 4: Assembling Frame Chassis 23
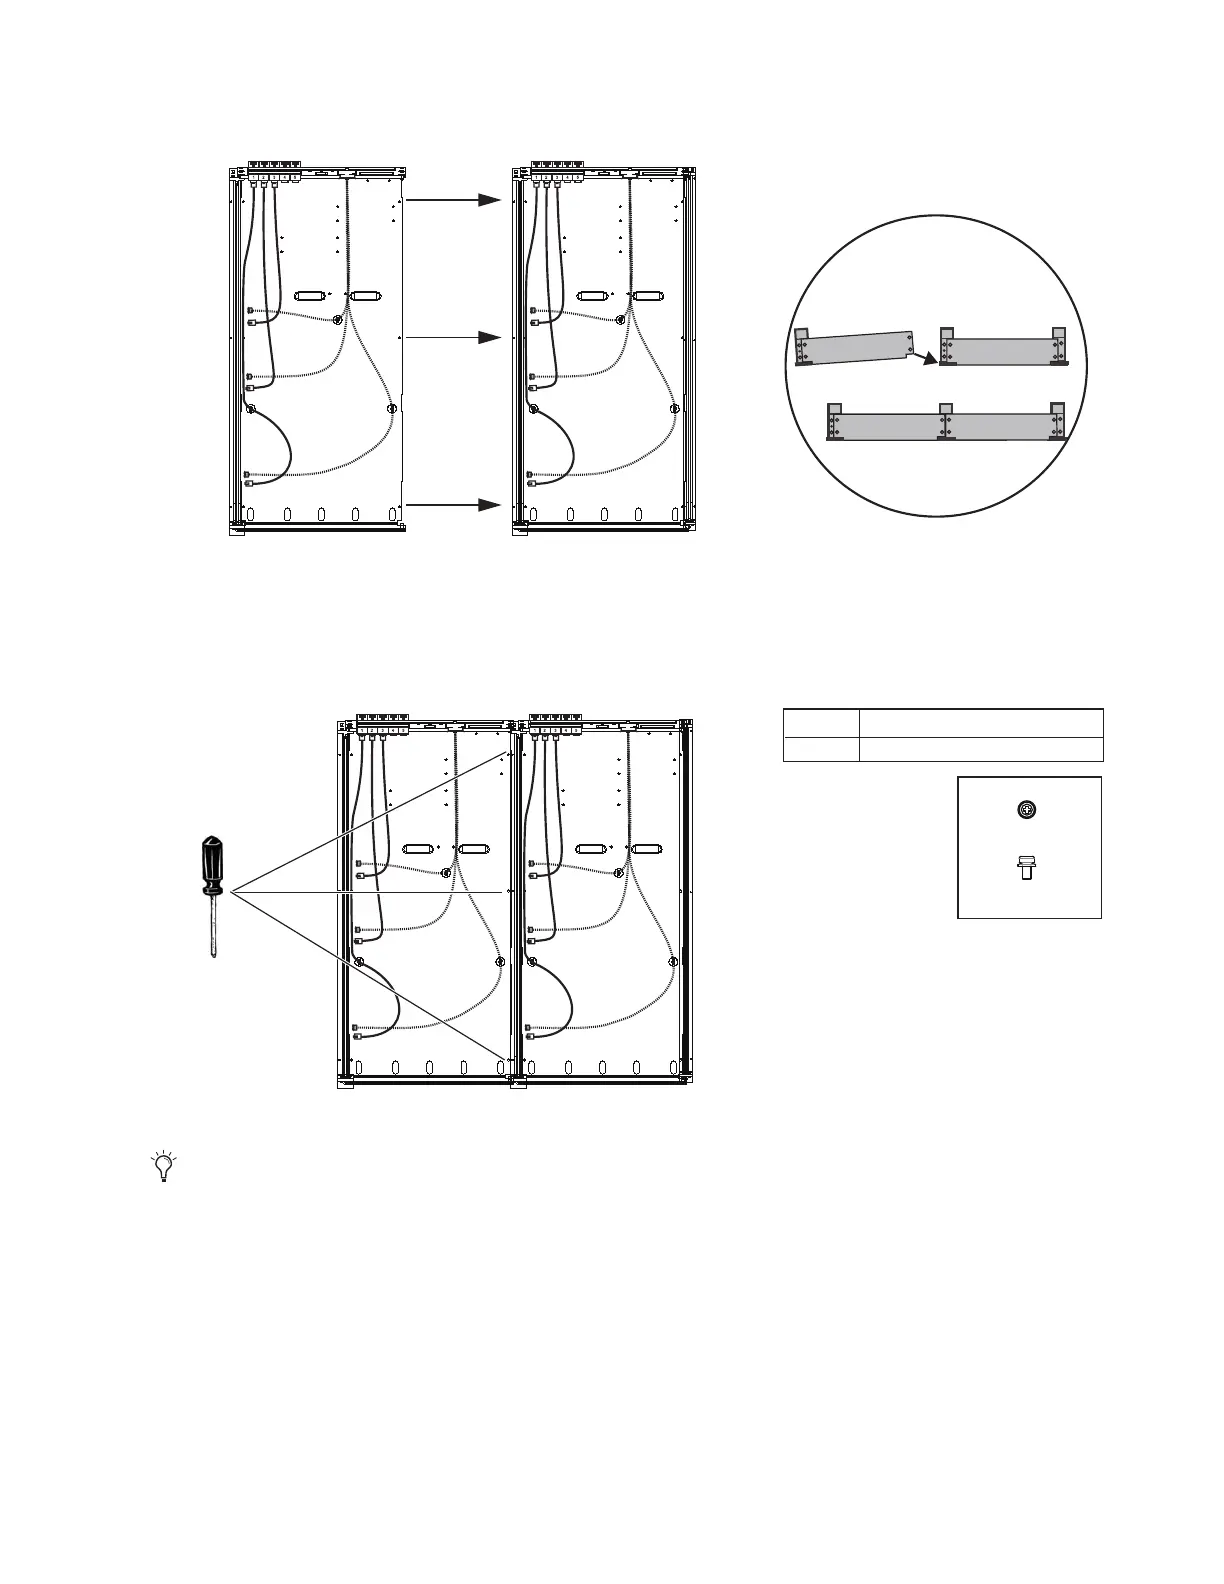
6 Move the next chassis into position so that the right edge of its Chassis Bottom Plate sits on top of the left edge of the first chassis
as shown in Figure 19.
7 If your system includes a Leg Frame, attach the second chassis to the Beams and secure loosely using more of the Hex fasteners
included with the Beams as shown in Figure 18. Tighten them enough to hold the chassis in place, but do not tighten them fully.
8 Attach the right edge of the second chassis Bottom Plate to the left edge of the Side Wall of the first chassis using three
#1 Phillips screws as shown in Figure 20. Do not tighten the screws fully.
Figure 19. Attaching the first two chassis (top view, at left, and front view, at right)
Figure 20. Securing the Chassis Bottom Plate of the first chassis to the Side Wall of the second chassis
Set the other #1 Phillips fasteners aside for now; you will use these later to secure the switch and/or PSU tie-down brackets.
(Not to scale)
M3x6 SEMS (7020-38640-00)
Fastener
#1 Phillips
Tool

 Loading...
