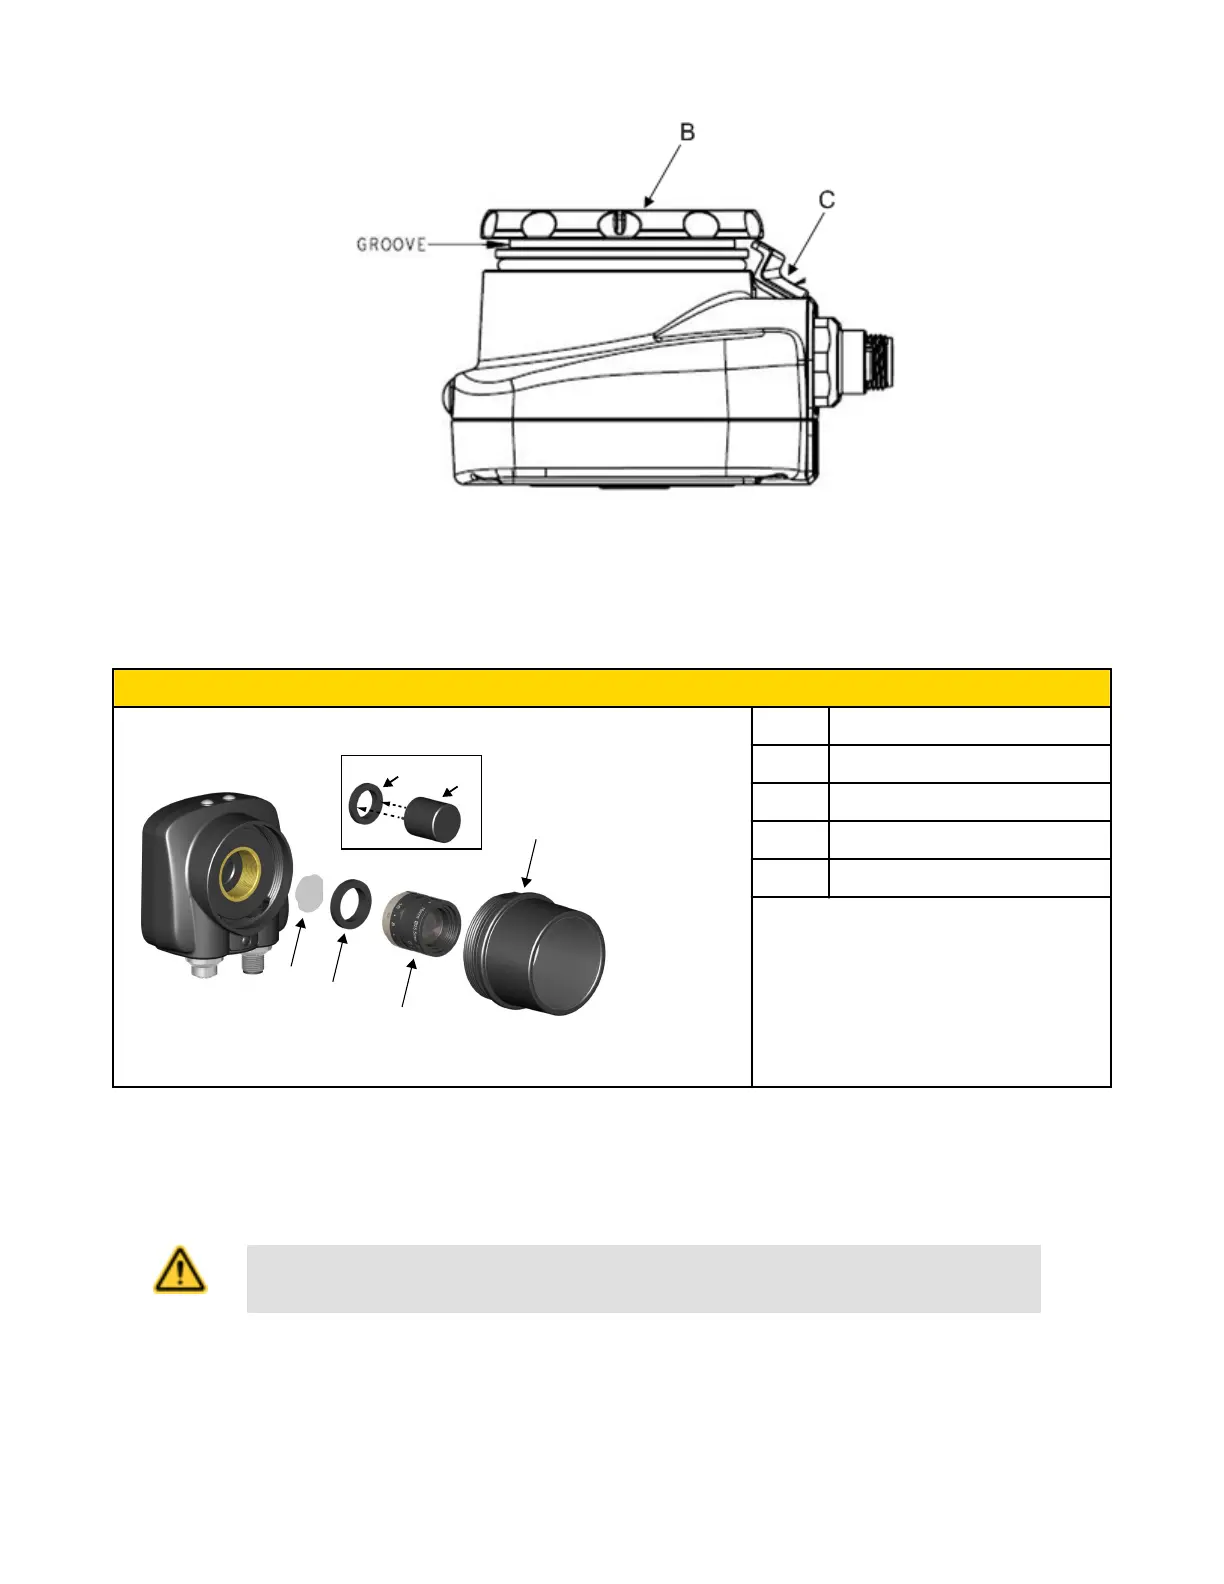
5. Press the Focusing Window onto the housing to make sure that it seats correctly (that is, there is no gap between the window and
housing. Rotate the window counter-clockwise at least two turns.
6. Replace the locking tab screw but do not tighten until you have set up and focused the sensor again.
To install a filter on the iVu Series sensor with C-Mount Lens, use the illustration as a guide and follow the steps listed below.
C-Mount Models
A C-Mount Lens
B Lens Enclosure
C Retainer Ring (optional)
D Filter (optional)
E Filter Retainer Ring Tool
NOTE: Filter Kits are available separately.
1. Remove the Lens Enclosure and Lens.
2. Install filter behind the retainer ring. Make sure it is fully seated.
3. Using the provided retainer ring tool, thread the retainer ring into the sensor until it firmly seats the filter.
4. Replace the Lens and Lens Enclosure on the camera.
CAUTION: Avoid the damage that electrostatic discharget (ESD) can cause to the sensor. Always
use a proven method for preventing electrostatic discharge when installing a lens or attaching a cable.
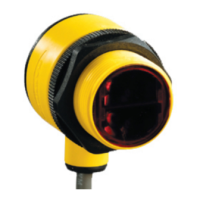
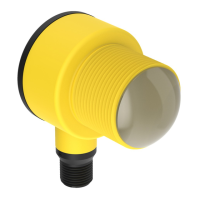
2.2.2 Cable Connections for iVu TG with Integrated Display
The power and I/O cable for the iVu TG sensor is available in 2, 5, 9, and 15 m (6, 15, 30, 50') lengths. The connector on the sensor is
shown below (B).
iVu Series Image Sensor
10 www.bannerengineering.com - tel: 763-544-3164 Rev. E
 Loading...