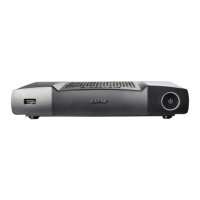
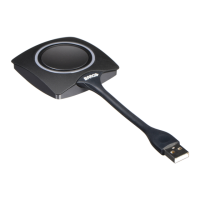
5. Installing ClickShare
173mm
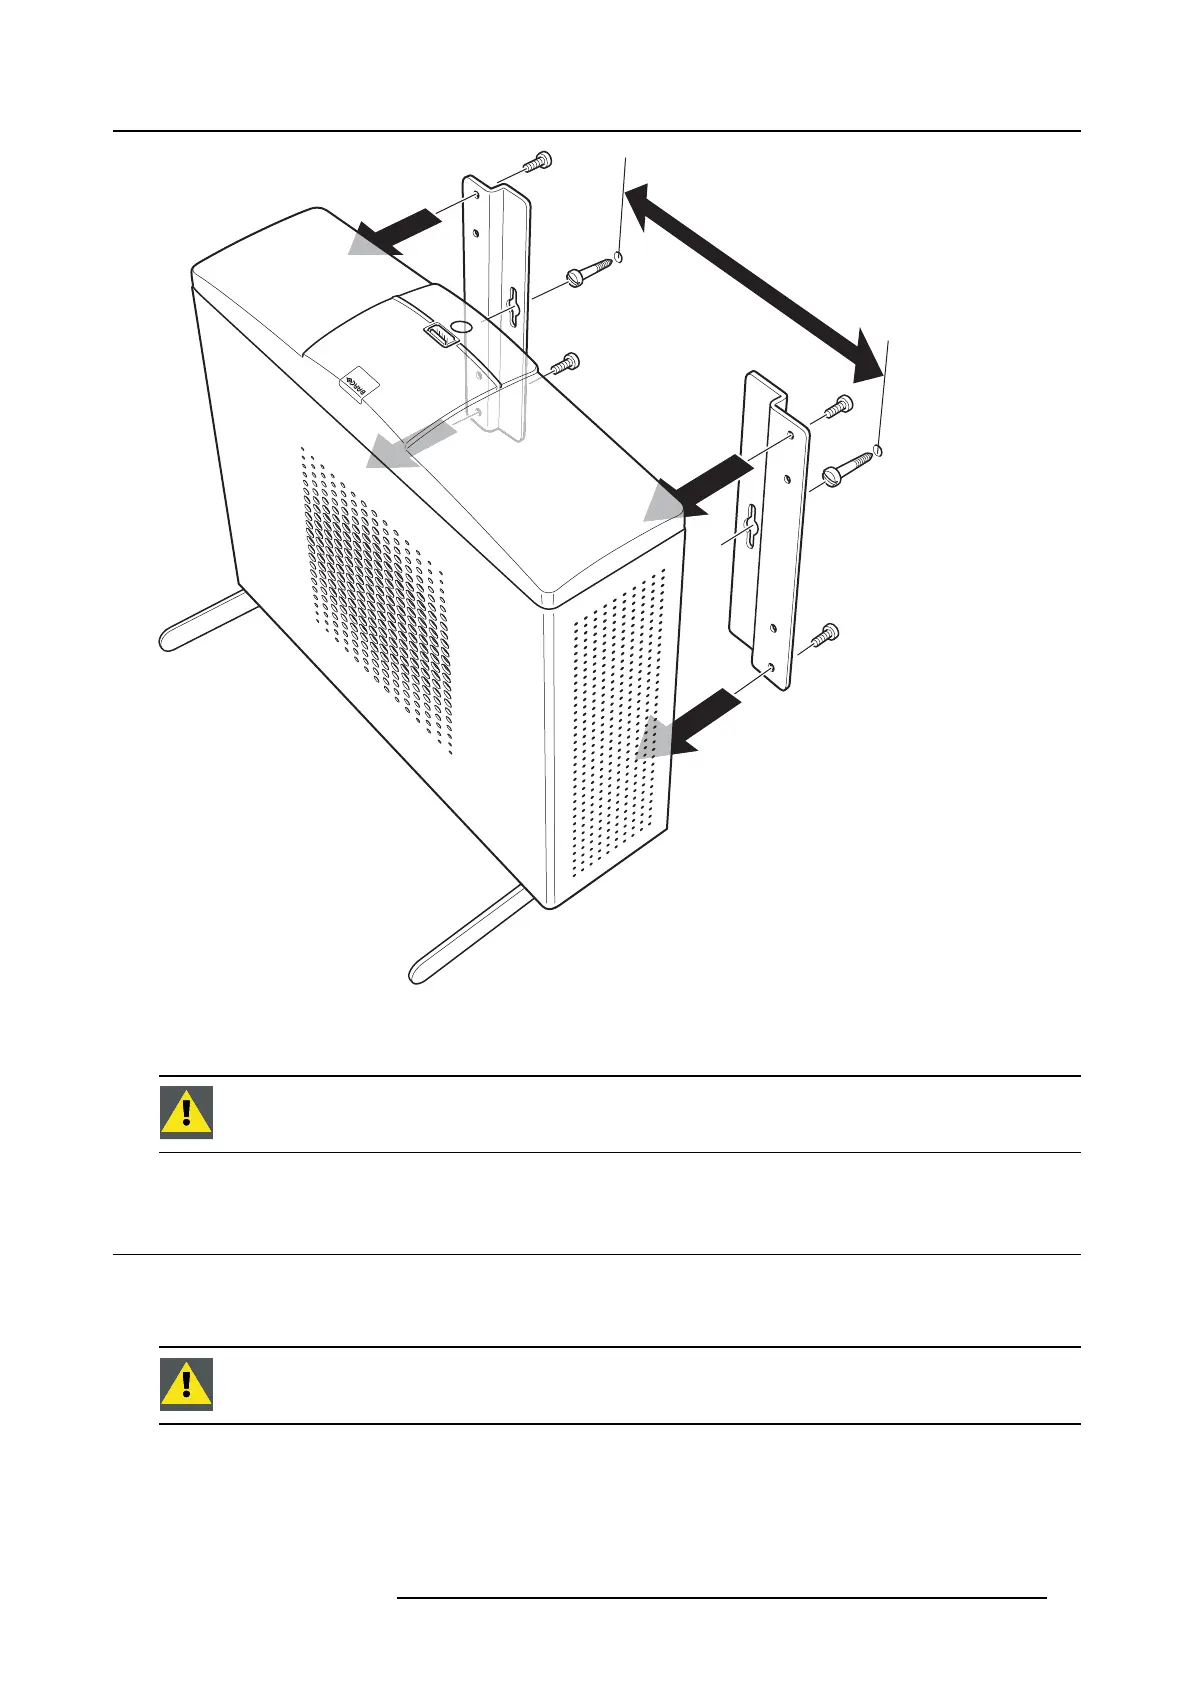
Image 5-1
4. To mount the Base unit on the wall, h
ook the slots in the brackets over the 2 screws in the wall (front side of the Base unit directed
towards the ceiling or the floor) and pull it downward until it is secured.
CAUTION: It is only allowed to mount the Base Unit front side up or down. Mounting on its side is not allowed!
5.4 Ceiling mounting
About ceiling mounting
Use the mounting brackets, inserted in the ClickShare box, to mount the Base unit to the ceiling.
WARNING: Never use t he “k
eyholes” in the mounting brackets to mount the B ase unit to the ceiling !
Necessary tools
• a drill (type of drill depends on the type of ceiling and screw type)
• T10 torx screwdriver
R5900006 CLICKSHARE 04/12/2013 25