5. Installing ClickShare
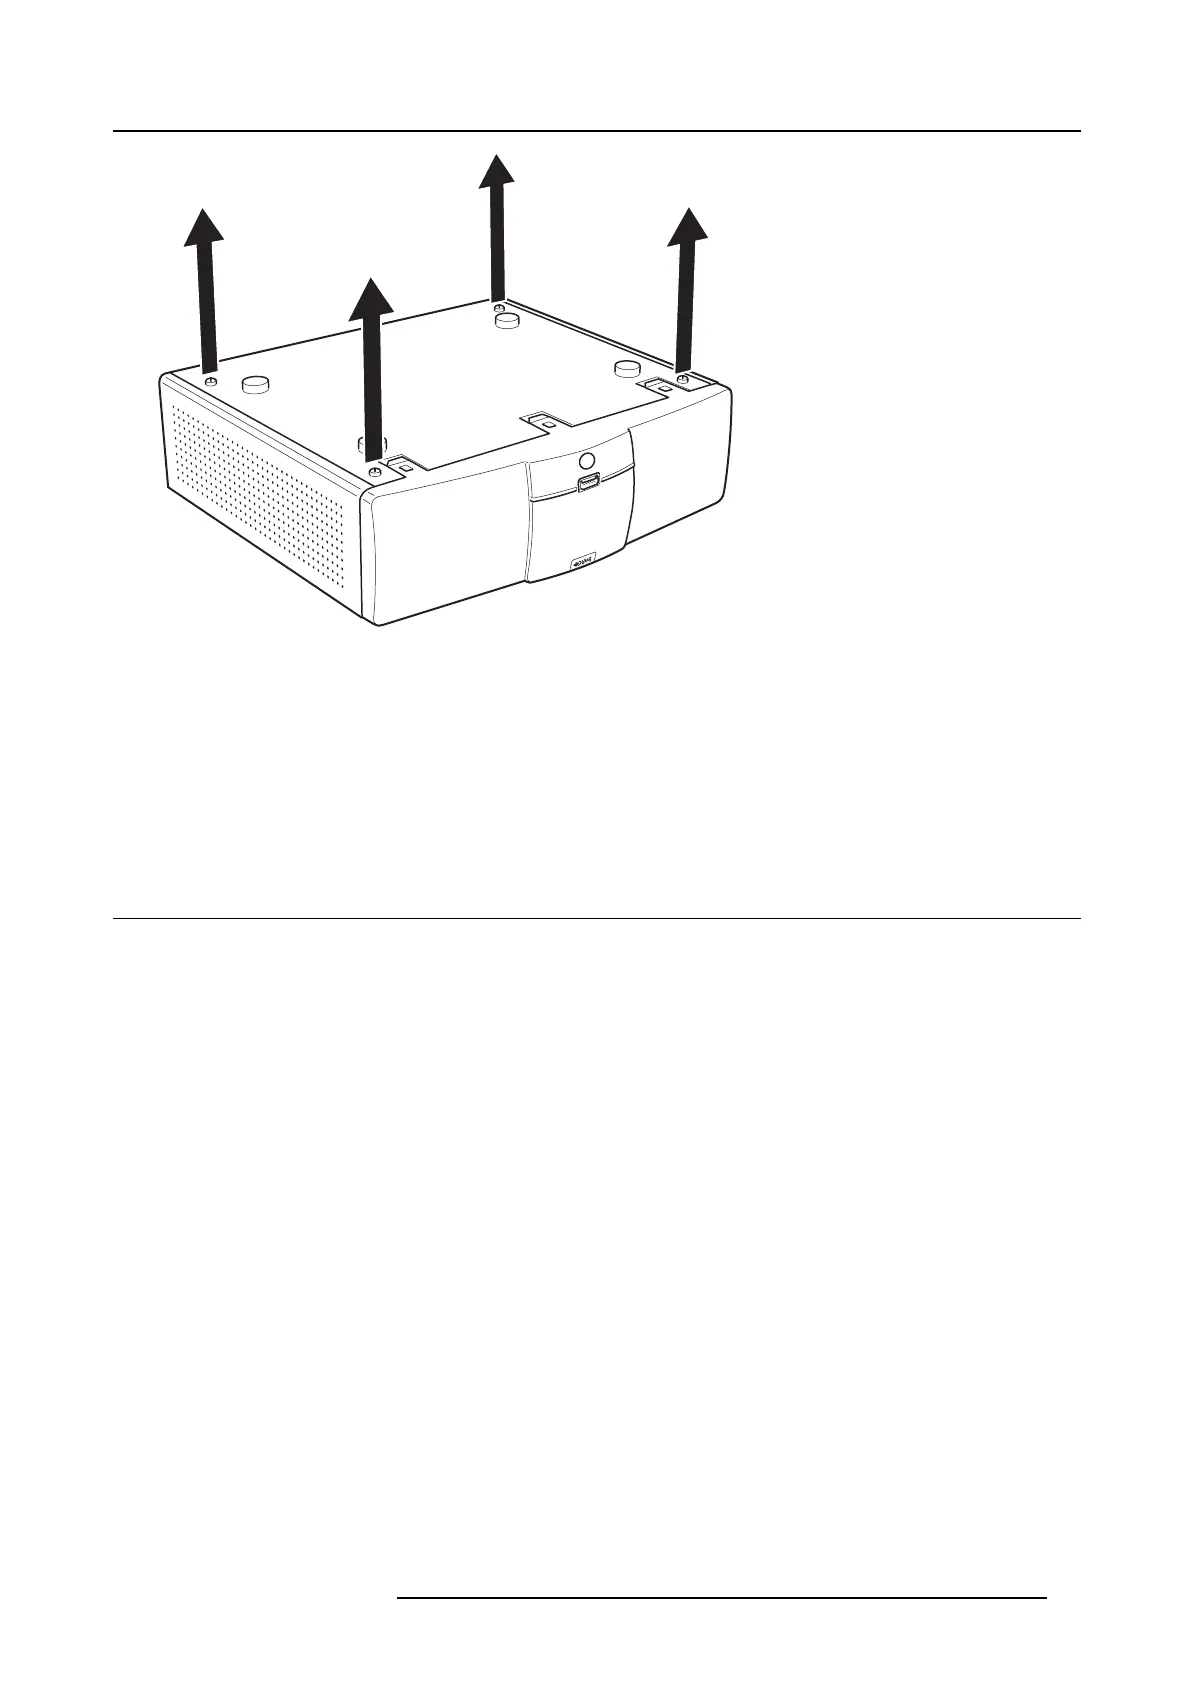
Image 5-3
Removal of pre-mounted screws
3. Install the mounting brackets to the Base Unit as shown on image 5-2. Drive in the four removed Pan Head T10 M3 screws to
secure the brackets to the Base Unit.
4. Insert a plug in each hole (if needed and depending on the ceiling type) and drive in the 4 mounting screws.
Note: Mounting screws and plugs are not included in the ClickShare box . The type of screws and plugs depends on the type
of c eiling (stone, wood, plas terboard, ...) you are mounting the Base Unit to.
Tip: This procedure should be performed by two people: one person
holding the Base Unit in place, one person tightening
the screws.
5.5 Rack mounting
About rack mounting
For meeting rooms with a dedicated AV rack, an optional Rack Mount for the ClickShare Base Unit is available. This integrates
ClickShare seamlessly into the room’s existing high-end AV installation. The rack mounting kit should be ordered separately.
Necessary free space in the rack is 3U.
The total weight of the Base Unit — including the rack mount plate — is 6,1 kg.
Necessary tools
• Torx T10 screwdriver
• Additional screwdriver that matches the mounting screws
Necessary parts
• A rack mount kit (to be ordered separately)
• 4 screws (included in the rack mount kit)
How to install
1. Remove the four Pan Head T10 M3 screws at the bottom of the Base Unit.
R5900006 CLICKSHARE 04/12/2013
27