12. Lamp House & Lamp replacement
Image 12-18
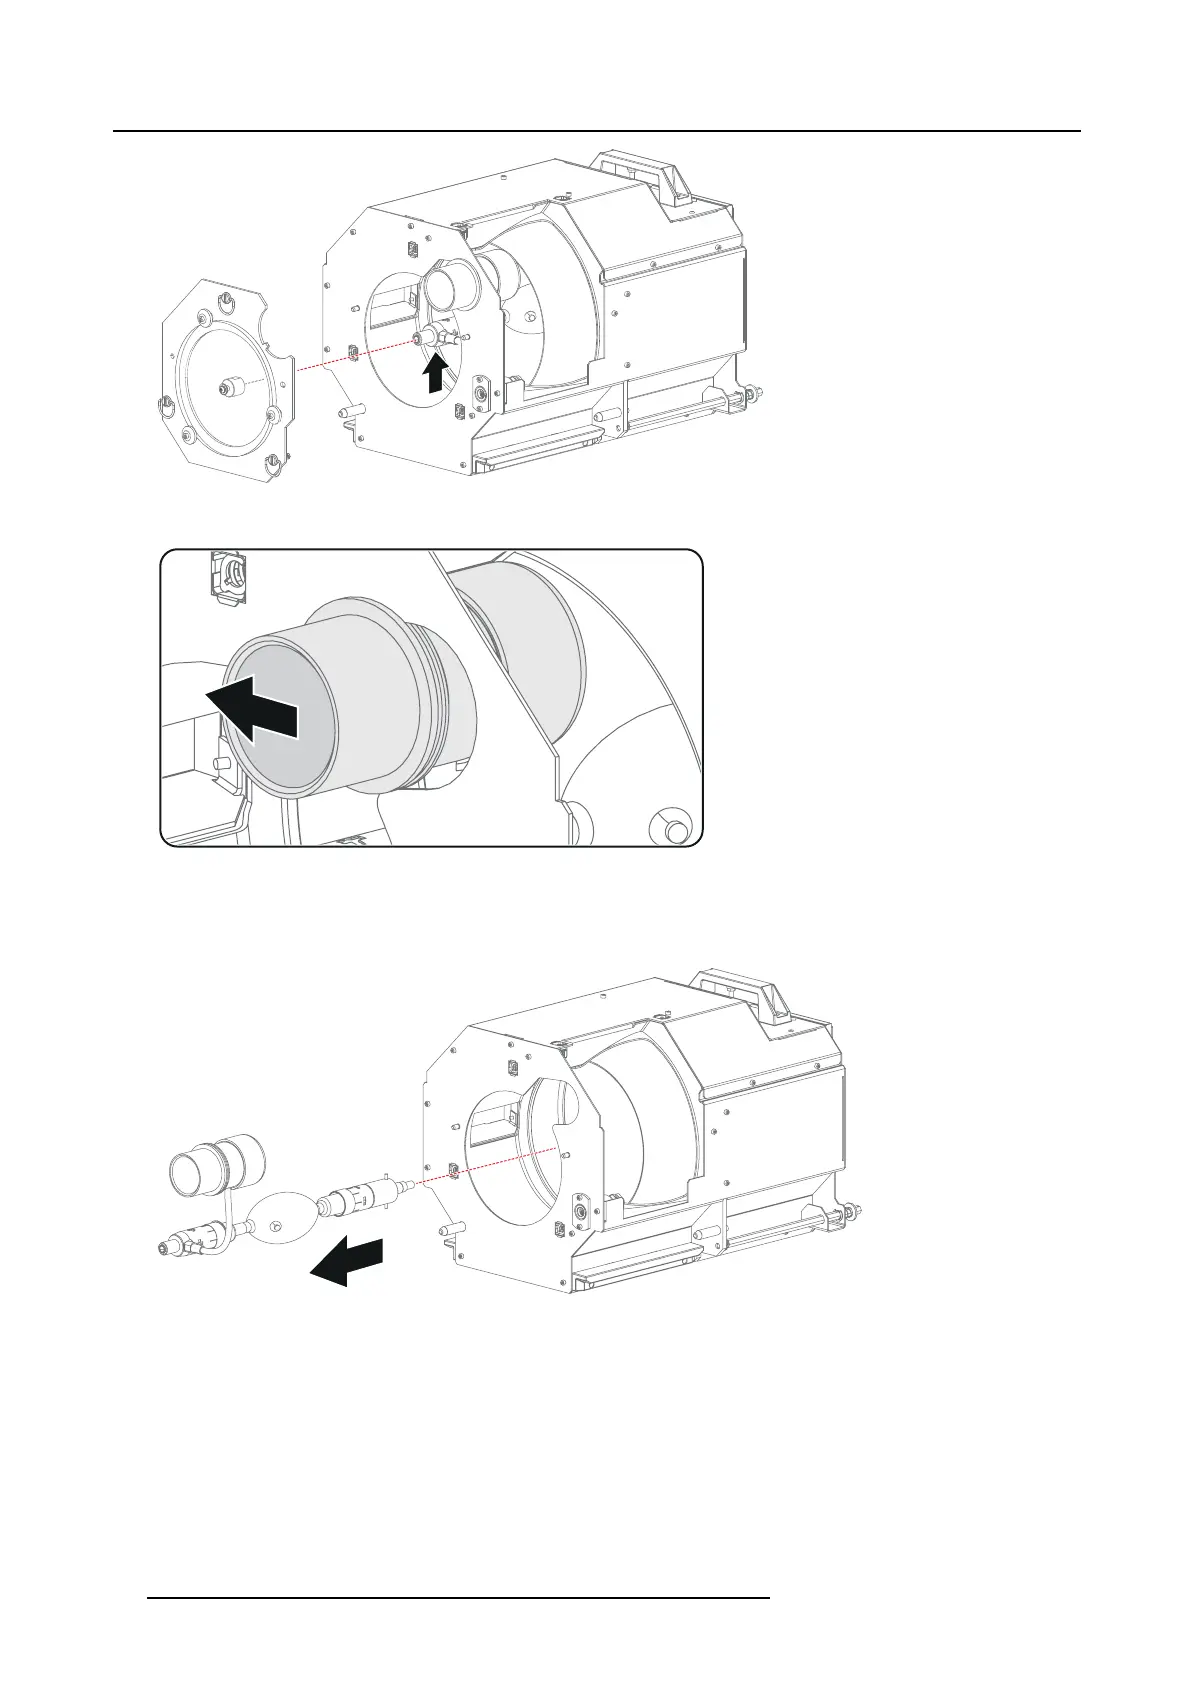
5. Slide out the a node connector from t he Lamp Hou se. The anode connector r emains attached with the lamp anode wire.
Image 12-19
6. Gently remov e the xenon lamp together with the anode connector out of the L amp H ouse. Do not apply excessive force to the
xenon lamp. The xenon lamp should easily slide out the cathode socket of the Lamp H ouse.
Warning: Supporting the xenon lamp w ith one hand while pulling it out w ith other hand prevents it from bumping aga inst the
chassis of the Lamp House.
Image 12-20
7. Place the xenon lamp in its protective container or wrap the xenon lamp in a protective cloth and secure w ith two binders.
86
R5977692 DP2K-S SERIES 10/12/2012

 Loading...


