601–0445 /05 Loki 73
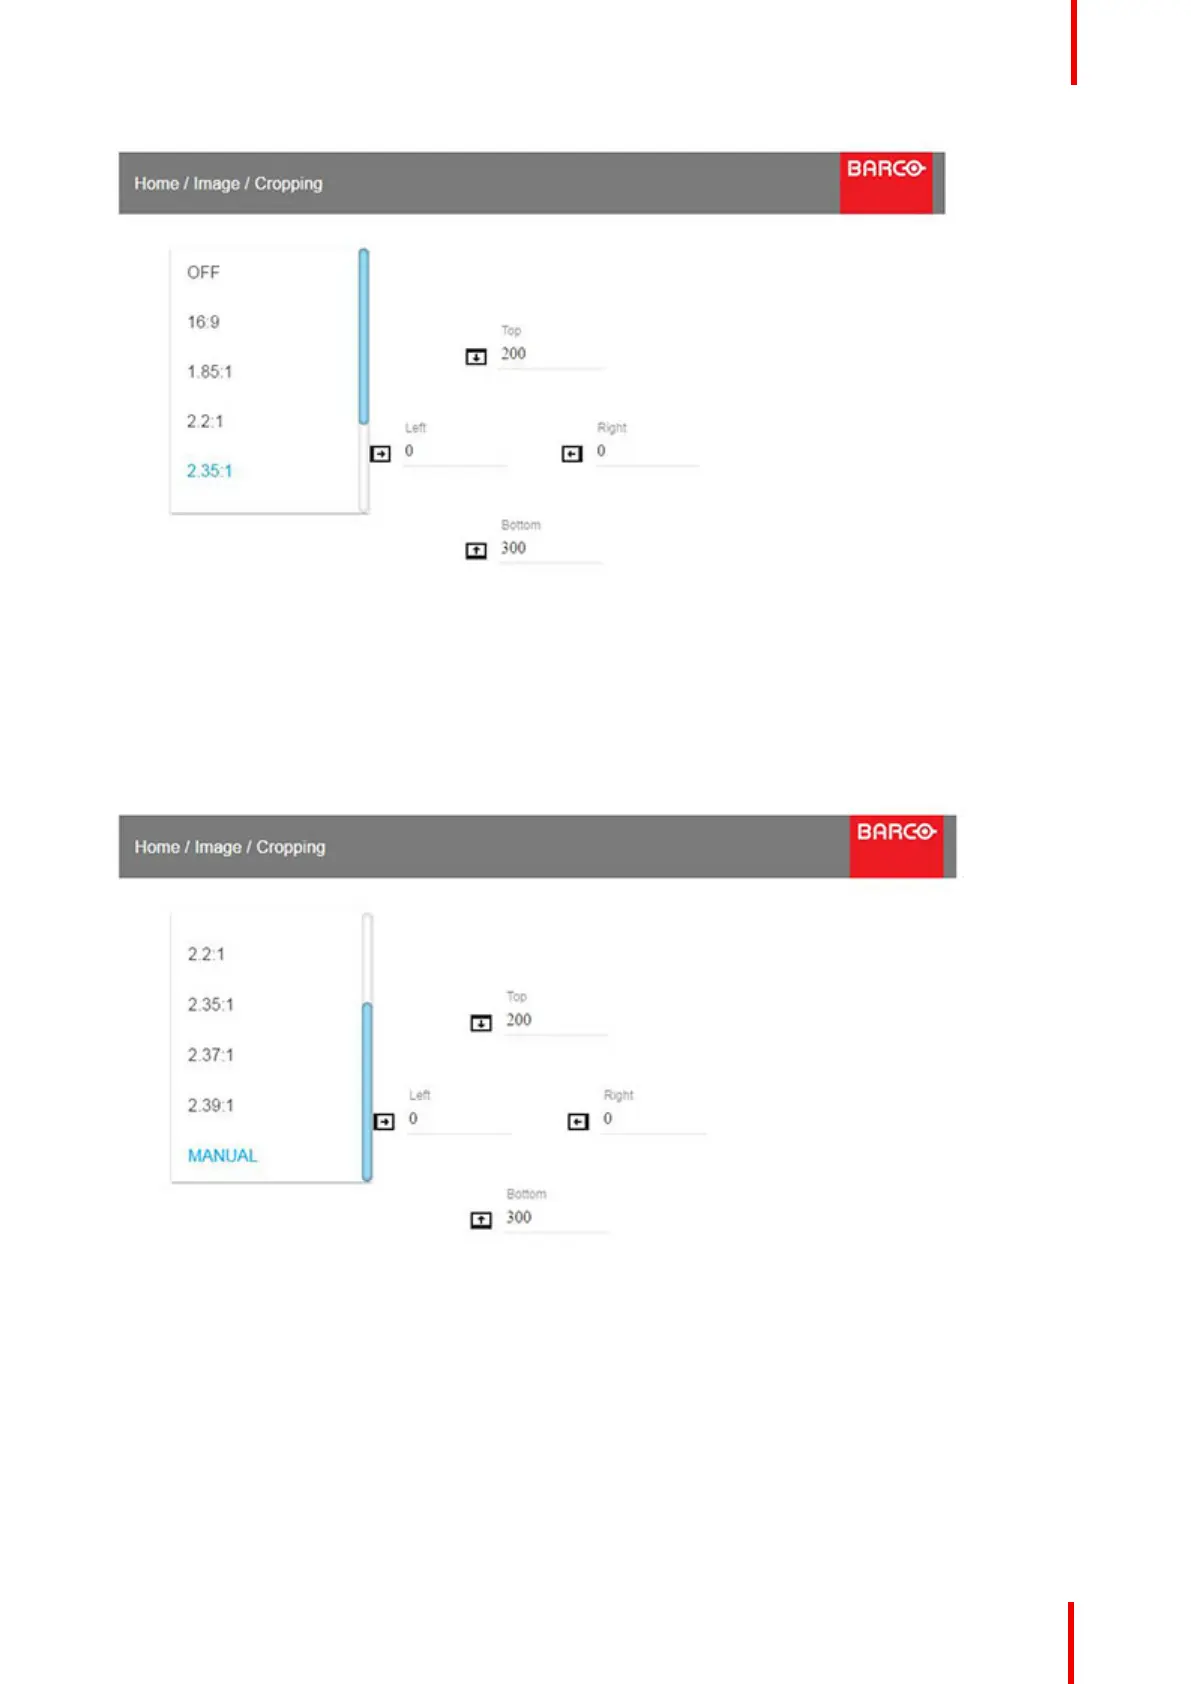
Image 7-1
Enter the menu showe above,and select the input format from the dropdown menu.
Exit the menu.
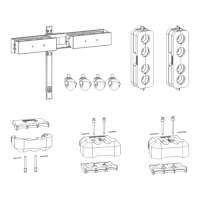
7.3 Manual Cropping
Image 7-2
When the preset values do not match the input format, the manual mode must be used
Enter the menu, and select manual. The OSD will show four numeric values that may be changed, and each
numeric value indicates the number of black display lines that shall be removed.
Select the “top” value, and enter a suitable numeric value. If necessary, do several iterations in order to match
the correct value.
Select the “bottom” value, and enter the same value as for the “top”.
Advanced picture adjustments