8 Disassembly/Reassembly
8-4 FLO-GARD 6201 VOLUMETRIC INFUSION PUMP SERVICE MANUAL 07-19-B1-688
Disassembly/Reassembly
Disassembly of the FLO-GARD 6201 Single Channel Volumetric Infusion
Pump is limited to the mechanical components and printed circuit boards
(PCBs). It is recommended that electrical problems be corrected by replacing
entire PCBs unless circumstances warrant component repair. Use only
approved replacement parts provided by Baxter Healthcare Corporation and
listed in Chapter 11, “Illustrated Parts Breakdown”.
Please read all steps in the procedure before beginning. The procedures are
given in order of disassembly. Disassemble the pump only as far as required
to complete repair. All fastening components such as screws, washers and
nuts used in the pump are metric. Be sure to use metric tools and replace only
with metric components.
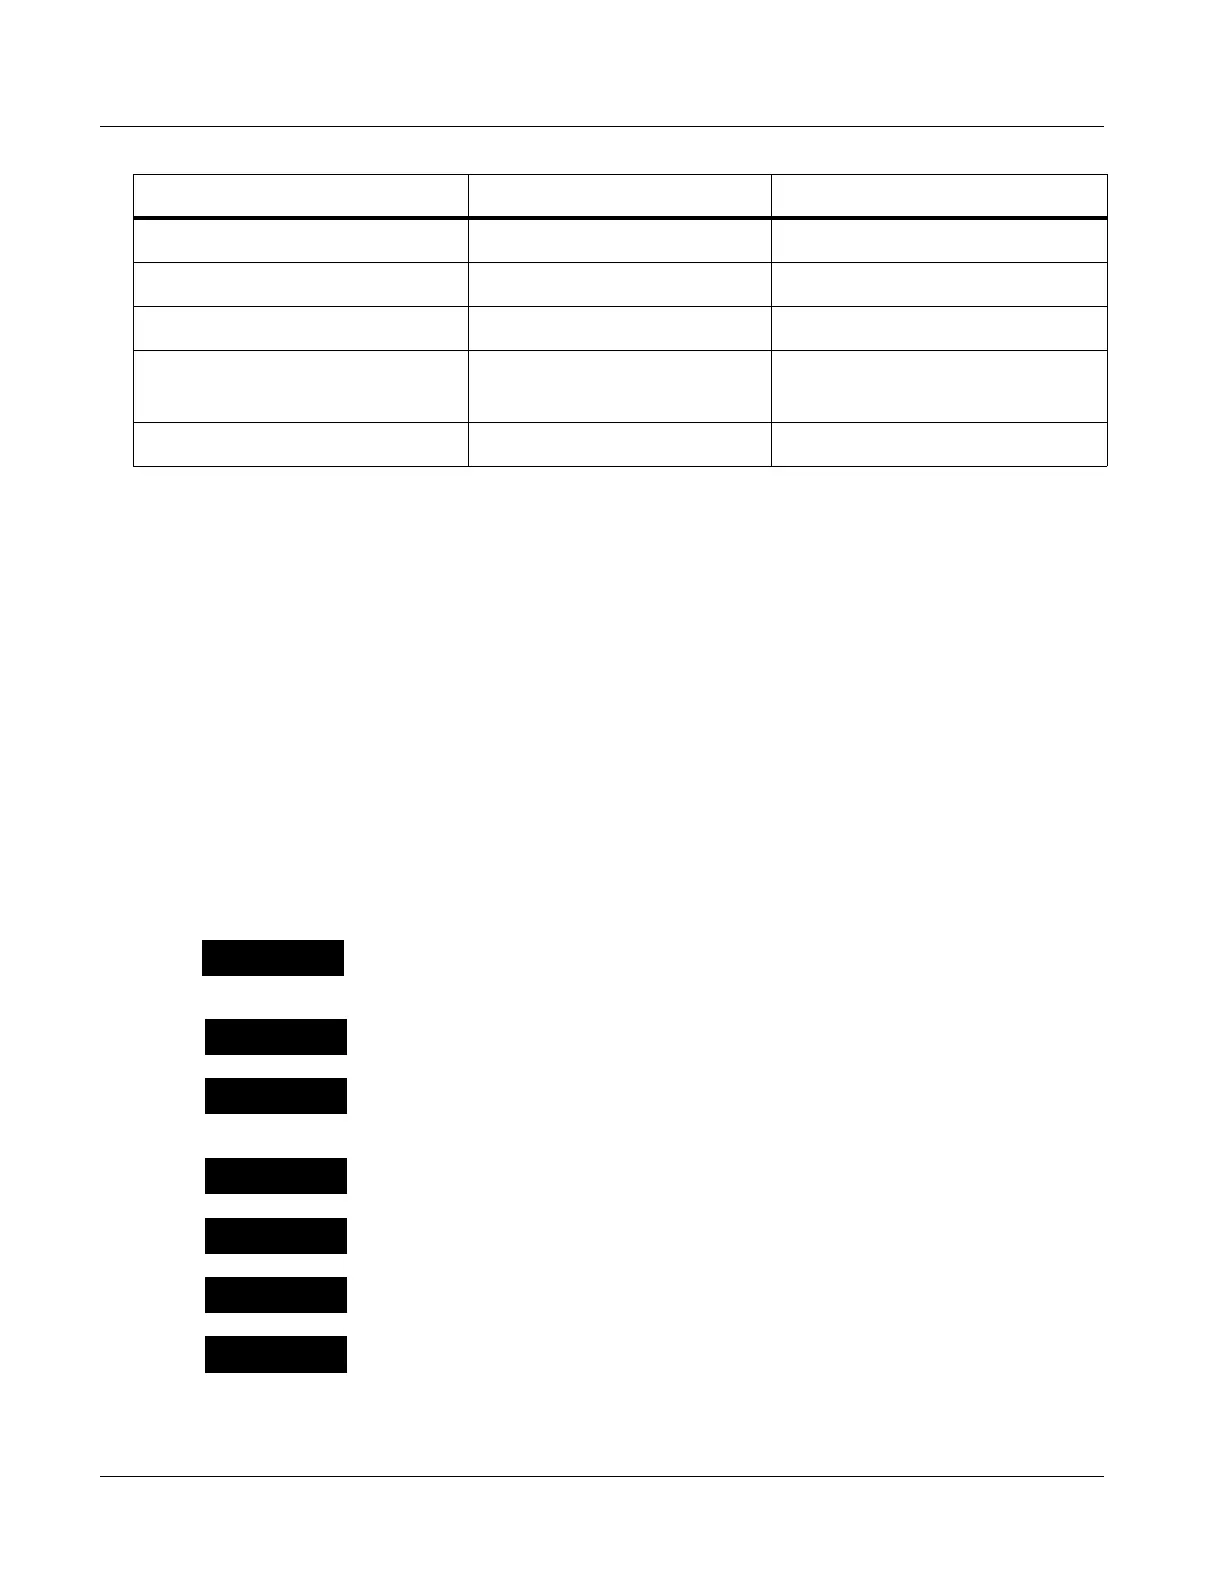
Main buzzer PCB assembly
Item 22 in Figure 11-3 7 kgf-cm (6.1 in-lbs)
Backup audible alarm PCB assembly
Item 22 in Figure 11-3 7 kgf-cm (6.1 in-lbs)
Terminal PCB assembly
Item 22 in Figure 11-3 7 kgf-cm (6.1 in-lbs)
117V, 60 Hz AC transformer
Items 21 and 24 in Figure 11-3
Item 20 in Figure 11-3
9 kgf-cm (7.8 in-lbs)
5 kgf-cm (4.3 in-lbs)
Pole clamp
Item 21 in Figure 11-4 9 kgf-cm (7.8 in-lbs)
Table 8-1 Torque Specifications — continued
Component Secured Item No. in Figure Torque Specification
Ensure that the pump is powered off and unplugged from the AC receptacle
before performing maintenance procedures unless directed otherwise by the
procedure in this manual.
Tighten fasteners to the torque values specified in the procedures. Do not
overtighten any fastener.
Work only at a properly installed electrostatic discharge (ESD) workstation. Wear
a grounding wrist strap, when not connected to AC power, while servicing the
pump.
Do not lay the pump face down on components or tools which could scratch or
damage the keypad. Do not lay the pump face down with door assembly open.
Where connectors are identified as “locking,” unlock the connectors before
removing cables.
Note the routing of the wires before removing them.
Fully unlock flat ribbon cable connector flange before removing cable. Attempting
to remove the cable while locked can damage the cable and connector.



 To Next Page