8 Disassembly/Reassembly
8-10 FLO-GARD 6201 VOLUMETRIC INFUSION PUMP SERVICE MANUAL 07-19-B1-688
Note: If this does not stop the clicking you need to check for the source in other
areas such as a loose motor coupling or a misaligned motor.
4. Reassemble the cover in reverse order. Tighten each of the five screws to
4 kgf-cm (3.5 in-lb) with a torque screwdriver.
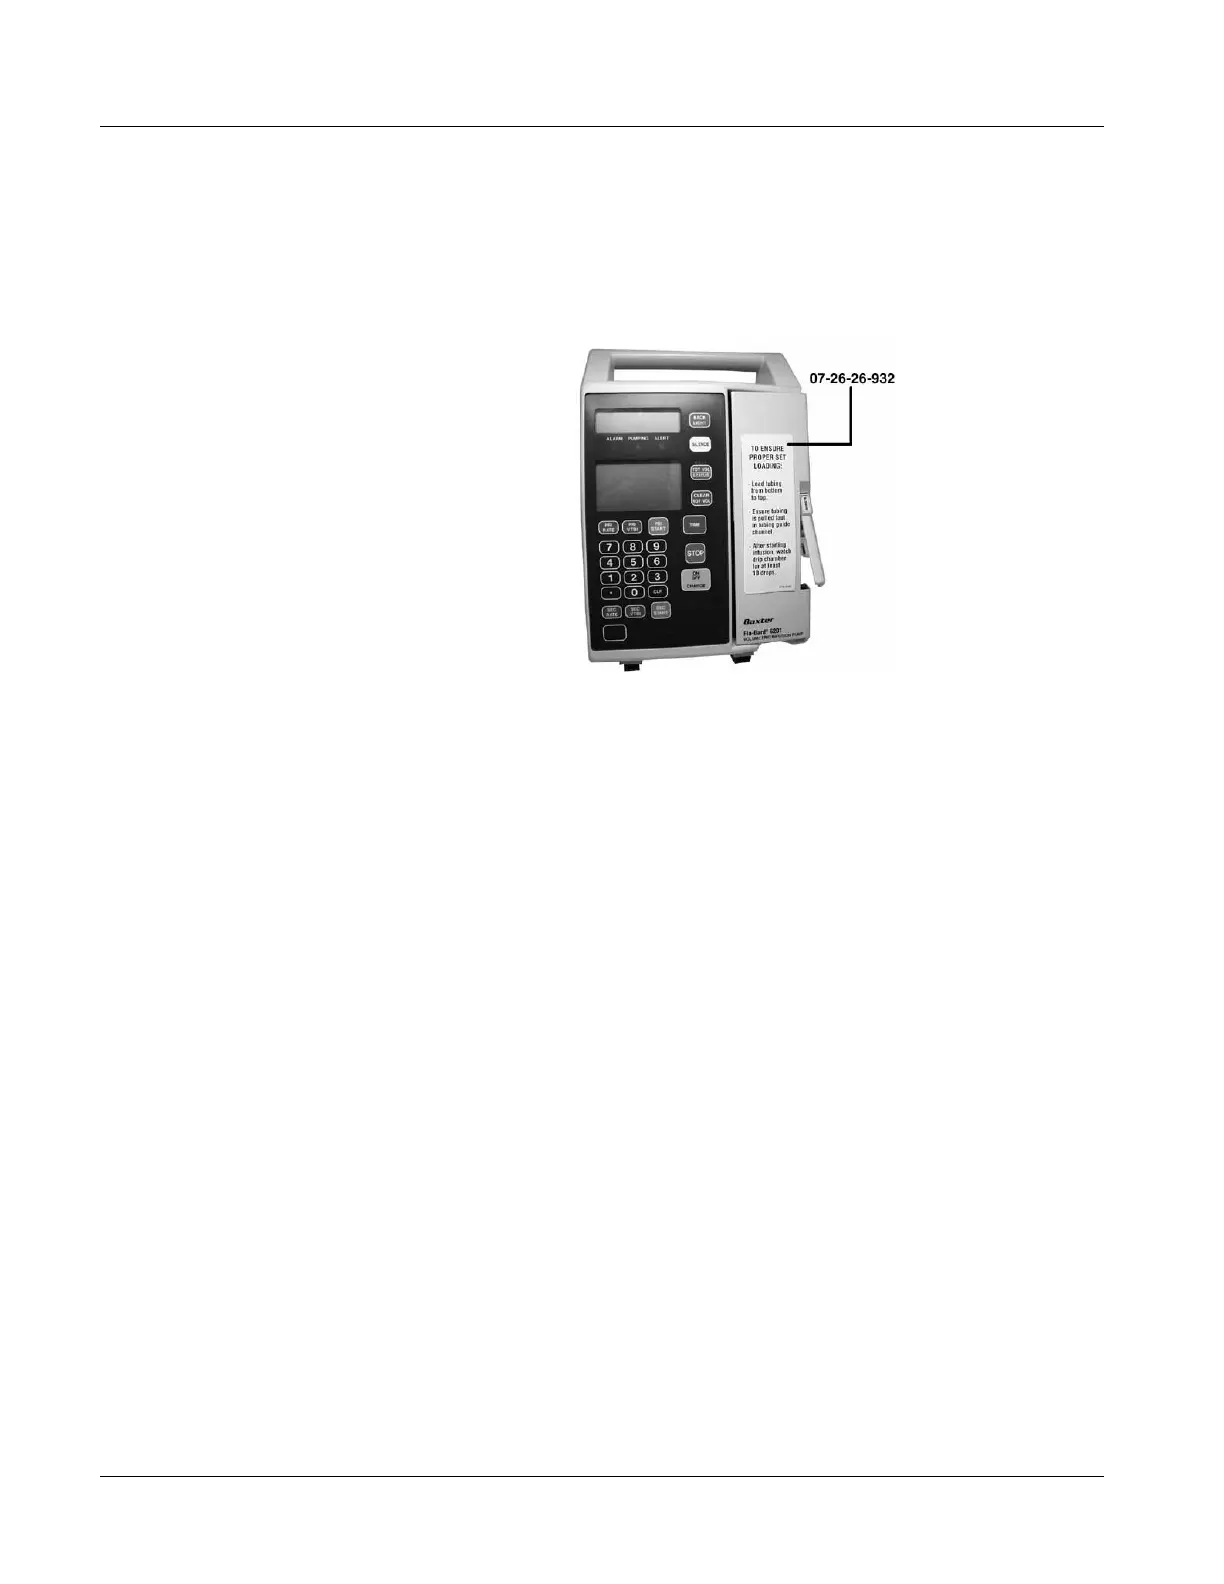
5. Apply the Front Door Information Label (p/n 07-26-26-932) to the
outside of the door (see Figure 8-2).
Figure 8-2 Door Information Label Location
6. Perform the procedure in “Safety Slide Clamp Mechanical Calibration”
on page 9-4.
7. Perform the procedure in “Free Flow Prevention Test” on page 10-11.
8. Perform an accuracy test as specified in the Operational Checkout
procedures of Chapter 10, “Operational Checkout”.
Replacement of Pump Door Latch
1. Remove the pump door cover in accordance with “Replacement of Pump
Head Door Cover” on page 8-9.
2. Close the pump door.
3. Remove the E-ring (Figure 11-5 , item 5) that secures the door latch.
4. Lift the door latch and carefully pull it out of the pump door. Use caution
to avoid losing the associated parts on the door latch pin.
5. To replace the latch, lay the pump on its back.
6. Place one thin washer (Figure 11-5 , item 8), the spring (item 6), and the
other thin washer (item 8) on the door latch pin.
7. Insert the pin into the hole in the pump door.
8. Open the pump door slightly.

 Loading...