Embroidery preparation
33
2.6 Embroidery foot
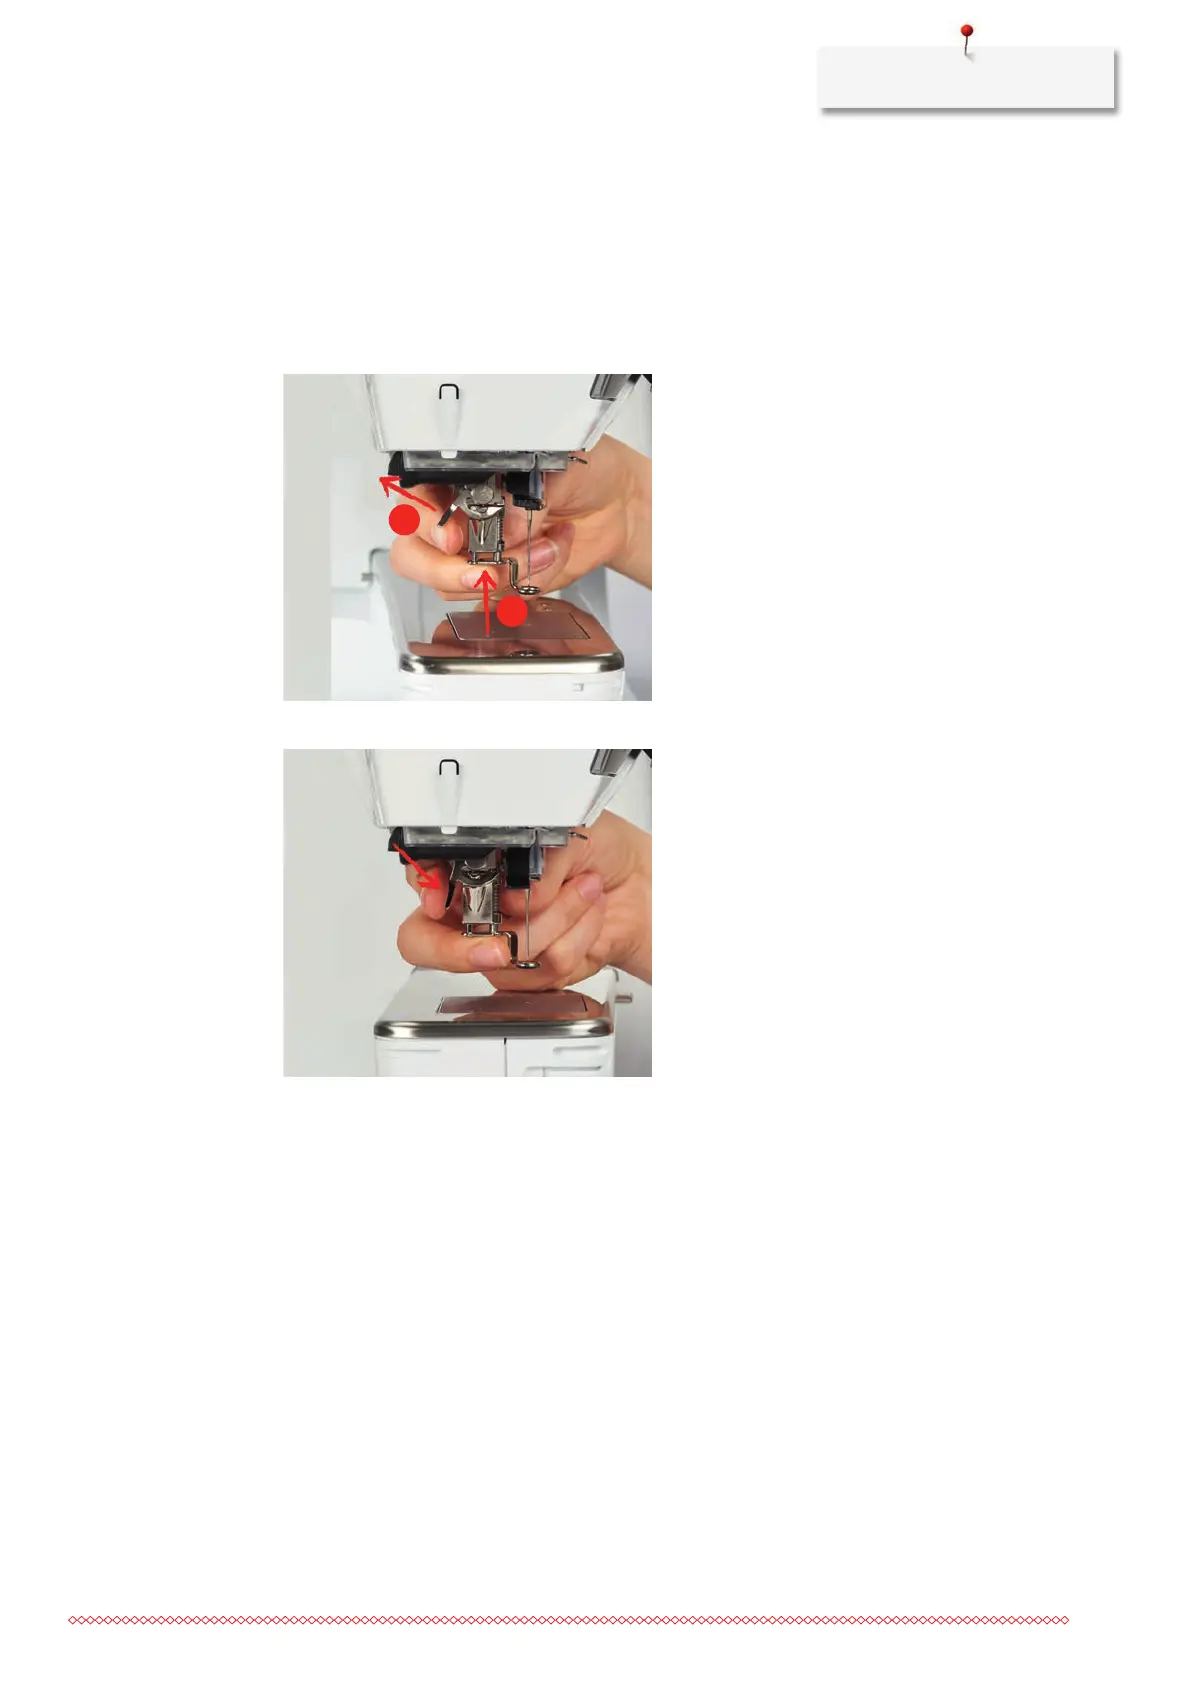
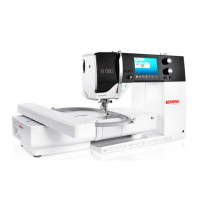
Attaching the embroidery foot
> Raise the needle.
> Switch the machine off and disconnect it from the power supply system.
> Push the clamping lever up (1).
> Guide the embroidery foot upwards over the cone (2).
> Press the clamping lever down.
Selecting the embroidery foot in the User Interface
After the embroidery foot (Embroidery foot No. 26, supplied accessory with the embroidery module) has
been attached, it can be selected and saved on the machine. In addition to that, alternative presser feet are
displayed which are available for the currently selected embroidery motif.
> Switch the machine on.
> Select an embroidery motif.