Embroidery preparation
47
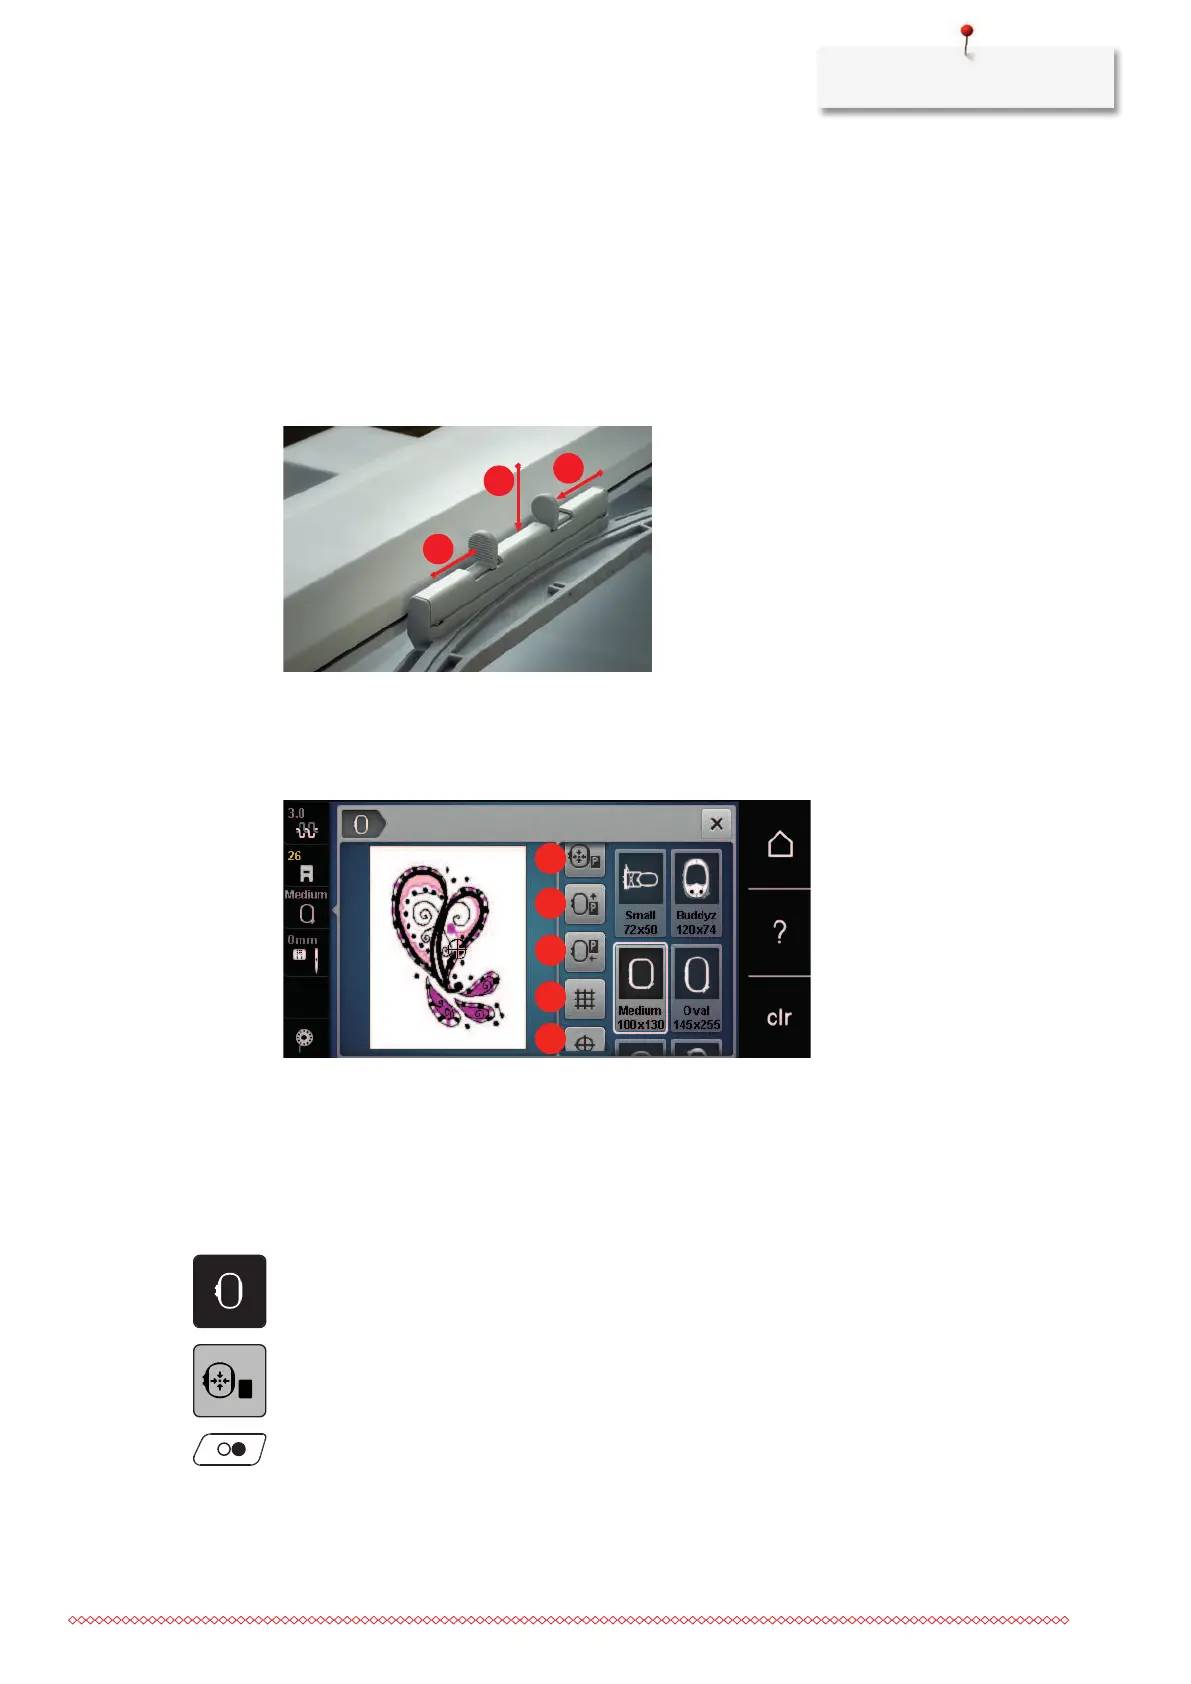
Attaching the hoop
> Raise the needle.
> Raise the embroidery foot.
> Hold the hoop with the right side of the fabric up with the attaching mechanism to the left.
> Position the hoop below the embroidery foot.
> Press both attaching mechanisms (1) of the hoop towards each other.
> Position the embroidery hoop (2) above the bracket of the embroidery arm.
> Press the hoop down until it clicks in position.
> Release the attaching mechanism (1).
> Press the attaching mechanisms of the hoop towards each other to remove the hoop.
> Remove the hoop.
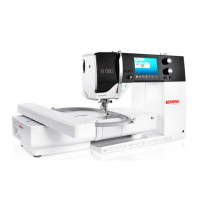
Overview embroidery functions
1 Centering the embroidery hoop to the needle 4 Grid on/off
2 Moving the embroidery hoop to the back 5 Center of embroidery motif
3 Moving the embroidery hoop to the left 6 Virtual positioning (appears by scrolling)
Center the needle to the embroidery hoop
Relocating the embroidery hoop facilitates threading when the needle is close to the embroidery hoop.
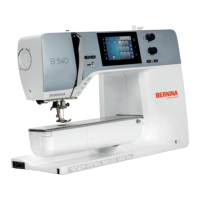
> Touch the icon «Embroidery hoop display/Embroidery hoop selection».
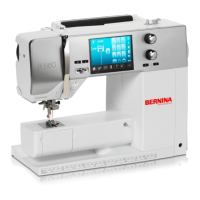
> Touch the icon «Center the needle to the embroidery hoop».
> Threading the upper thread.
> Push the button «Start/Stop» to move the embroidery hoop back to the last position.