Embroidery preparation
36
Attaching the stitch plate
The stitch plate has a small hole in the needle insertion area. The thread is pulled in and knotted optimally
which results in an optimized stitching result.
Prerequisite:
• The machine is switched off and disconnected from the power supply system.
• The foot and the needle are removed.
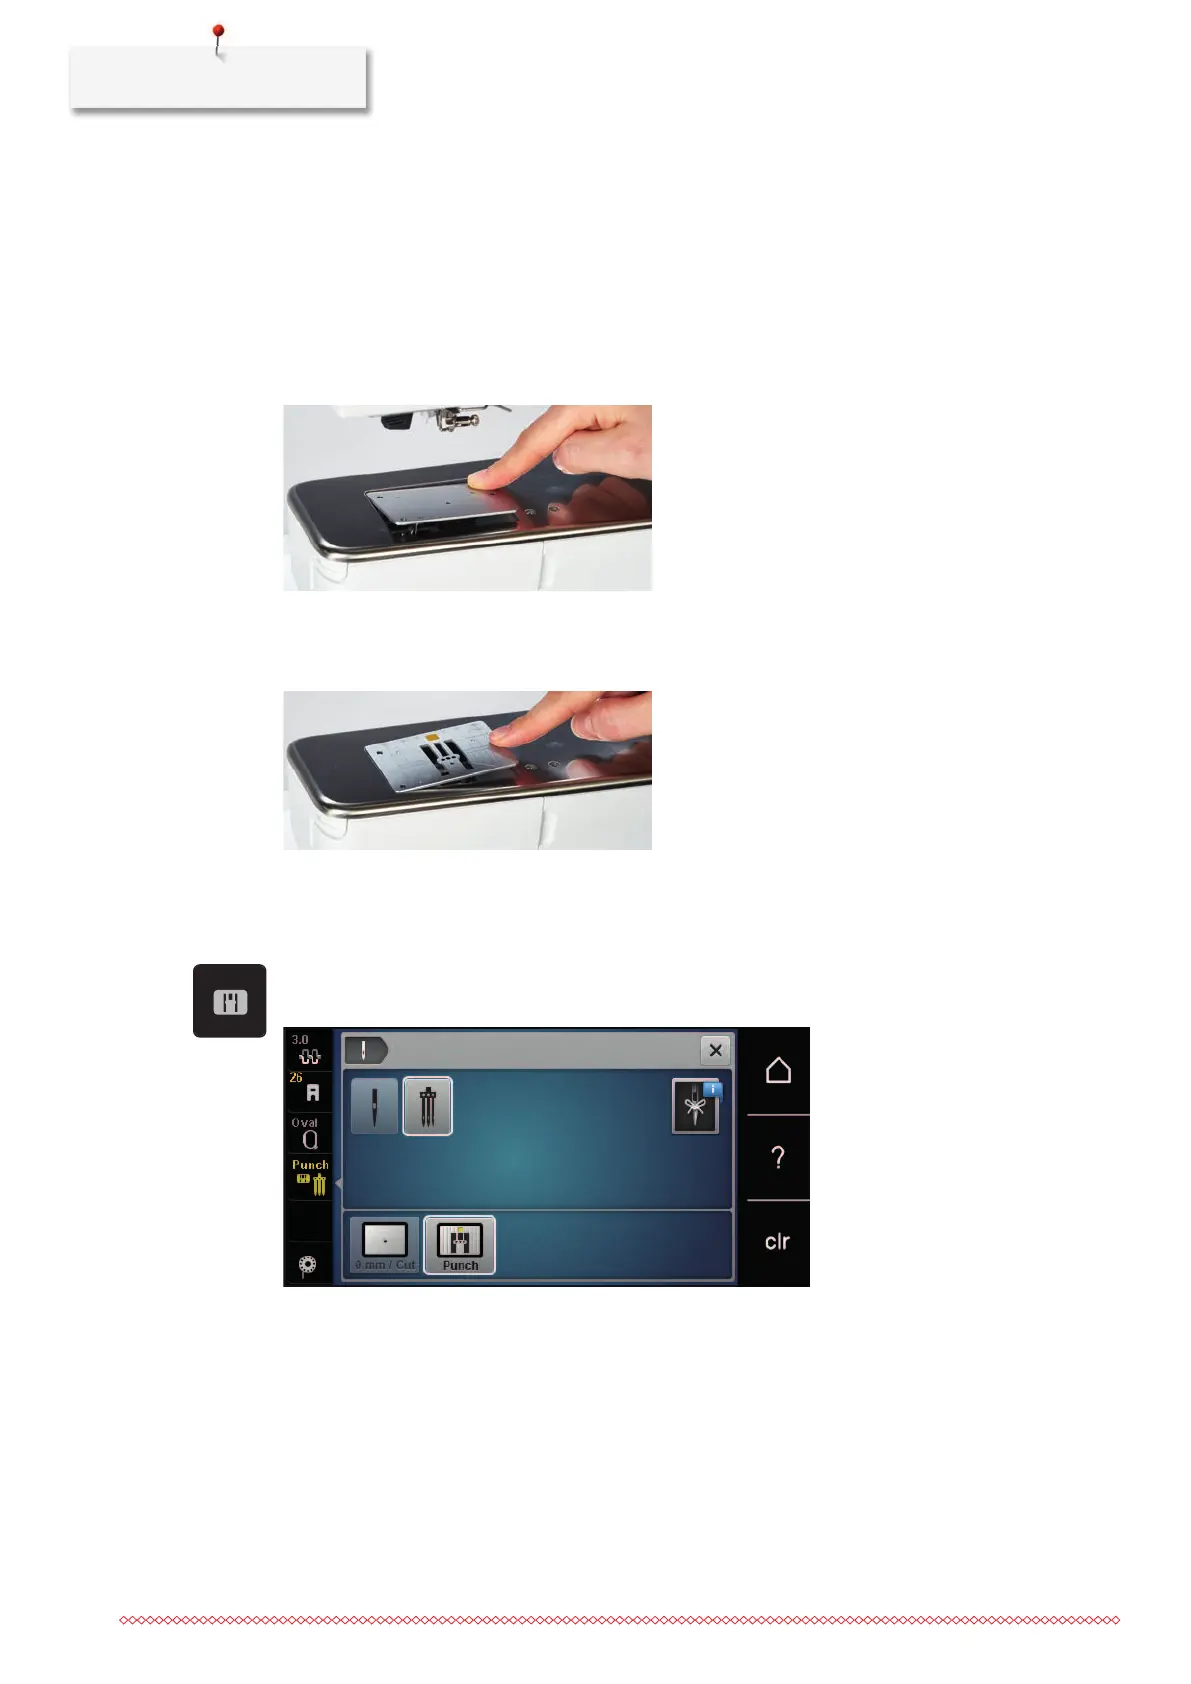
> Press the stitch plate down at the mark back right until it flips up.
> Remove the stitch plate.
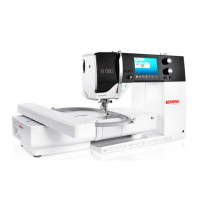
> Place the openings of the stitch plate (PunchWork, Optional accessory) above the corresponding guide
pins and press down until it clicks into place.
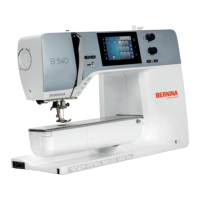
Selecting the stitch plate in the User Interface
After having replaced the stitch plate, it can be checked whether it can be used together with the selected
needle.
> Touch the icon «Stitch plate selection».
> Select the attached stitch plate (PunchWork, optional accessory).
– If the selected needle is suitable in combination with the stitch plate, embroidering can be started
– If the selected needle is not suitable in combination with the stitch plate, starting the machine is
automatically prevented