Embroidery preparation
38
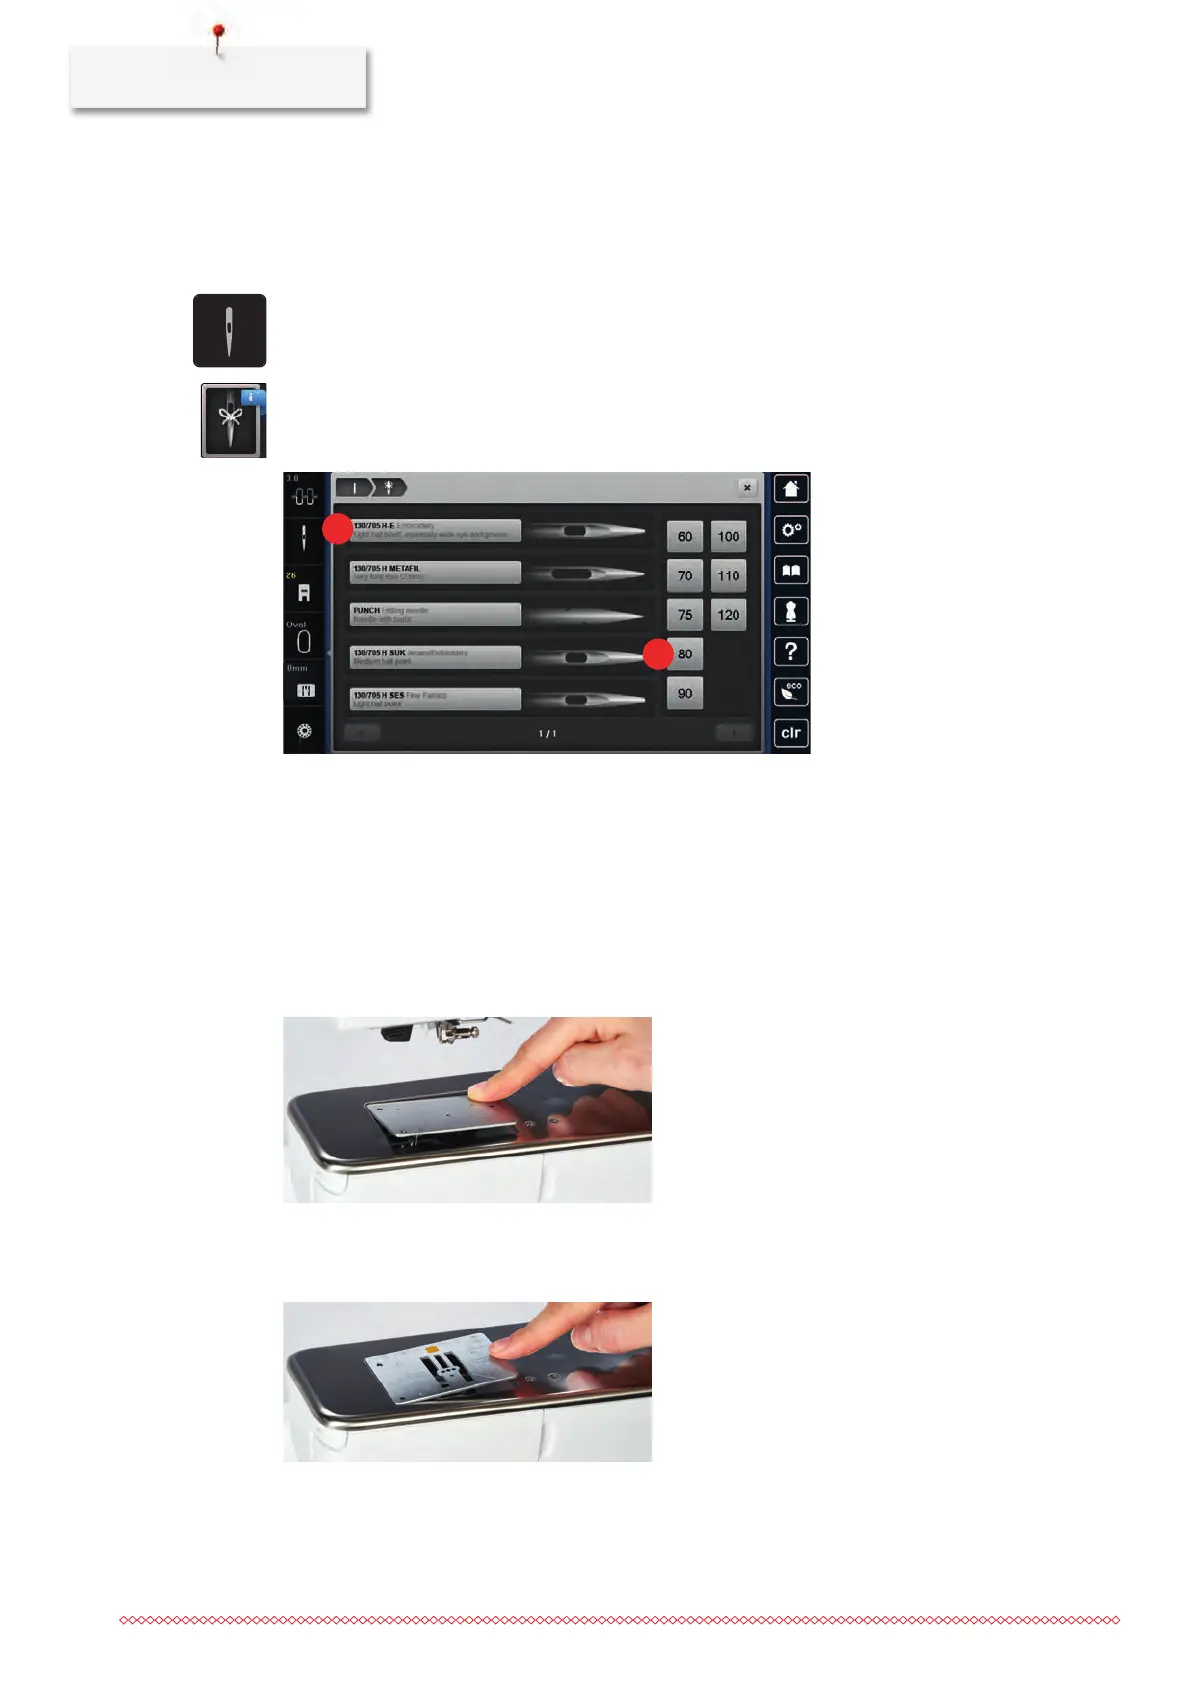
Selecting needle type and needle size
Convenient memory function: To prevent a loss of information, the needle type and the needle size can be
saved additionally on the machine. The saved needle type and the saved needle size can be checked at any
time.
> Touch the icon «Needle selection».
> Touch the icon «Needle type/Needle size».
> Select the needle type (1) of the inserted needle.
> Select the needle size (2) of the inserted needle.
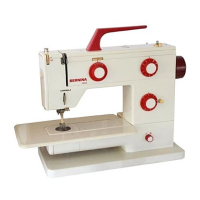
Attaching the stitch plate
The stitch plate has a small hole in the needle insertion area. The thread is pulled in and knotted optimally
which results in an optimized stitching result.
Prerequisite:
• The machine is switched off and disconnected from the power supply system.
• The foot and the needle are removed.
> Press the stitch plate down at the mark back right until it flips up.
> Remove the stitch plate.
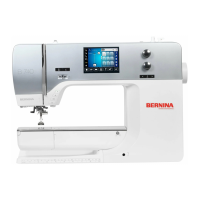
> Place the openings of the stitch plate (PunchWork, Optional accessory) above the corresponding guide
pins and press down until it clicks into place.