877-877-2269 | blackbox.com
Page 18
Chapter 4: Quick Installation Guide
To check the connection, follow these steps:
1. Is the connection between your PC and the router correct?
NOTE: The Ethernet LED on the router and LEDs on your PC‘s adapter should be lit.
2. Is the TCP/IP configuration for your PC correct?
NOTE: If the router‘s IP address is 192.168.1.1, your PC’s IP address must be within the range of 192.168.1.2–192.168.1.254.
3. Is the default LAN IP of the router correct?
NOTE: If the LAN IP of the modem connected with your router is 192.168.1.x, the default LAN IP of the router will automatically
switch from 192.168.1.1 to 192.168.0.1 to avoid IP conflict.
4.2 Quick Installation Steps
With a Web-based utility, it is easy to configure and manage the Gigabit Dual Band Router - 802.11ac Wi-Fi. The Web-based
utility can be used on any Windows, Macintosh, or UNIX OS with a Web browser, such as Microsoft Internet Explorer, Mozilla
Firefox, or Apple Safari.
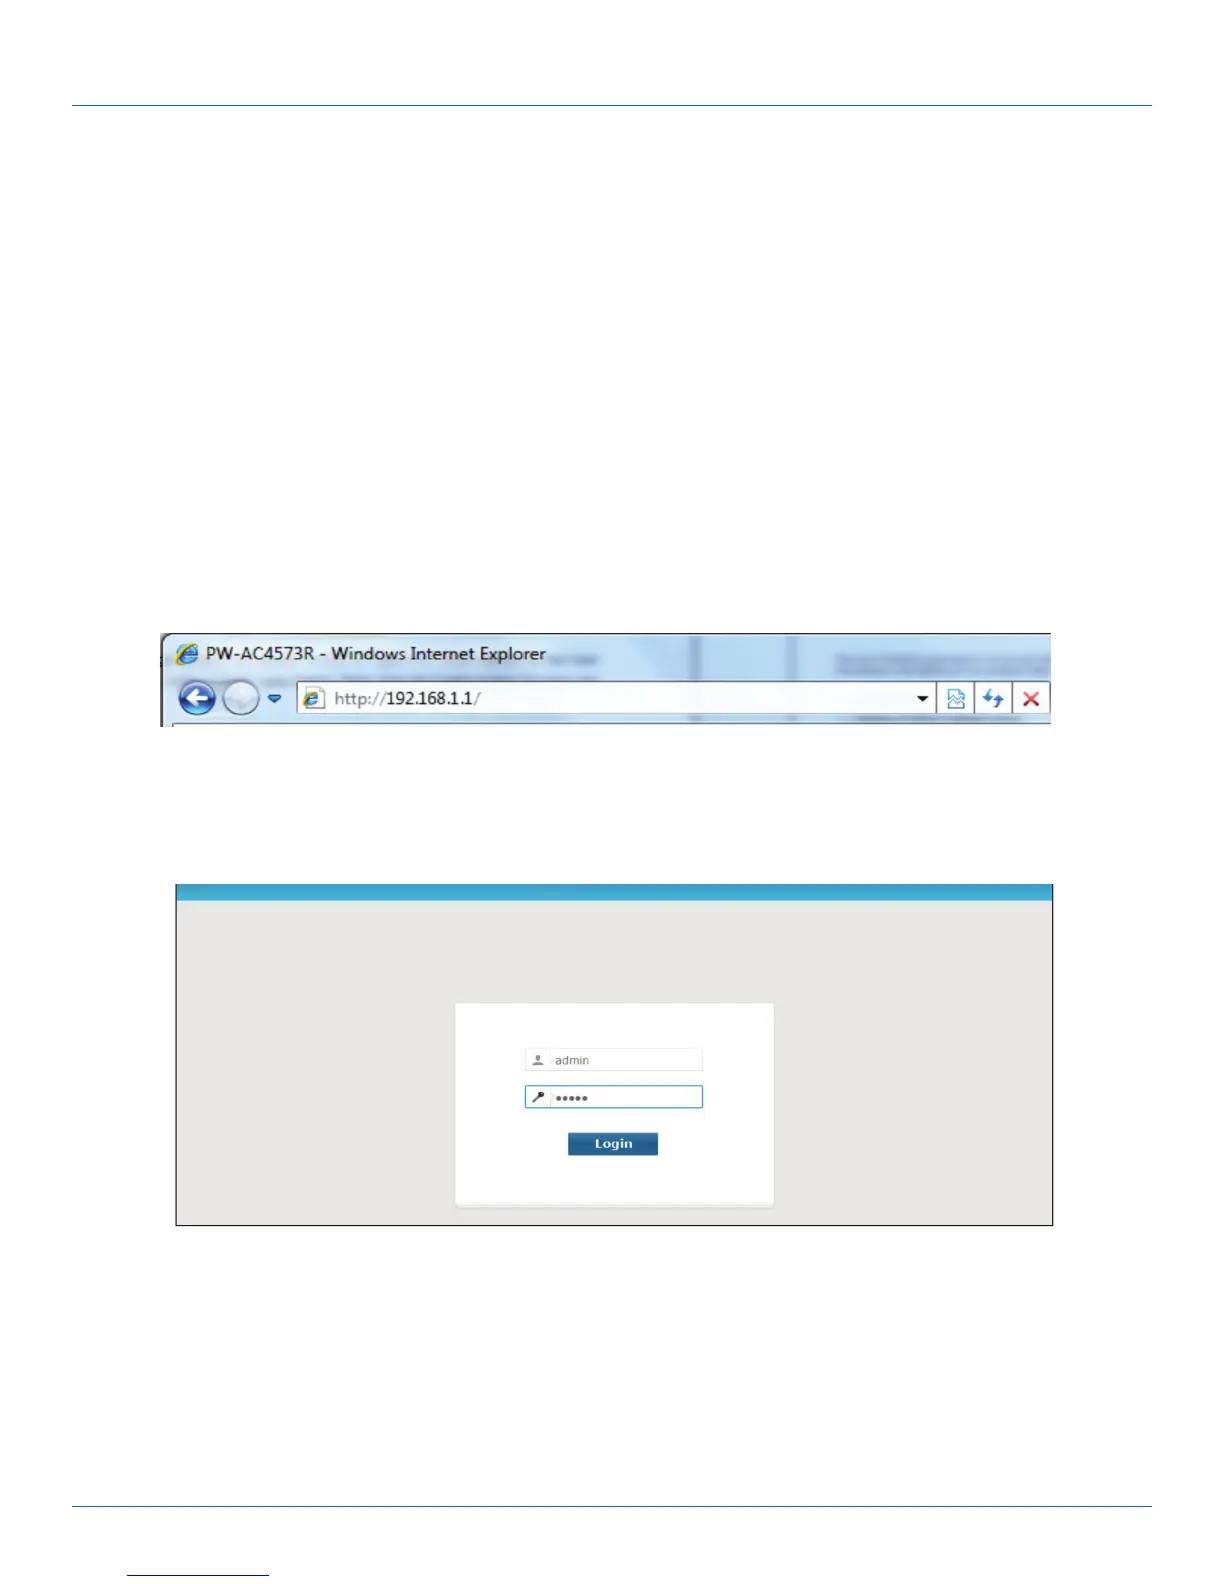
1. To access the configuration utility, open a web-browser and type in the default IP address http:/192.168.1.1 in the address field.
Figure 4-3. Log in to the router.
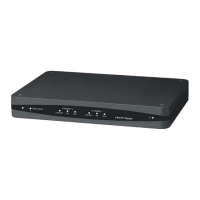
After a moment, a login window will appear, similar to Figure 4-4. Enter “admin” for the User Name and Password, both in lower
case letters. Then click the Login button or press the Enter key.
Figure 4-4. Windows login.
NOTE: If the above screen does not pop up, it means that your Web-browser has been set to a proxy. Go to Tools menu>Internet
Options>Connections>LAN Settings. In the screen that appears, cancel the Using Proxy checkbox, and click OK.