20
Camera Settings
Monitoring Settings
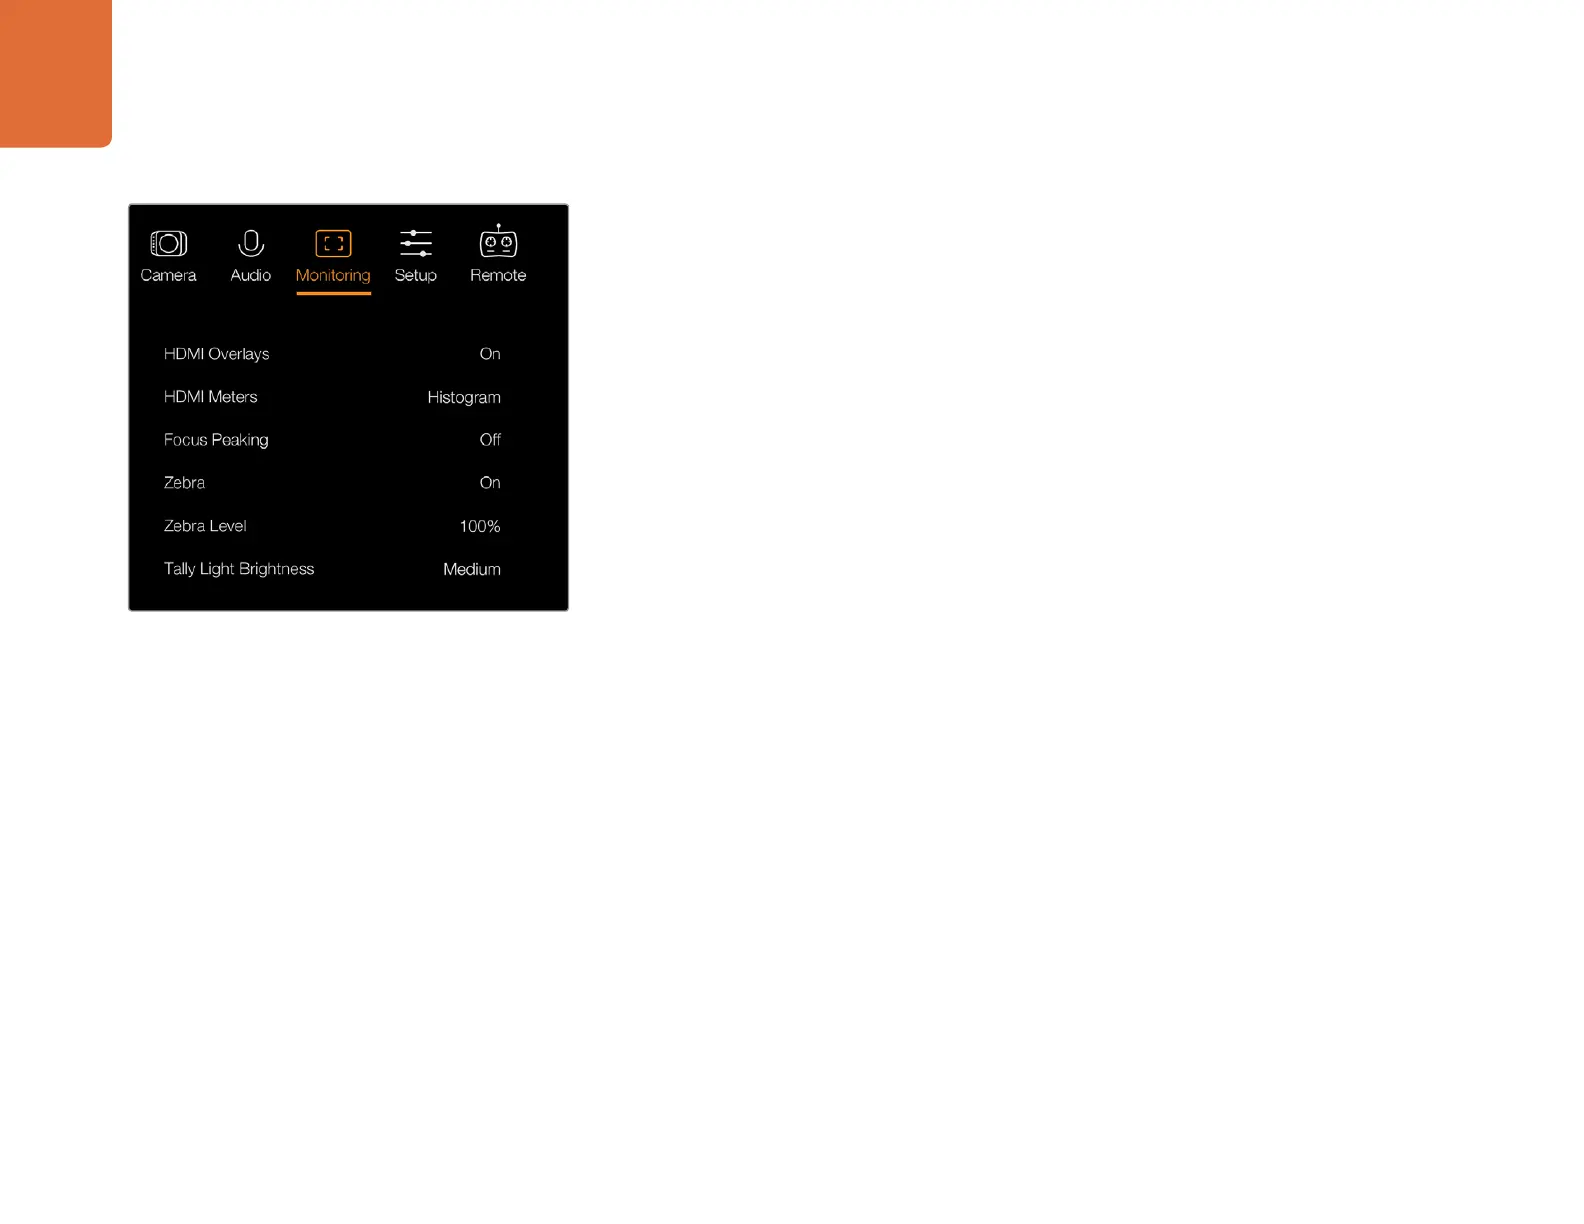
To adjust the display settings for the LCD, press the 'menu' button and select the monitor icon. Use
the menu navigation buttons to highlight menus and use the 'set' button to confirm your selection.
HDMI Meters
Blackmagic Micro Studio Camera 4K gives you the option to select which meters you want to display
on the HDMI output.
Histogram
The histogram shows the contrast between whites and blacks along a horizontal scale. The left edge
of the histogram displays shadows, or blacks, and the far right displays highlights, or whites. When
you close or open the lens aperture, you'll notice the information in the histogram moves to the left
or right accordingly.
This setting toggles the histogram on and off. When on, this will appear in the bottom right corner
of an attached monitor when 'HDMI overlays' are set to on.
Audio
The audio meter represents the current volume of left and right audio channels in two horizontal
bars. Left is on top, right is on the bottom. If your audio levels rise too high, your audio peaks can be
clipped and you will hear distortion in your audio. To avoid this, adjust the audio gain on your camera
until your audio levels stay within safe levels.
This setting toggles the audio meter on and off. When on, this will appear in the bottom left corner
of an attached monitor when 'HDMI overlay' are set to on.
HDMI Overlays
This setting is only available on Micro Studio Camera 4K. When set to 'on,' HDMI video output
will include frame guides and information about the camera settings and identity, as well
as any meters enabled via the 'HDMI meters' setting.
Brightness
Move the slider icon left or right to adjust brightness settings for the LCD. The default setting is 60%.
Zebra
Blackmagic Cameras have a zebra feature which gives an indication of exposure levels. Diagonal lines
will appear across any part of the video that exceeds the zebra exposure level.
Turn zebra on and select the desired zebra warning level by using the left and right arrows. The
default setting is medium.
Monitoring settings - Blackmagic Micro Studio Camera 4K.