55 Getting Started
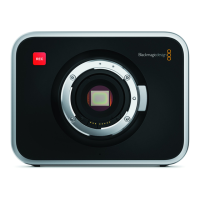
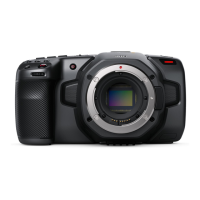
Attaching a Lens
Getting started with your Blackmagic Studio Camera or Blackmagic Micro Studio Camera 4K is as
simple as attaching a lens and turning the camera on. To remove the protective dust cap from the
lens mount, hold down the locking button and rotate the cap counterclockwise until it is released.
We recommend you always turning off your Blackmagic camera prior to attaching or removing a lens.
To attach a lens:
Step 1. Align the dot on your lens with the dot on the camera mount. Many lenses have either a blue,
red or white dot or some other indicator.
Step 2. Twist the lens clockwise until it locks into place.
Step 3. To remove the lens, hold down the locking button, rotate the lens counterclockwise until
its dot or indicator reaches the 12 o’clock position and gently remove.
When no lens is attached to the camera, the lens mount is exposed to dust and other debris so you'll
want to keep the dust cap on whenever possible.
Turning Your Camera On
The Studio Camera has an internal battery that can be charged using the supplied power adapter.
The camera can be charged and operated while connected via external power and will switch between
power sources without any interruption.
Step 1. Press the power button below the LCD. The live camera image will appear on the LCD.
Step 2. Press and hold the power button to switch off the camera.
Micro Studio Camera 4K accepts LP-E6 and LP-E6N batteries, which can be charged with an external
battery charger or slowly trickle charged by the camera. The camera can also be charged and
operated via external power and will switch between power sources automatically if external power
is interrupted. External power is provided via the Micro Studio Camera 4K's expansion port.
Step 1. Press the power button on the right hand side of the camera.
The tally light will glow white to indicate the camera is on.
Step 2. Press and hold the power button to switch off your camera.
That's all there is to getting started. You can now connect your camera to a switcher, or ATEM
Converter, and start creating your live production!
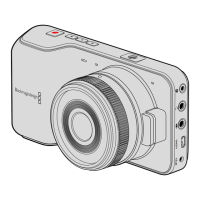
Attaching and removing a lens on Studio Camera.
Attaching and removing a lens on Micro Studio Camera 4K.
1
1
3
PUSH
2
2
1
3
PUSH
2
1
1
3
PUSH
2
2
1
3
PUSH
2
OPTICAL OUT
OPTICAL IN
SDI OUT
SDI IN
REF
12V
Use the supplied power adapter to charge the internal battery
and power the Studio Camera.
OPTICAL OUT
OPTICAL IN
SDI OUT
SDI IN
REF
12V
Getting Started